January 2017 -
Yikes! Time is marching on. I've been busy with school and some activities. I've joined our school's Speech and Debate team, and really love it.
I'll begin on-line ground school this spring and hopefully flight training this summer - if I can afford it from after school and summer jobs.
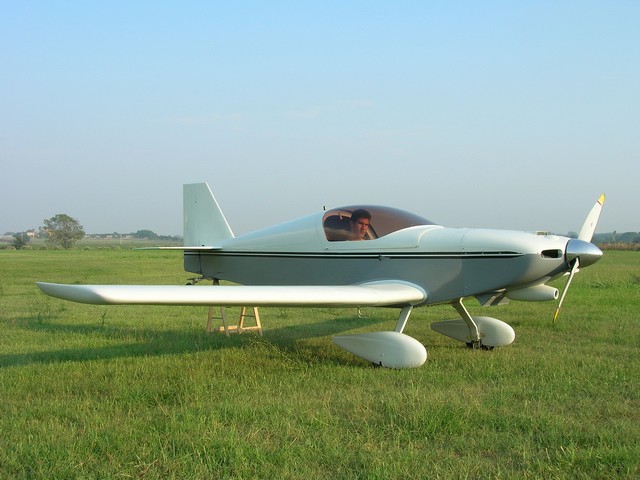
We have made some progress on the airplane, and hopefully by the time I have my pilot's license, my KR2S will be ready to fly.
Engine Decision
After considering engine options, I think I'll stick with the HAPI engine the plane came with. But here's the issue:
The Continental O-200 engine is clearly a more reliable and "real" airplane engine. Additionally, it is much more powerful, giving the KR2 fantastic performance of ~175mph cruise and 1200 feet per minute climb. This compares to about 135 mph cruise and 700ft/min climb with a VW engine.
The advantages of the Continental O-200 engine are many - with reliability being perhaps the greatest, followed closely by the fantastic performance. If I was starting this project from scratch, I think I'd go with the O-200 engine. My dad even considered buying a different KR2S that became available and has an O-200. It was a blast to fly.
Check out my video of an Continental O-200 engine powered KR2S:
March 21, 2017
Wow! Its almost been a year - and I've made less progress on the plane than hoped . We were held up trying to decide what to do about the engine. We've decided to stick with the VW - but still unsure about sticking with the SCAT individual heads, or moving back to conventional heads that are supposed to cool better.
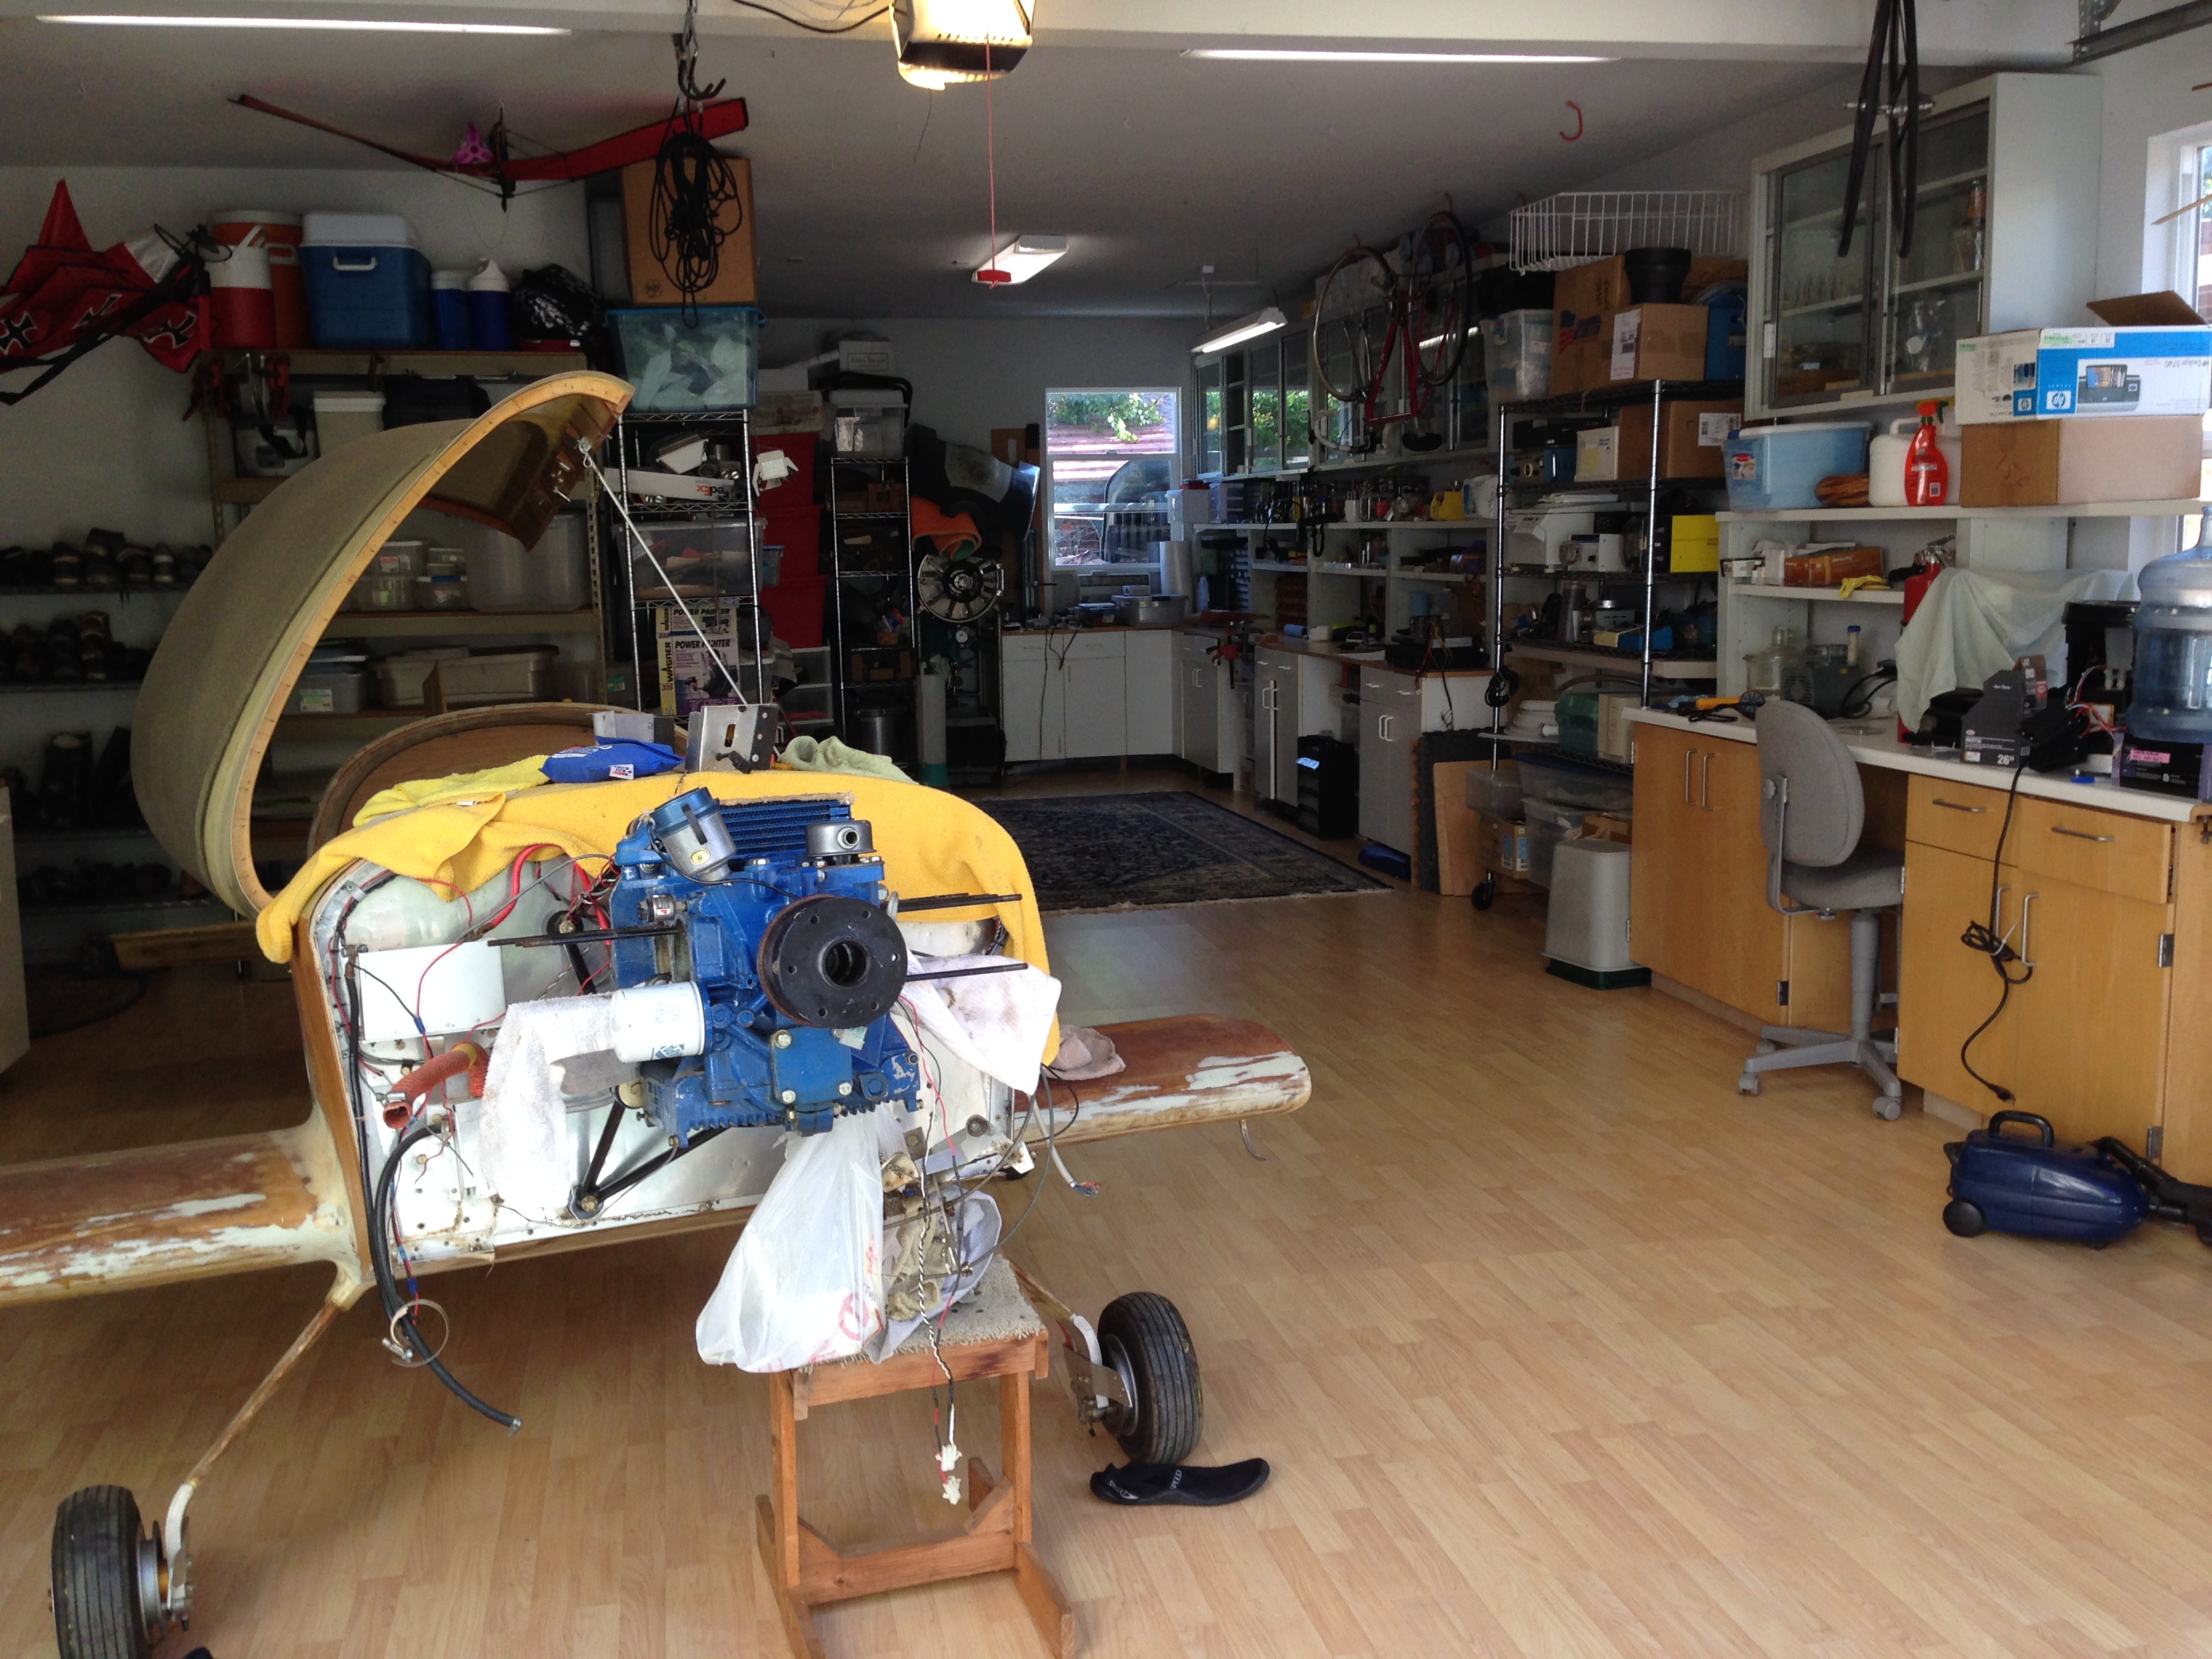
In the mean time, my dad and I put new bench and flooring (pulled from a lab my dad just shut down) in the garage. It should make for a great space to work in - now we just need to get some work in...
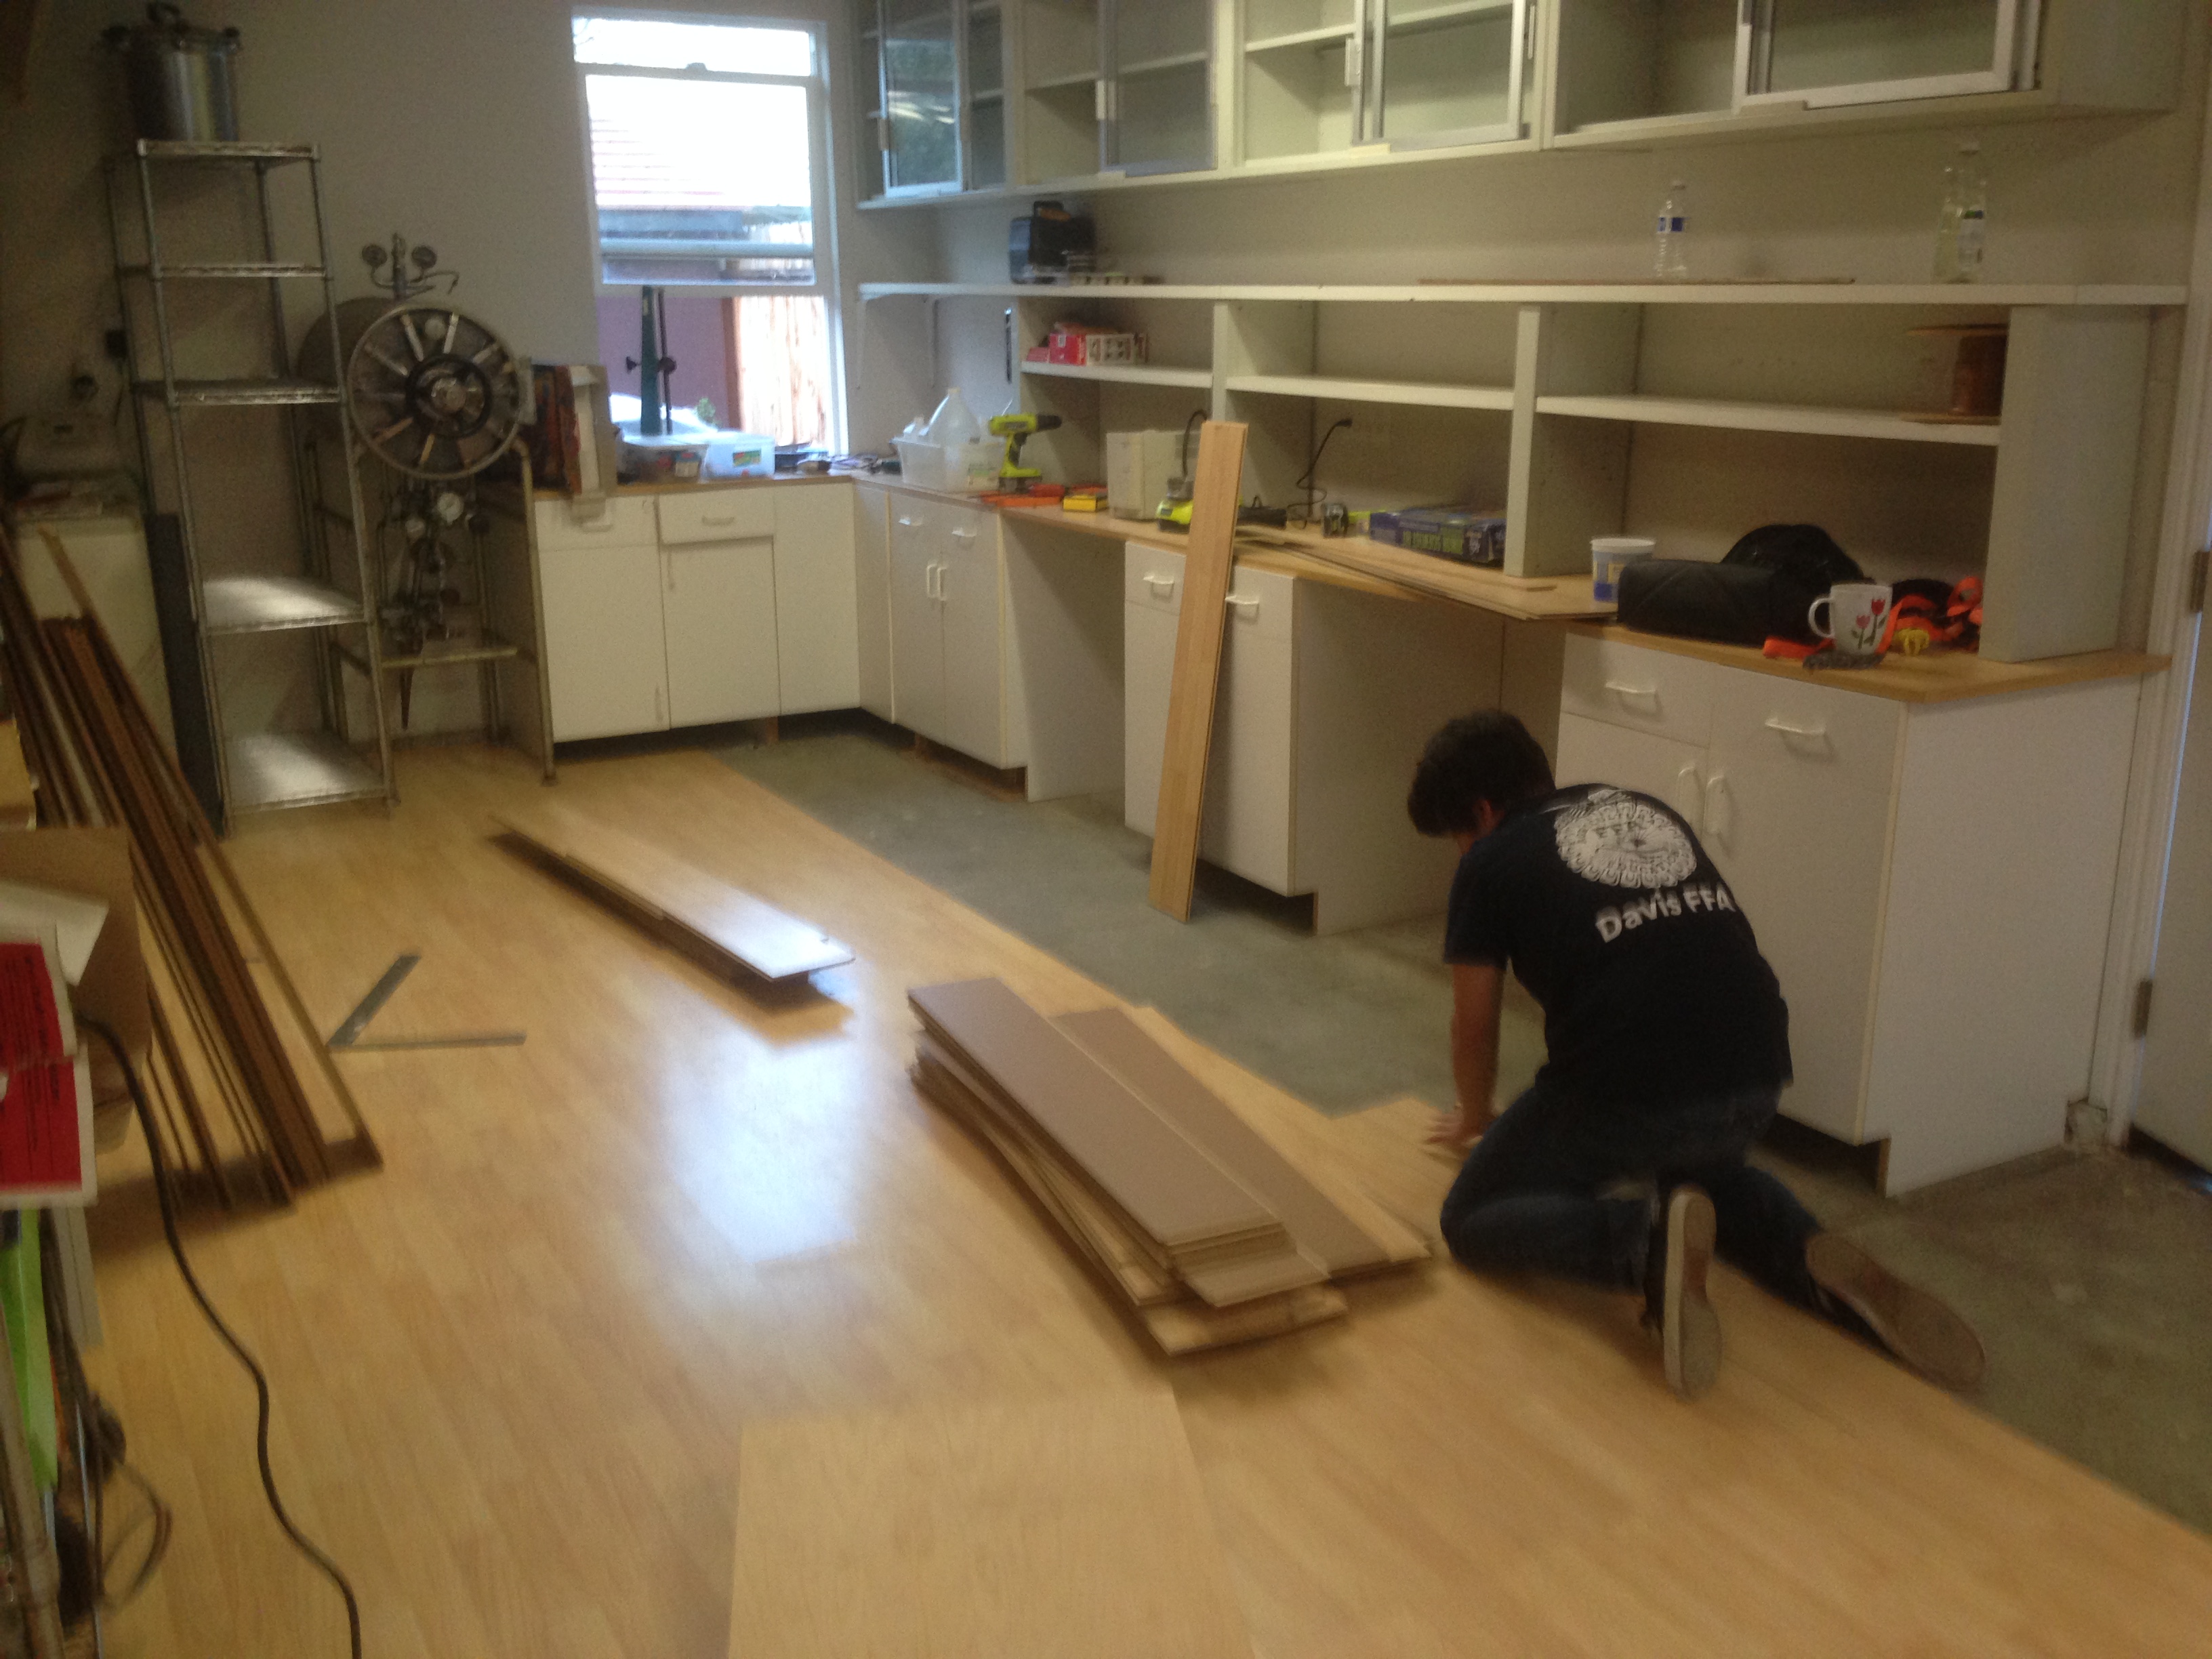
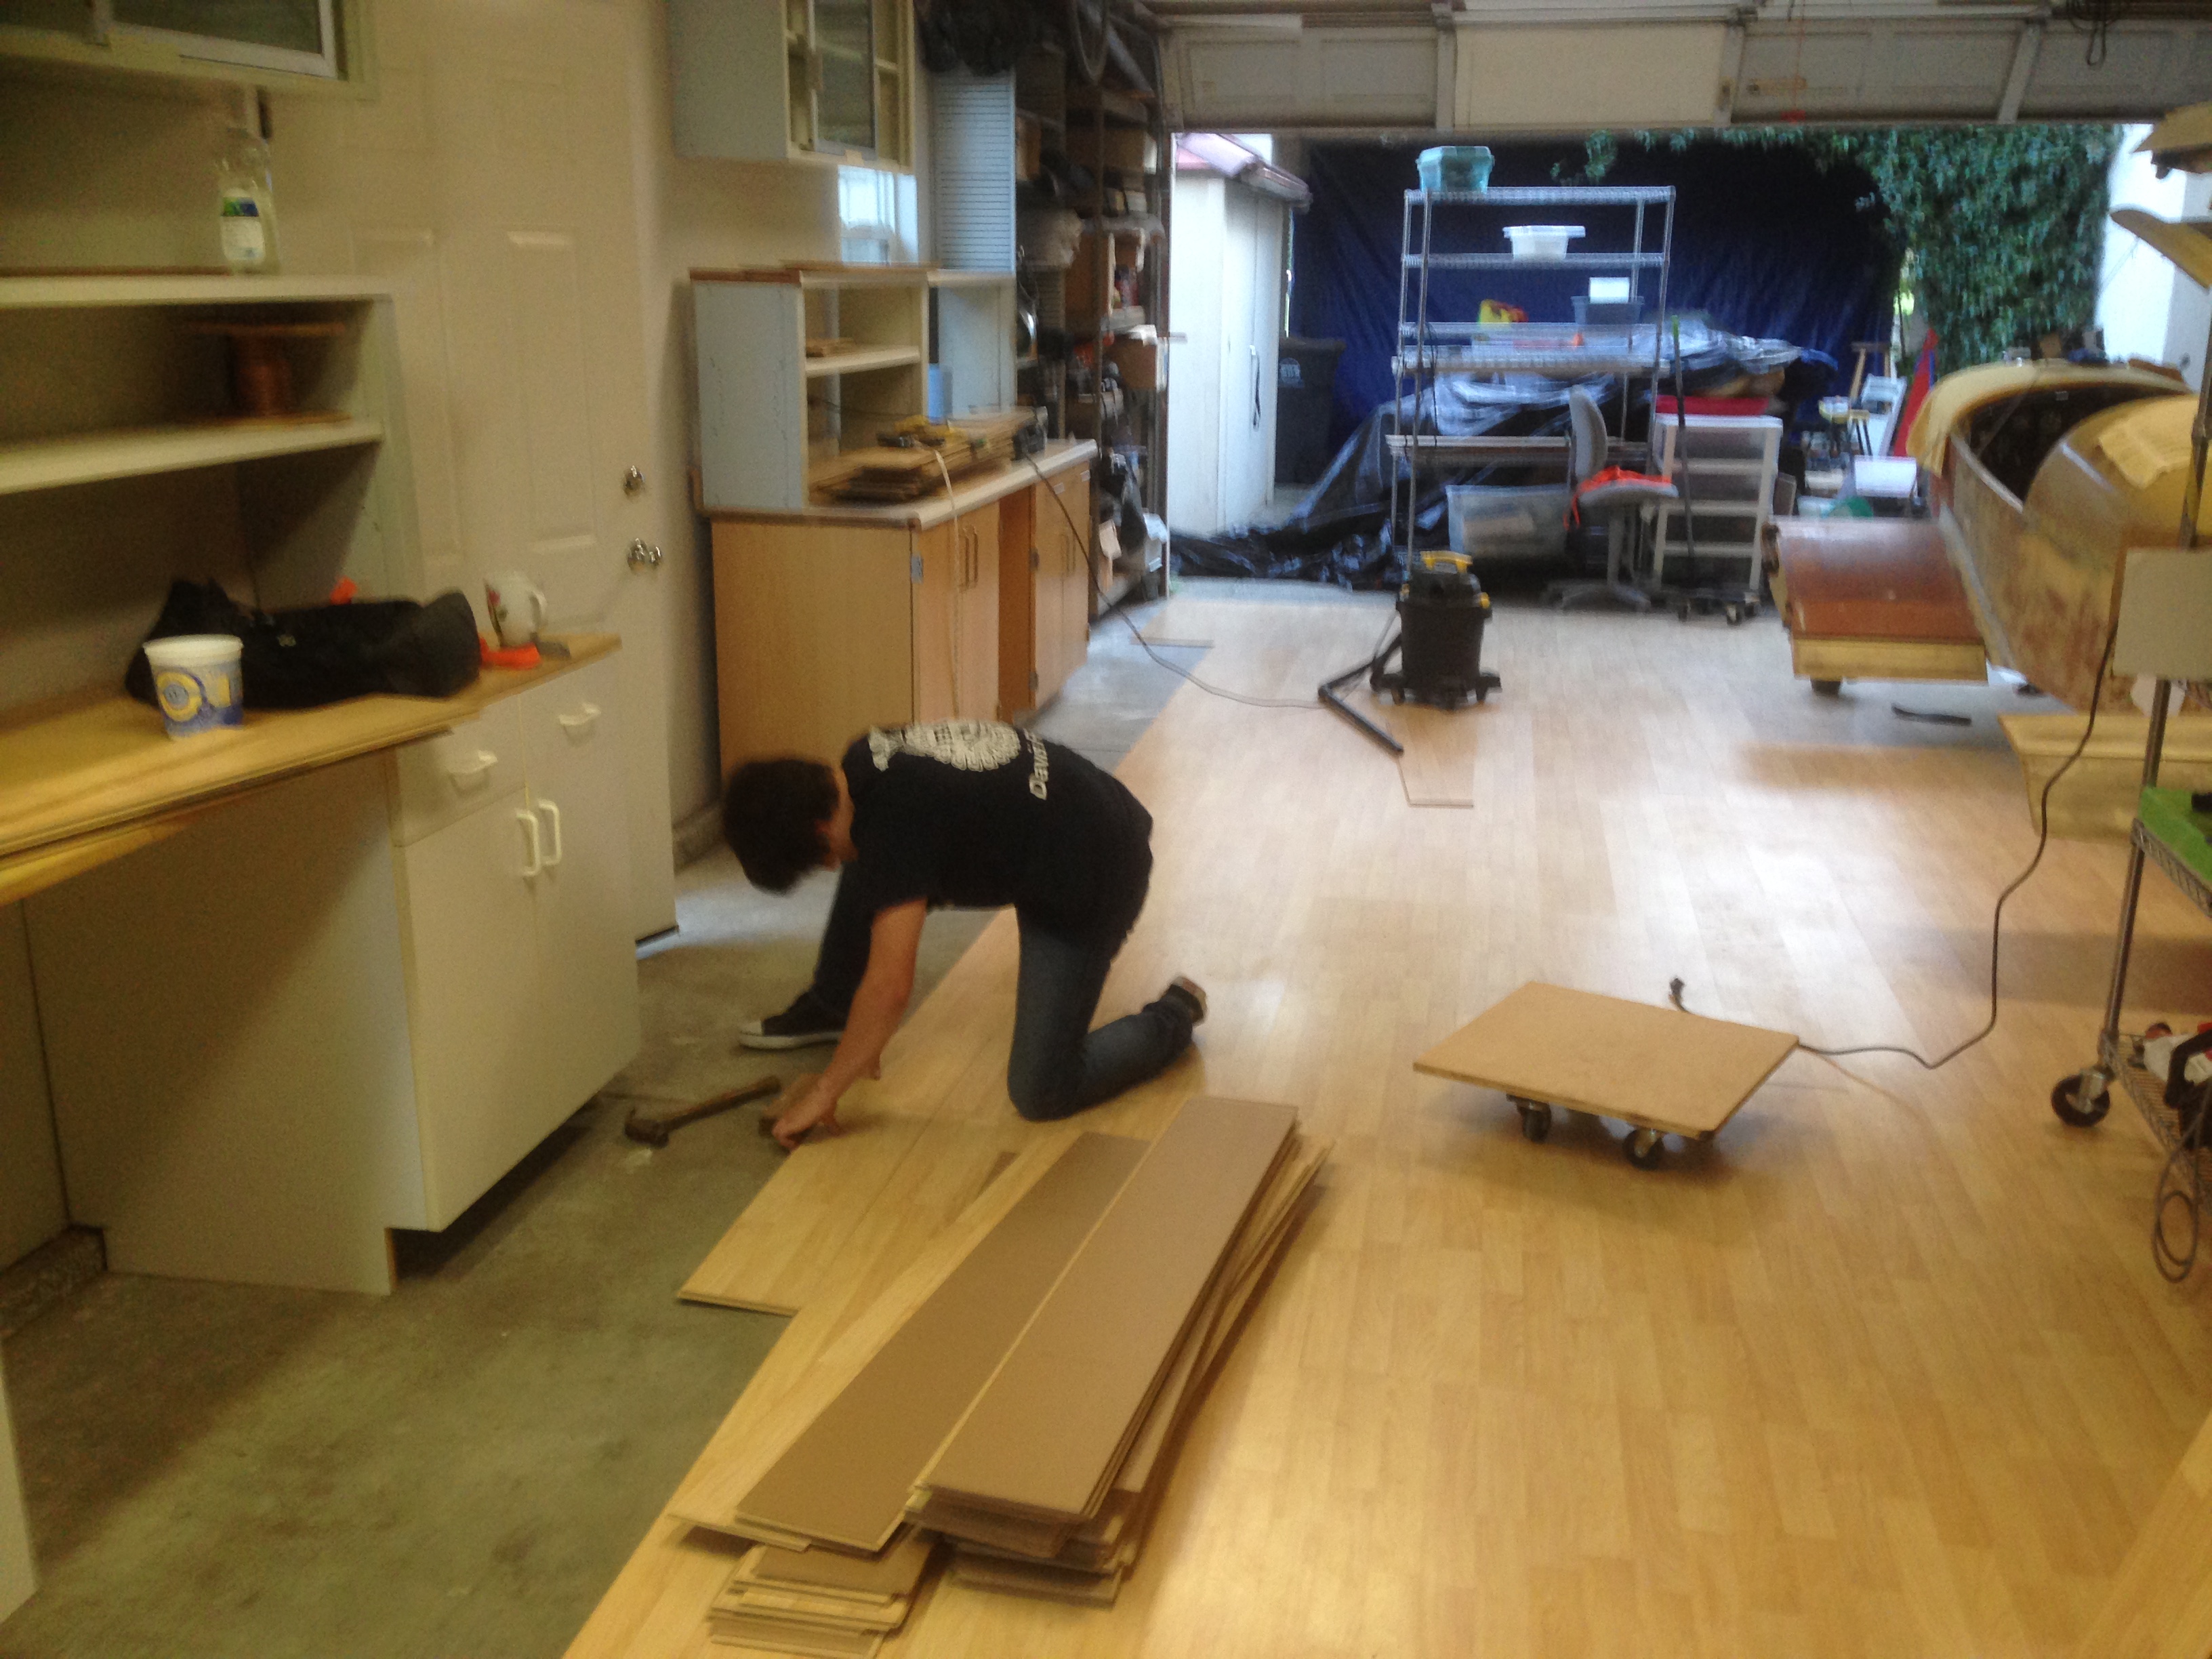
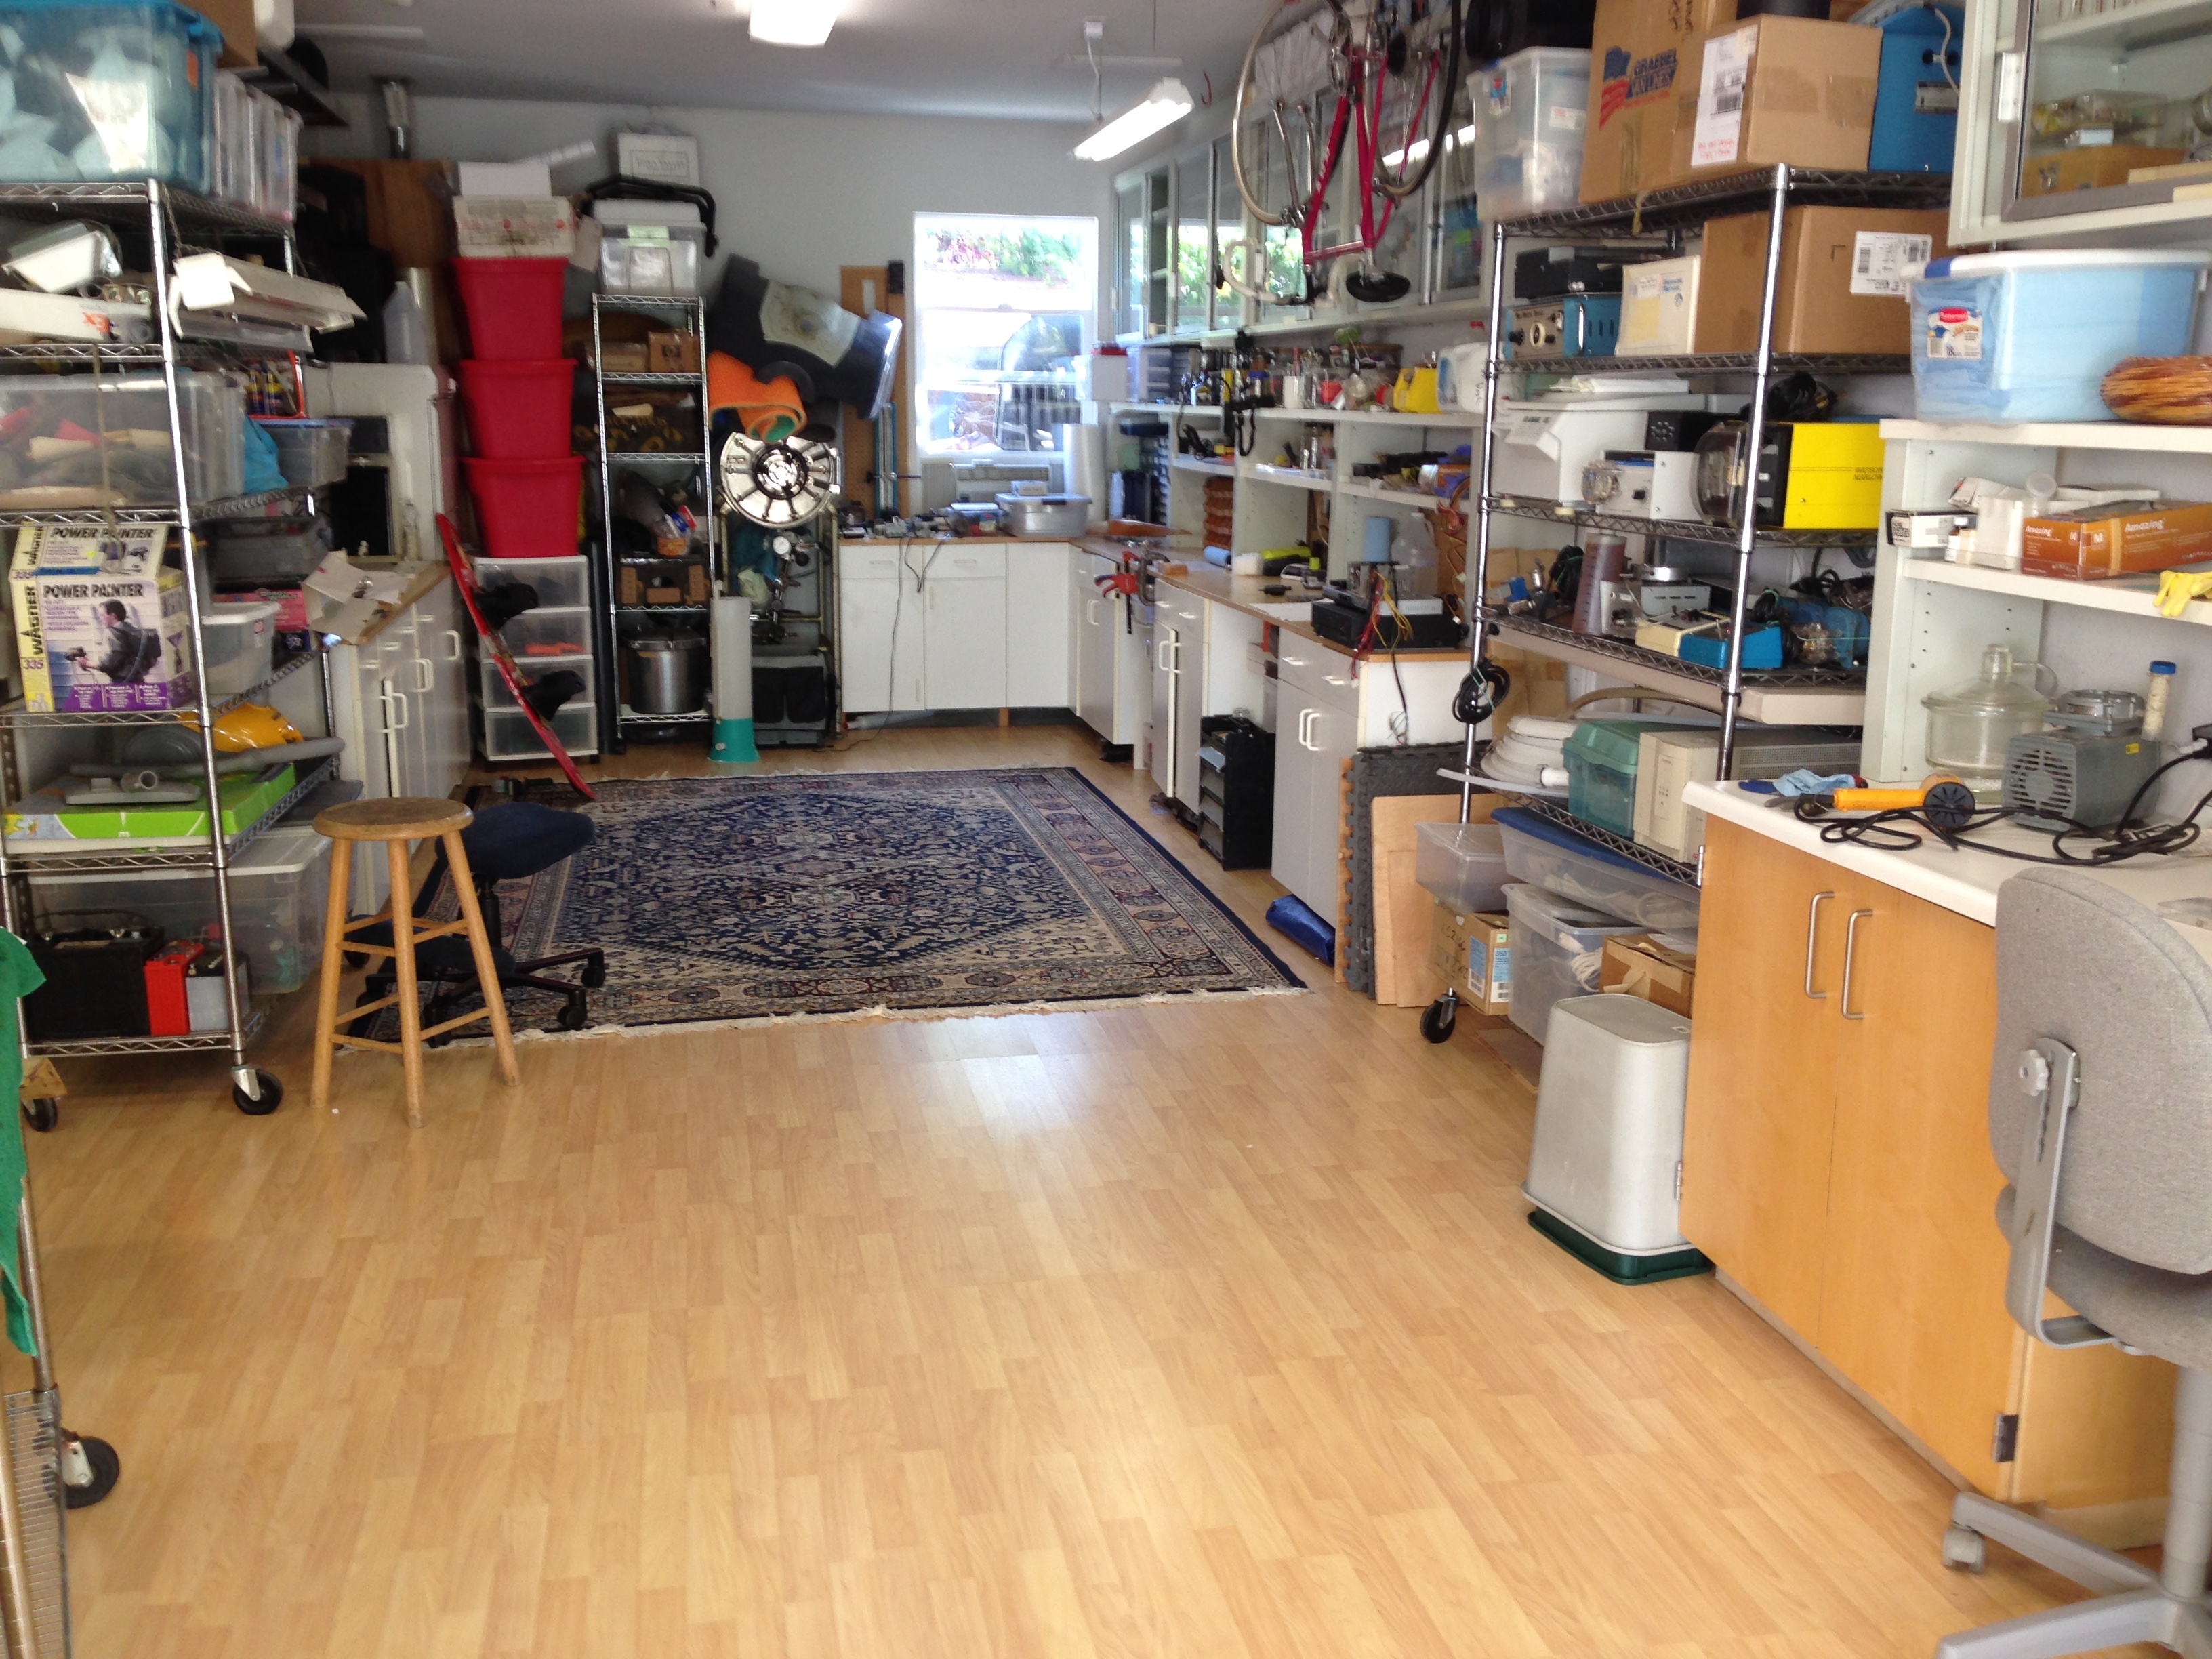
Finished the garage re-do (how cool is this place to work!)
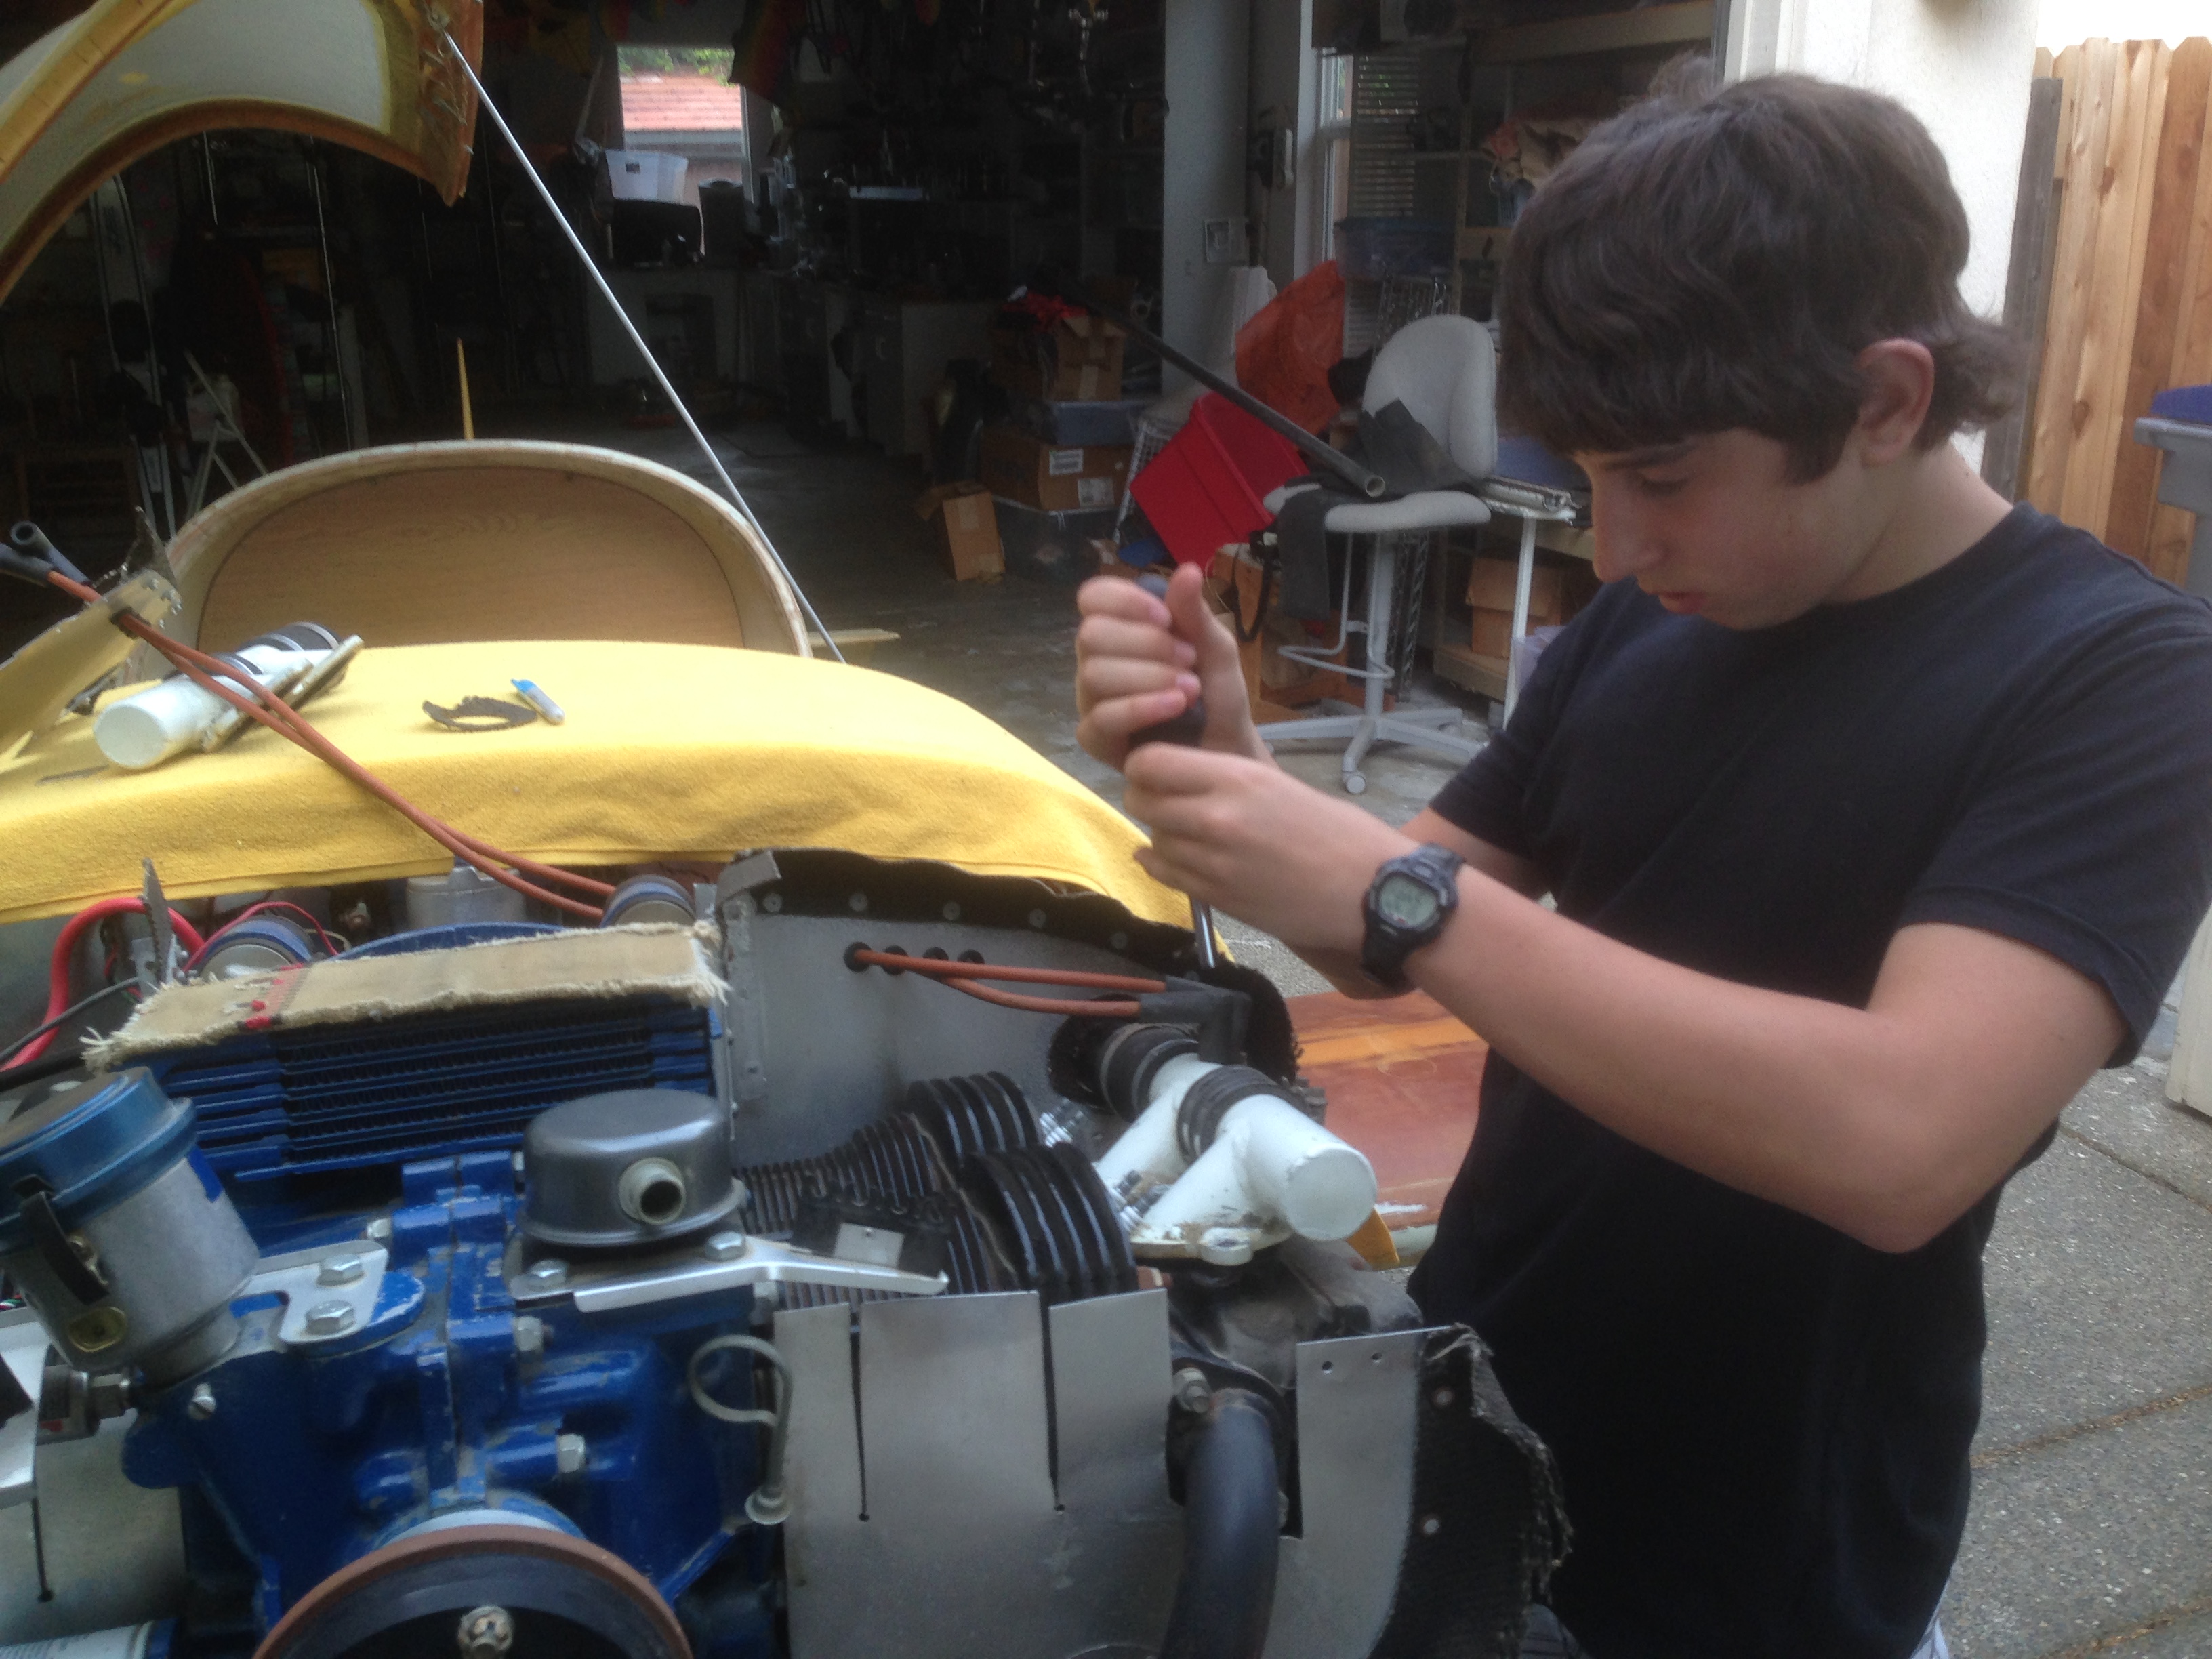
Now I'm starting in on the engine again.
Ceramic Thermal Barrier Coatings
There is a growing recognition that high temperatures are the major cause of engine reliability issues - and the VW has a particular issue with over heating when trying to get more than 60hp out of it. Ceramics have a number of remarkable properties, including very very low heat conductance. Thats why external ceramic tiles were used on the Space Shuttle to insulate its metal airframe from the heat of re-entry. We'll try the ceramic thermal barrier coatings of the pistons, valves, and cylinders in the hope of decreasing the temperatures enough to get decent reliability out of the engine. I want to make sure I don't see cylinder temperatures above 400C, above which aluminum starts to deform and reliability is dramatically reduced. To monitor temperatures I will have temperature probes on each cylinder.
Techline
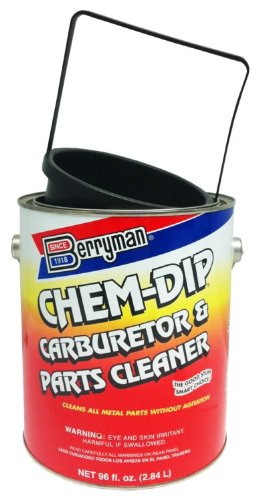
I ordered ceramic thermal barrier engine coatings from Techline. I'll be coating the tops of the combustion chambers, the piston tops, the valve faces, the exhaust valve stem up to where it meets the stem guide, and the exhaust port with Techline CBC-1. CBC-1 is a ceramic thermal barrier coating. I don't know how well it will work in practice, but the theory is that by significantly reducing heat transfer, it will keep more of the waste heat in the exhaust that dumps out to the air rather than having to remove that heat from the engine via air cooling. A lot of sources agree that the VW engine is heat limited, and hopefully this will help improve reliability. These are the instructions for coating CBC-1. Basically, I will clean and degrease parts, blast with 100 grit aluminum oxide, clean again, bake to cure the ceramic coating, and then reassemble the engine. Sounds simple - I hope it doesn't take the rest of the summer.
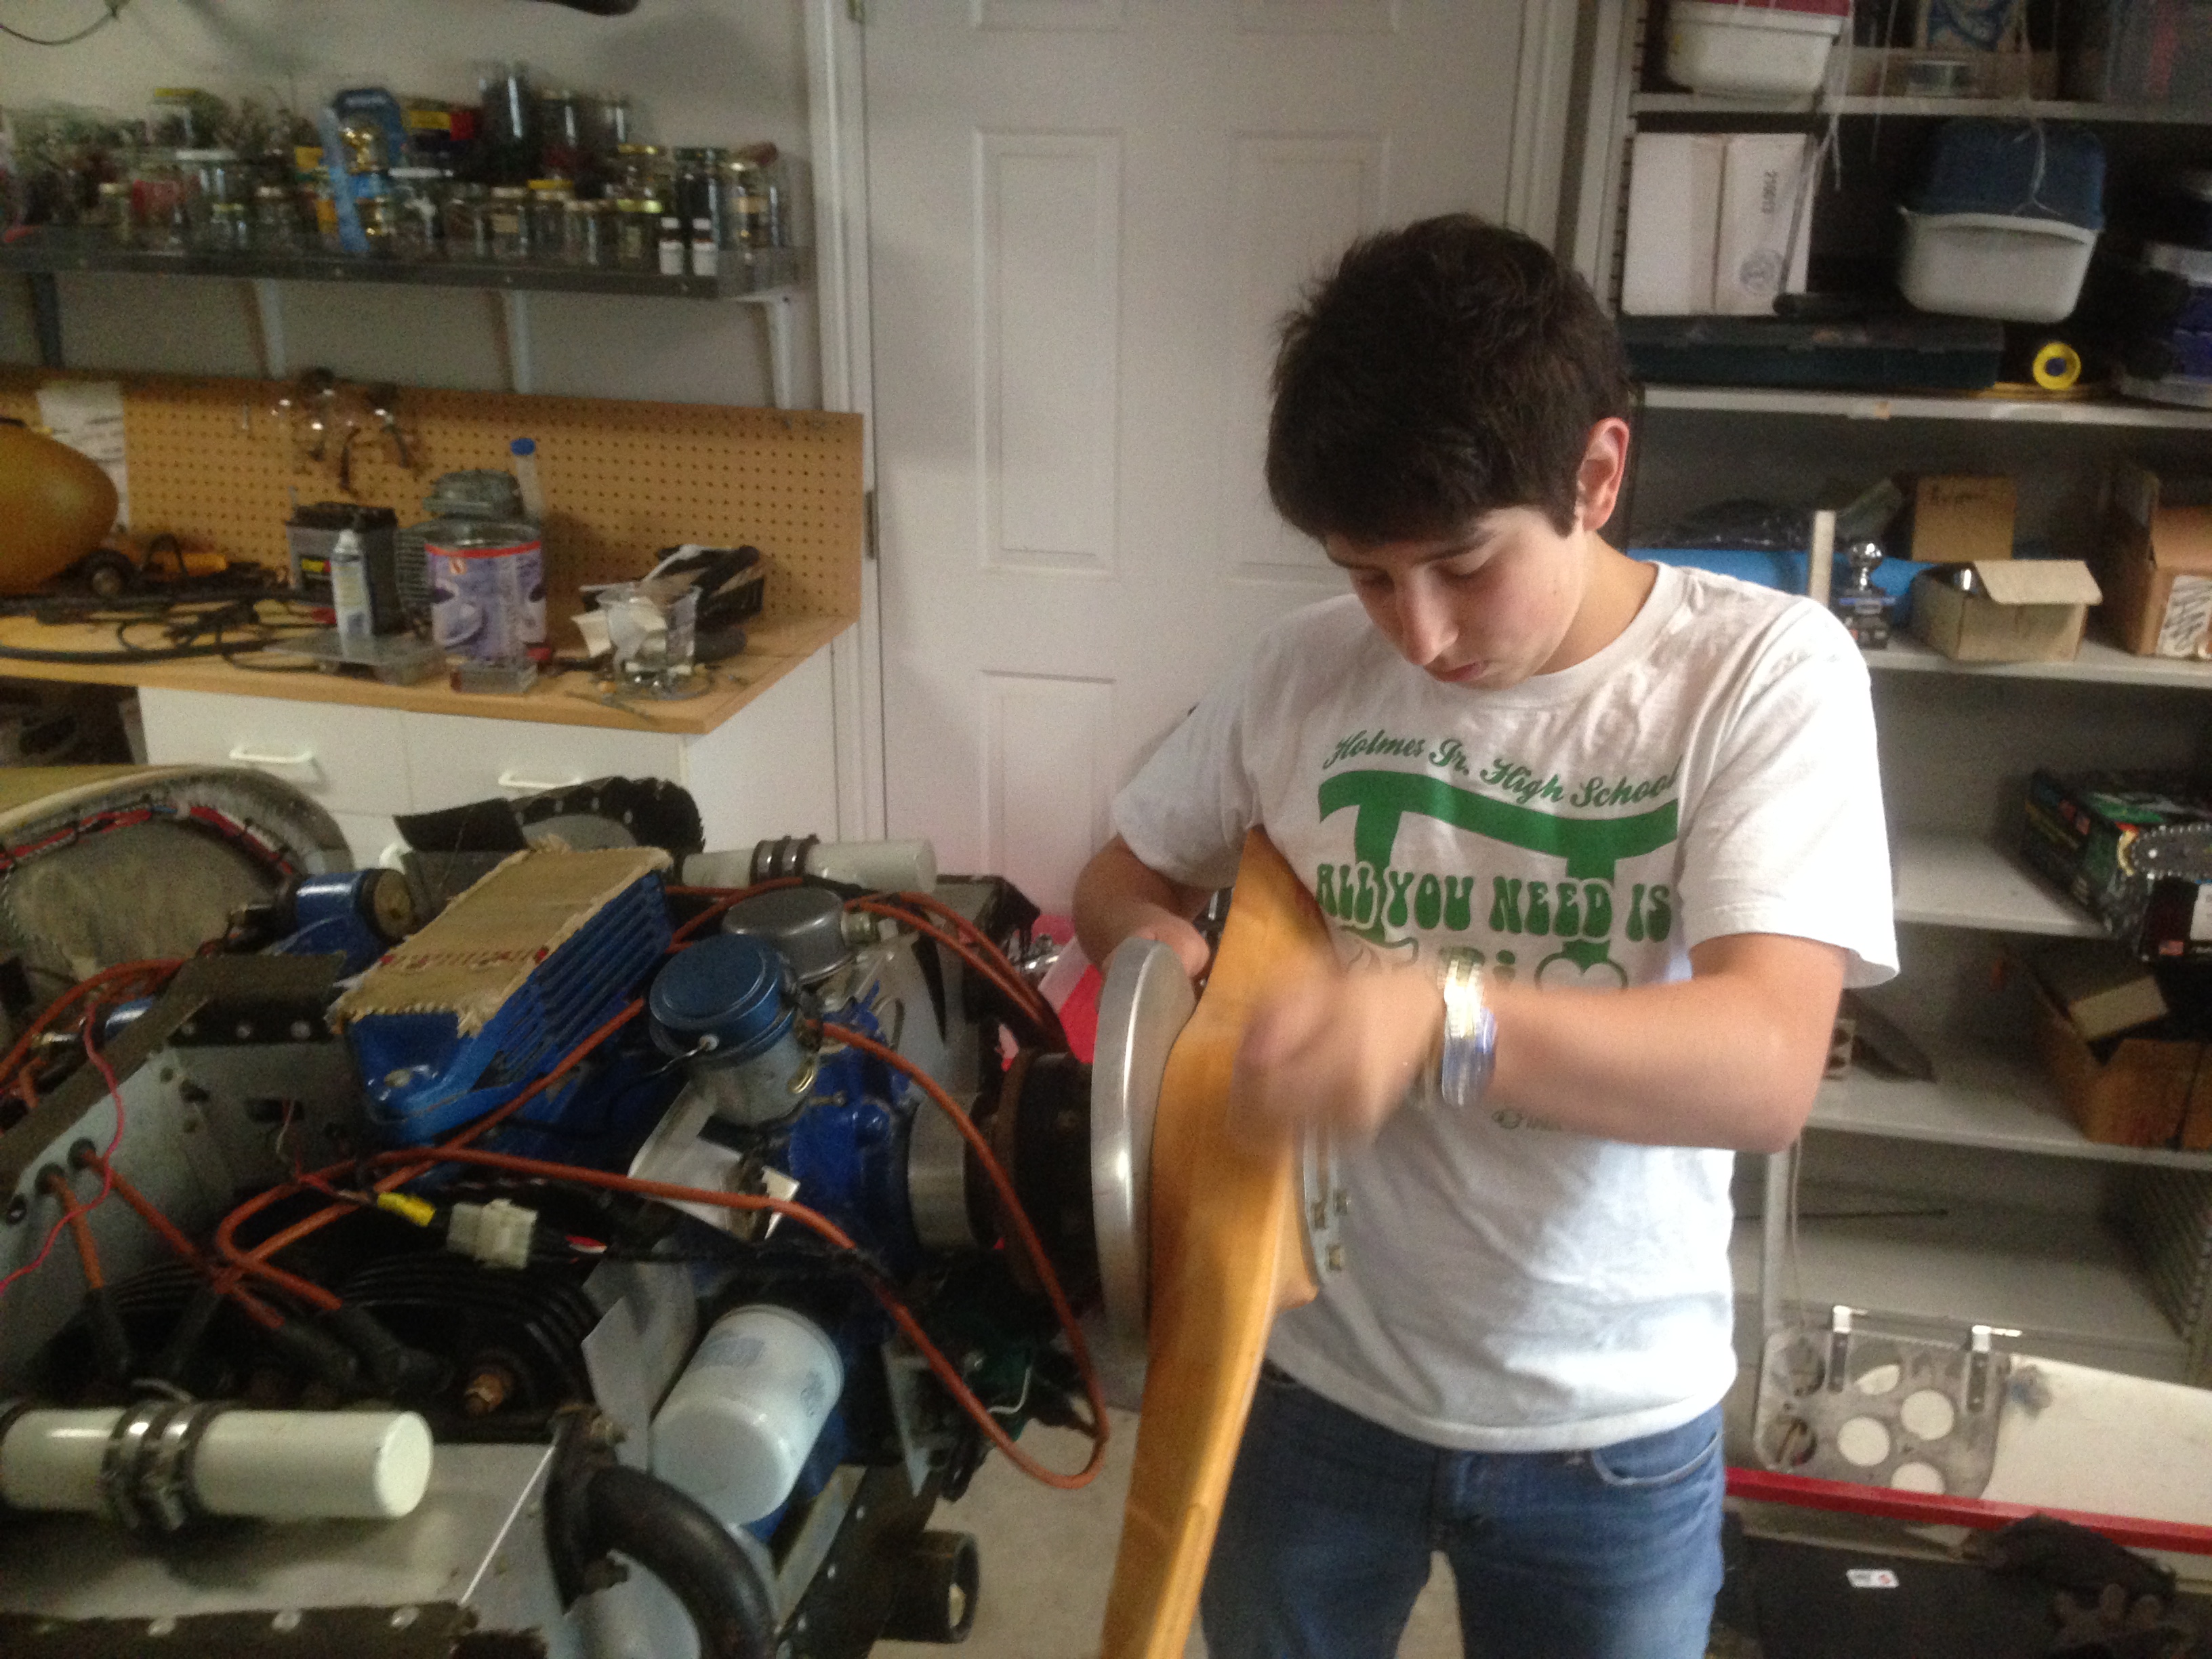
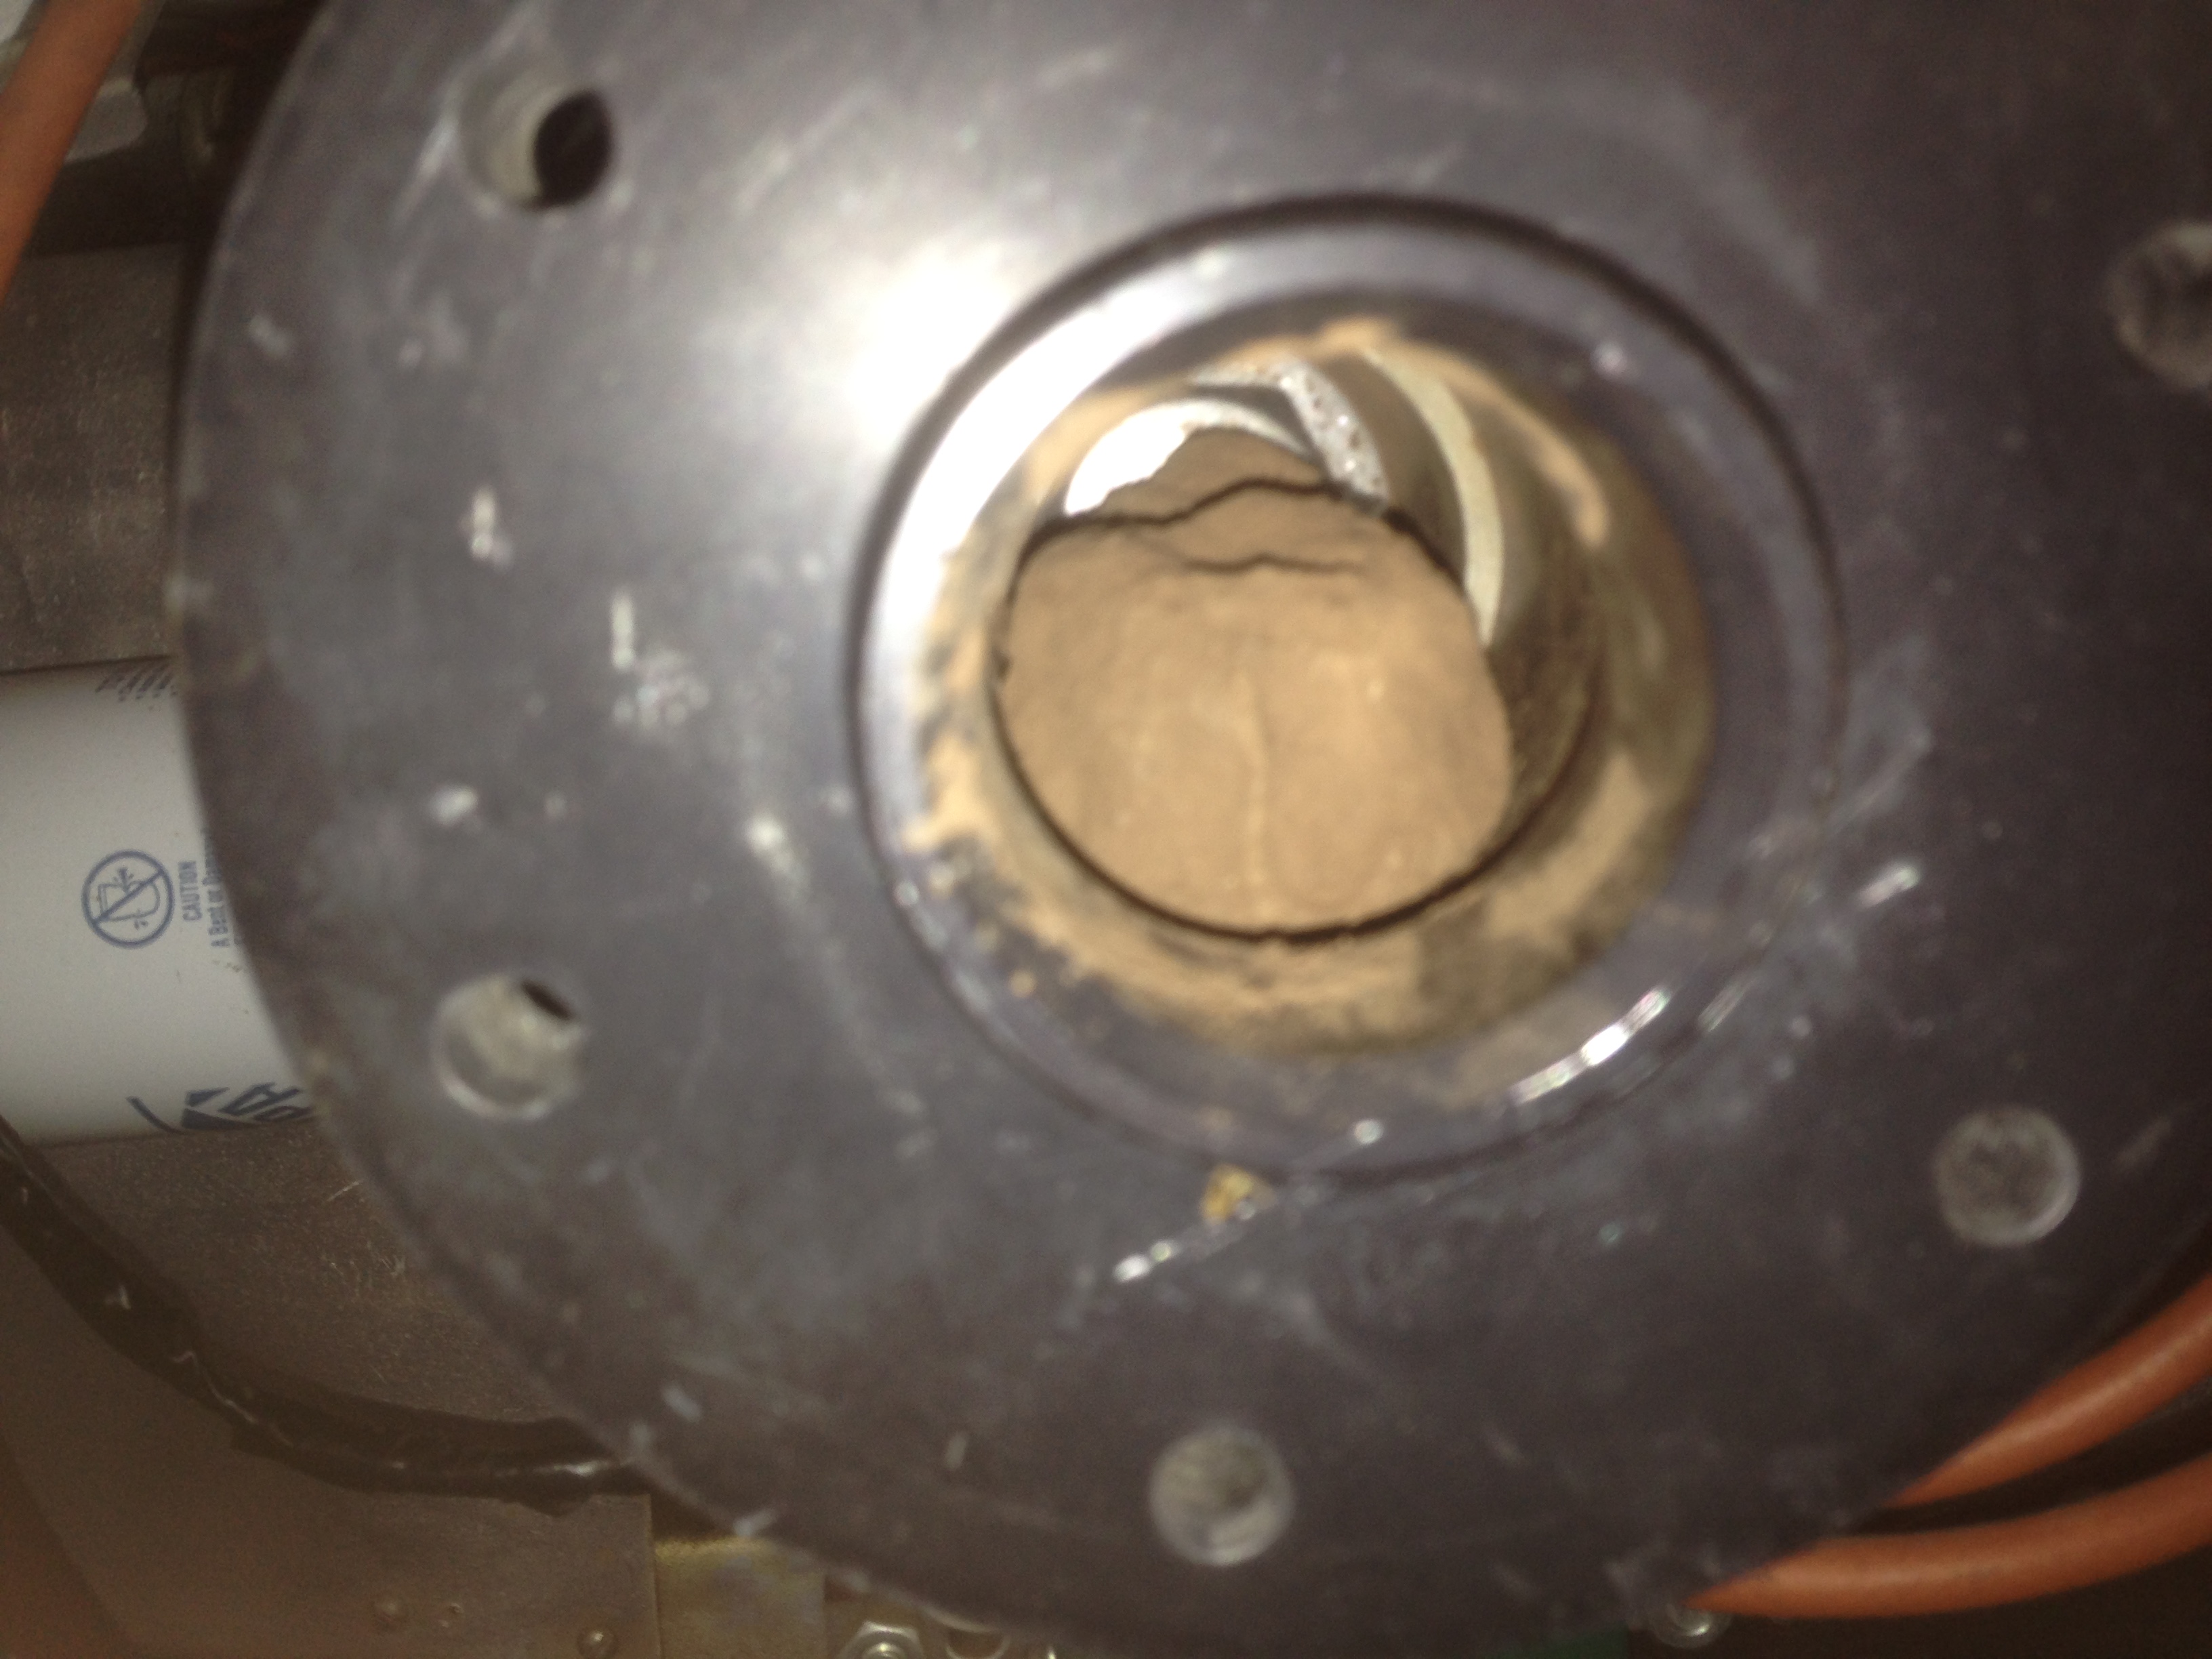
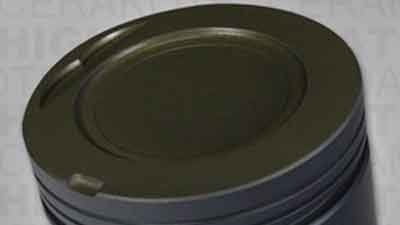
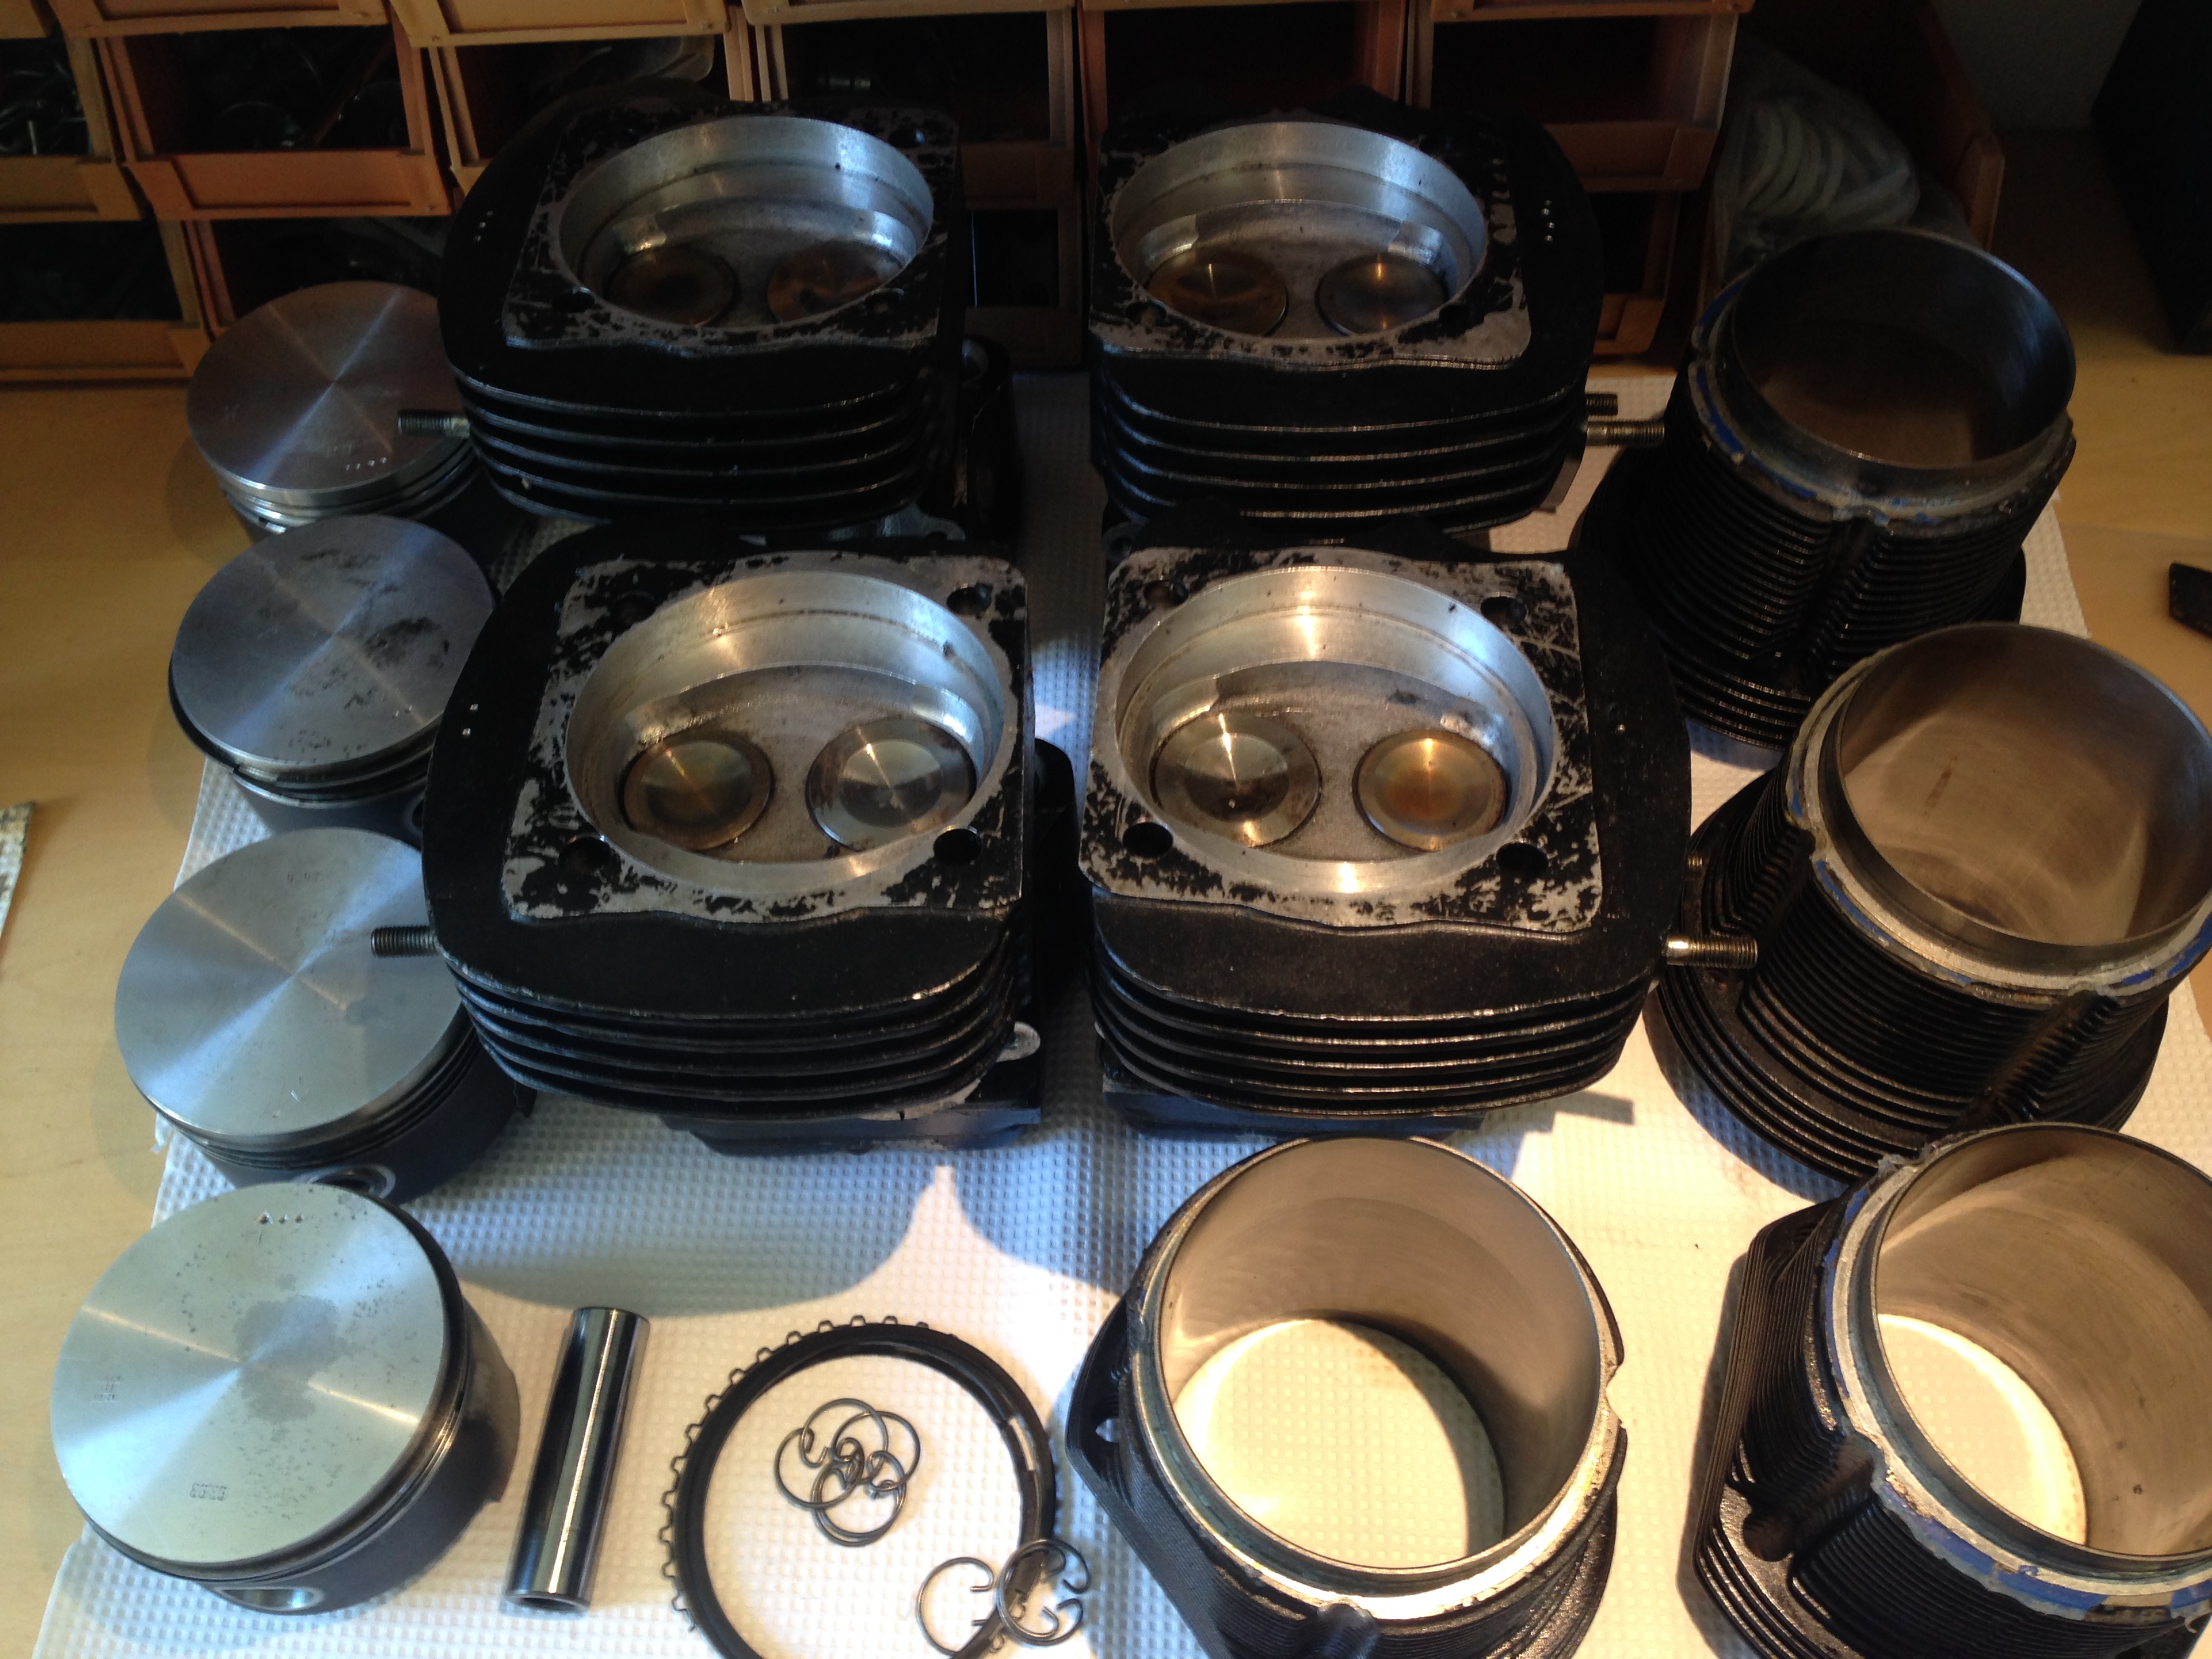
My next step is to remove the cylinders and pistons in order to check the internals of the engine (crank, connecting rods, etc), and in order to coat the pistons and head, and valves with a ceramic thermal barrier coating (CTB). The CTB should help reduce the damaging effects of high temperatures often encountered with air-cooled aircraft engines.
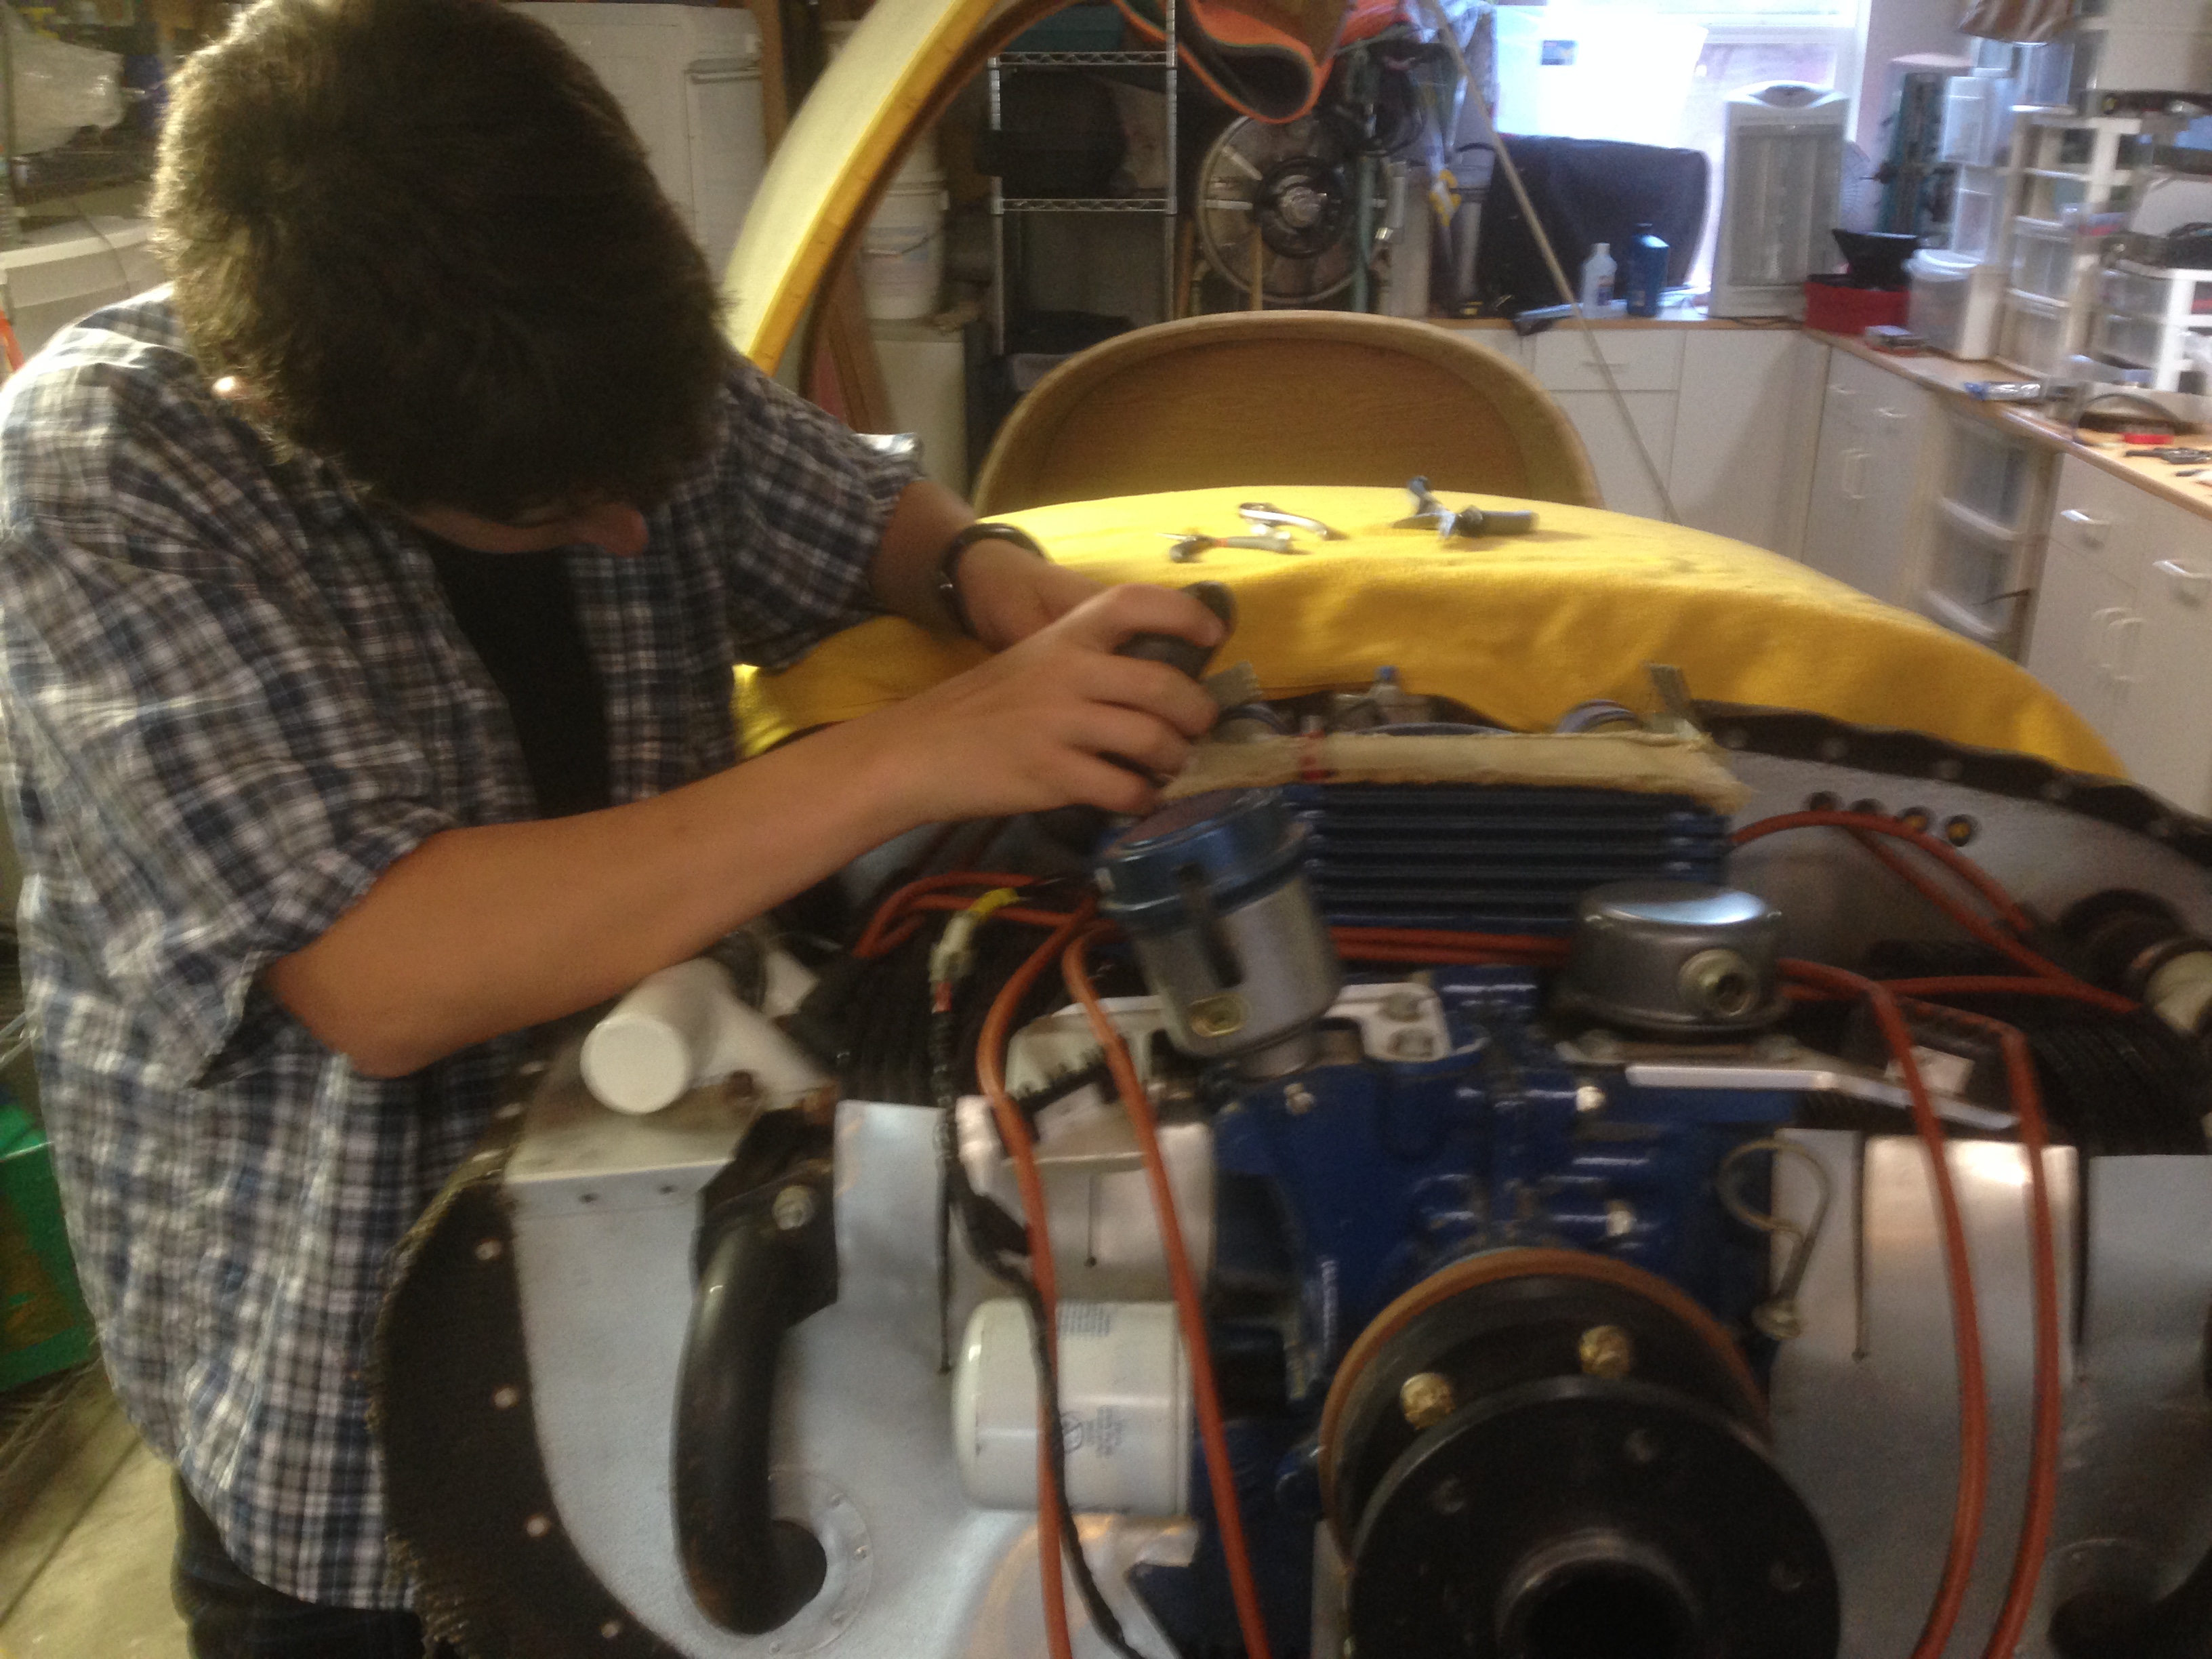
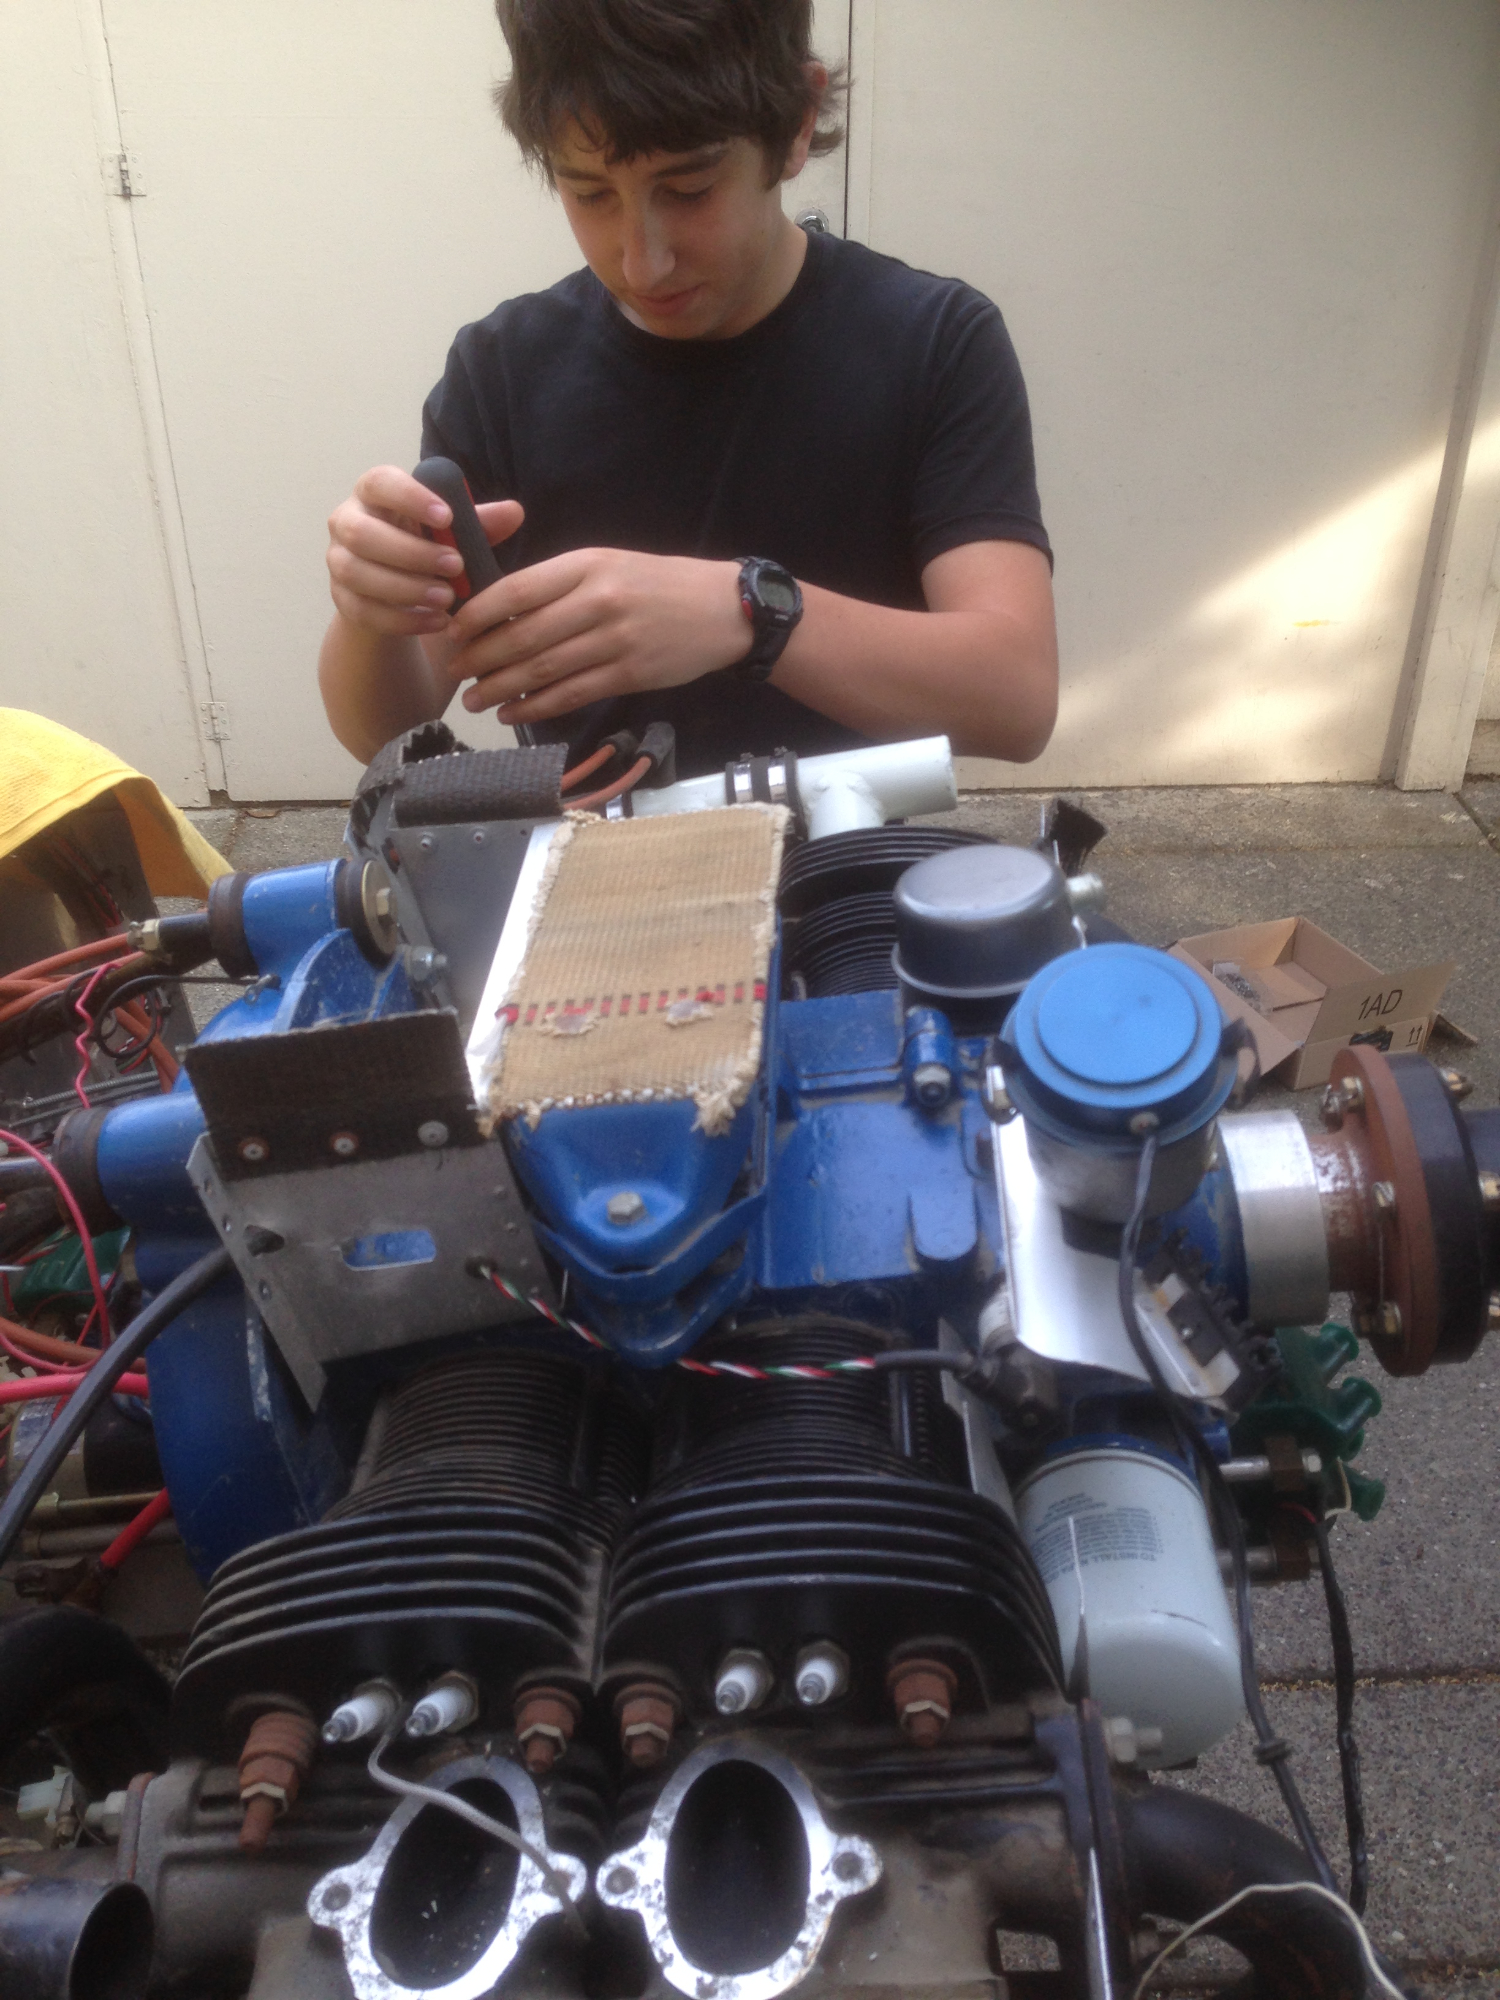
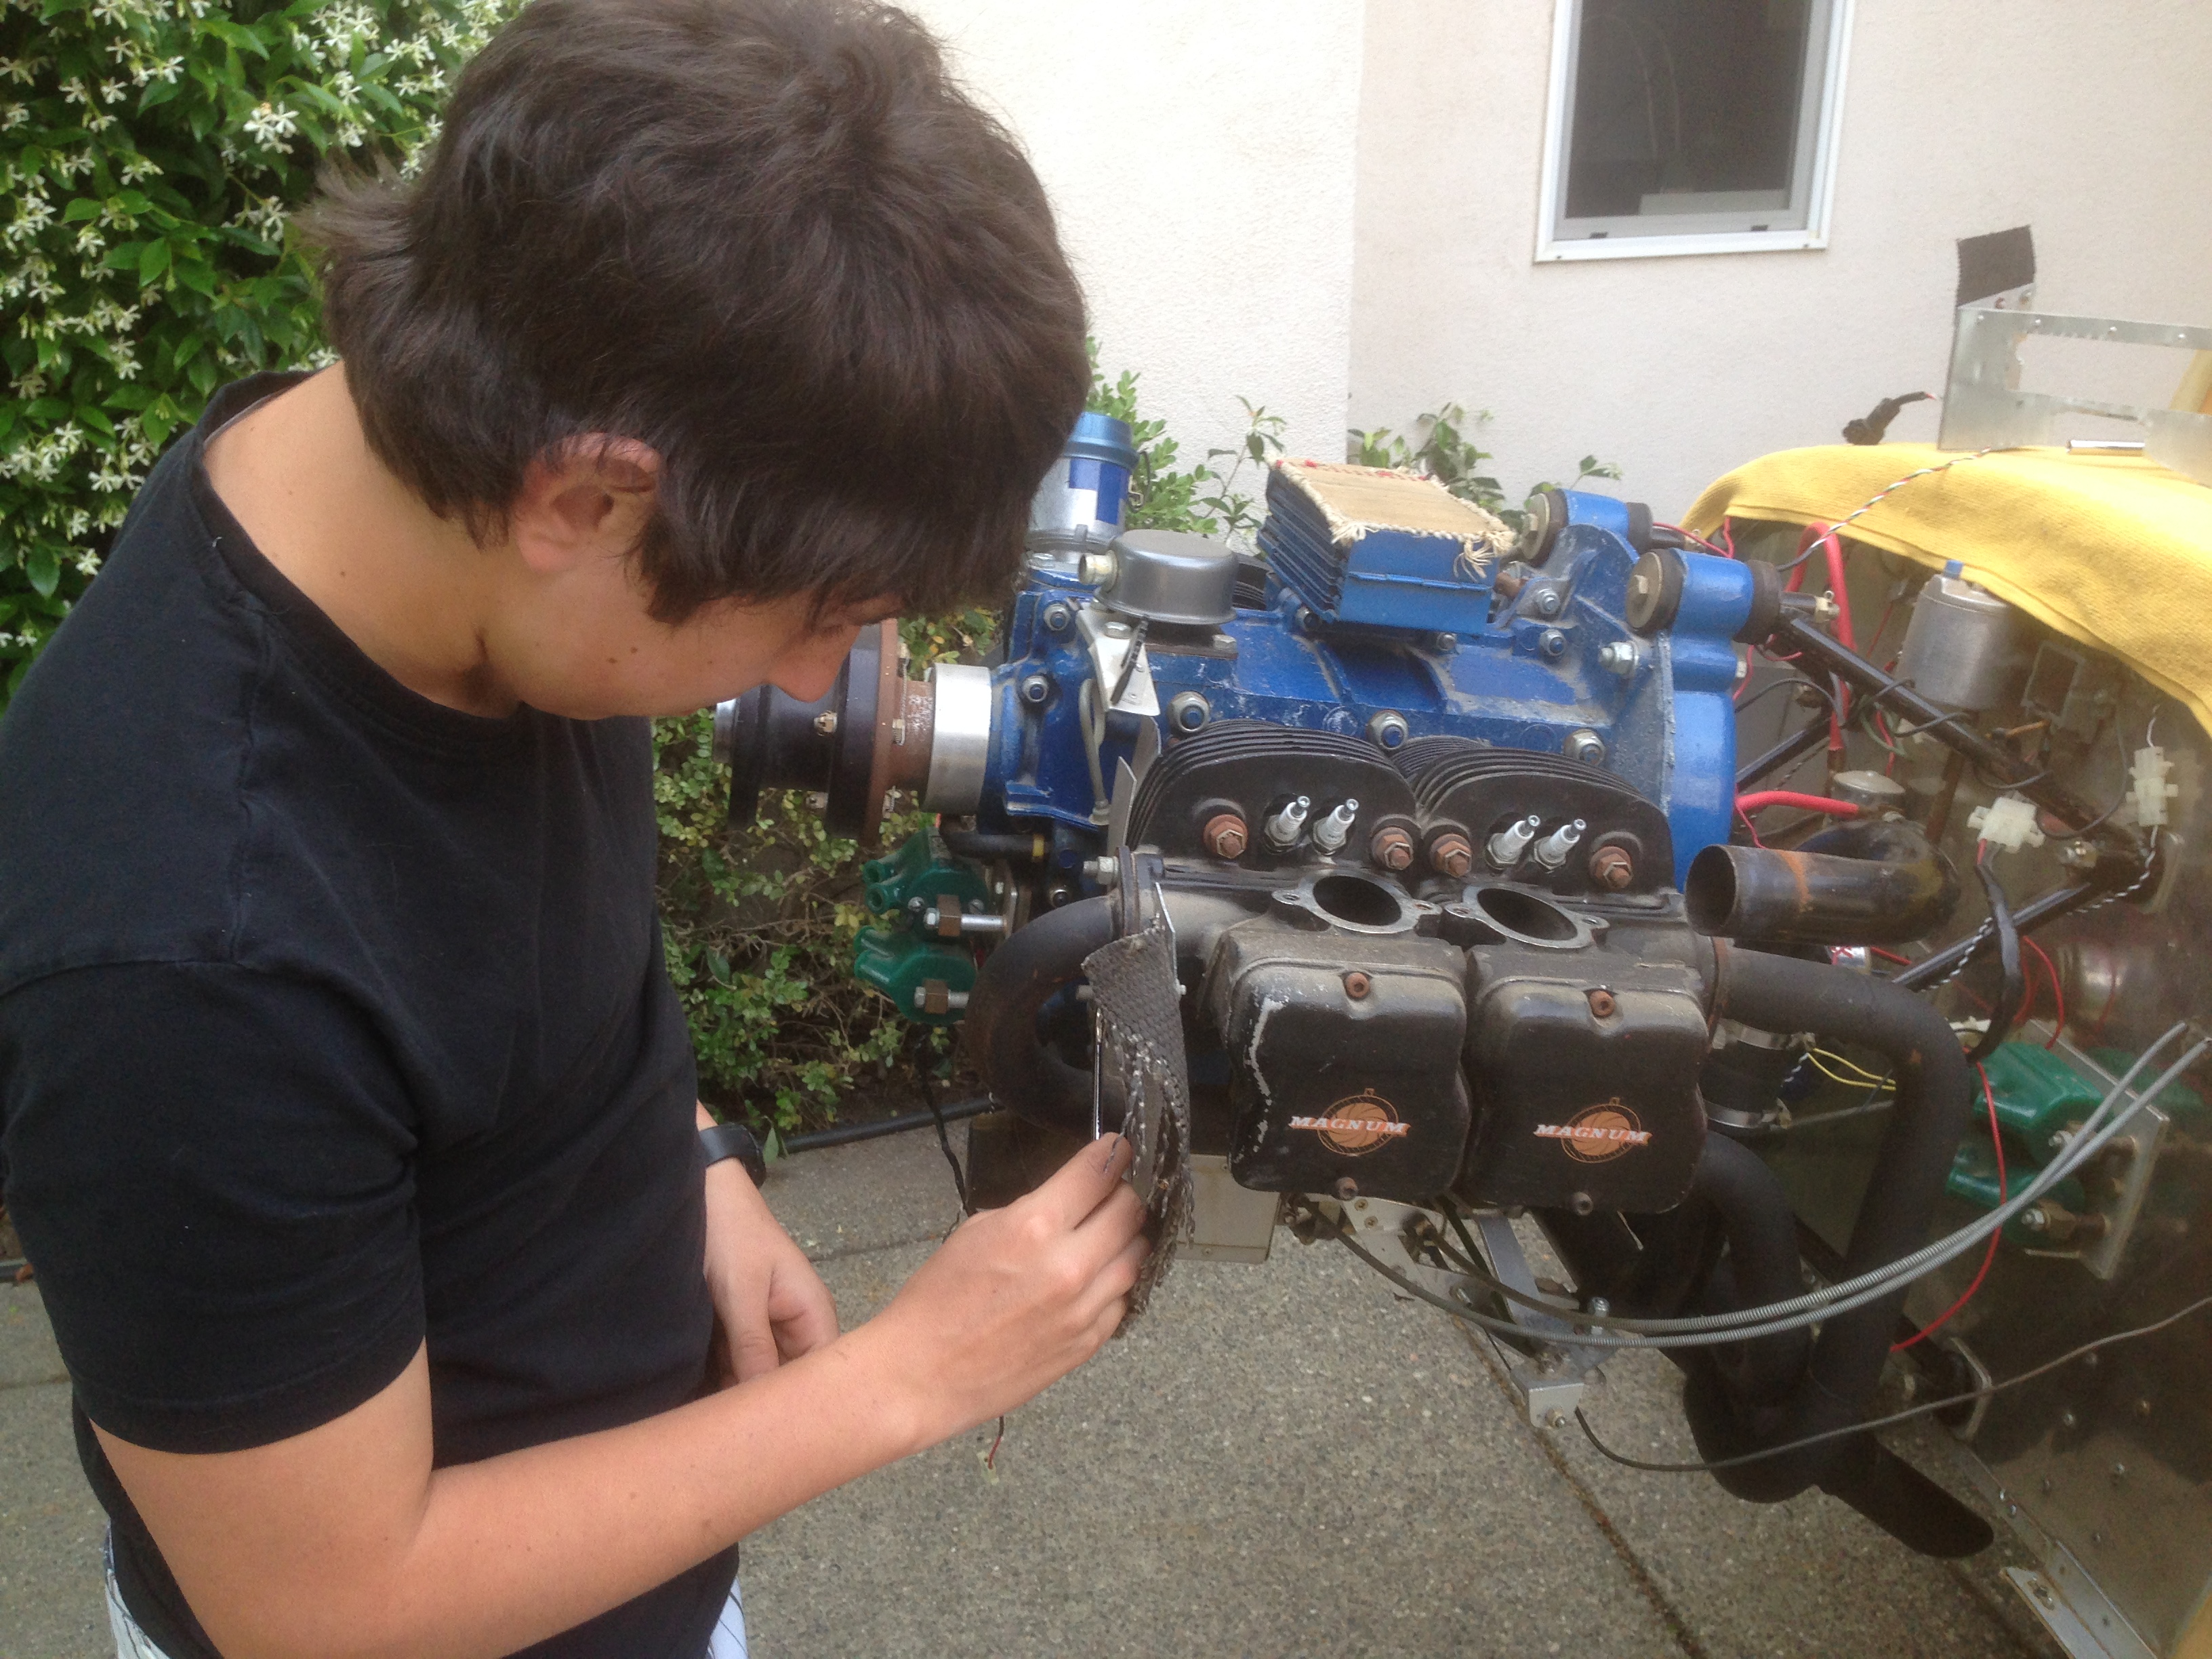
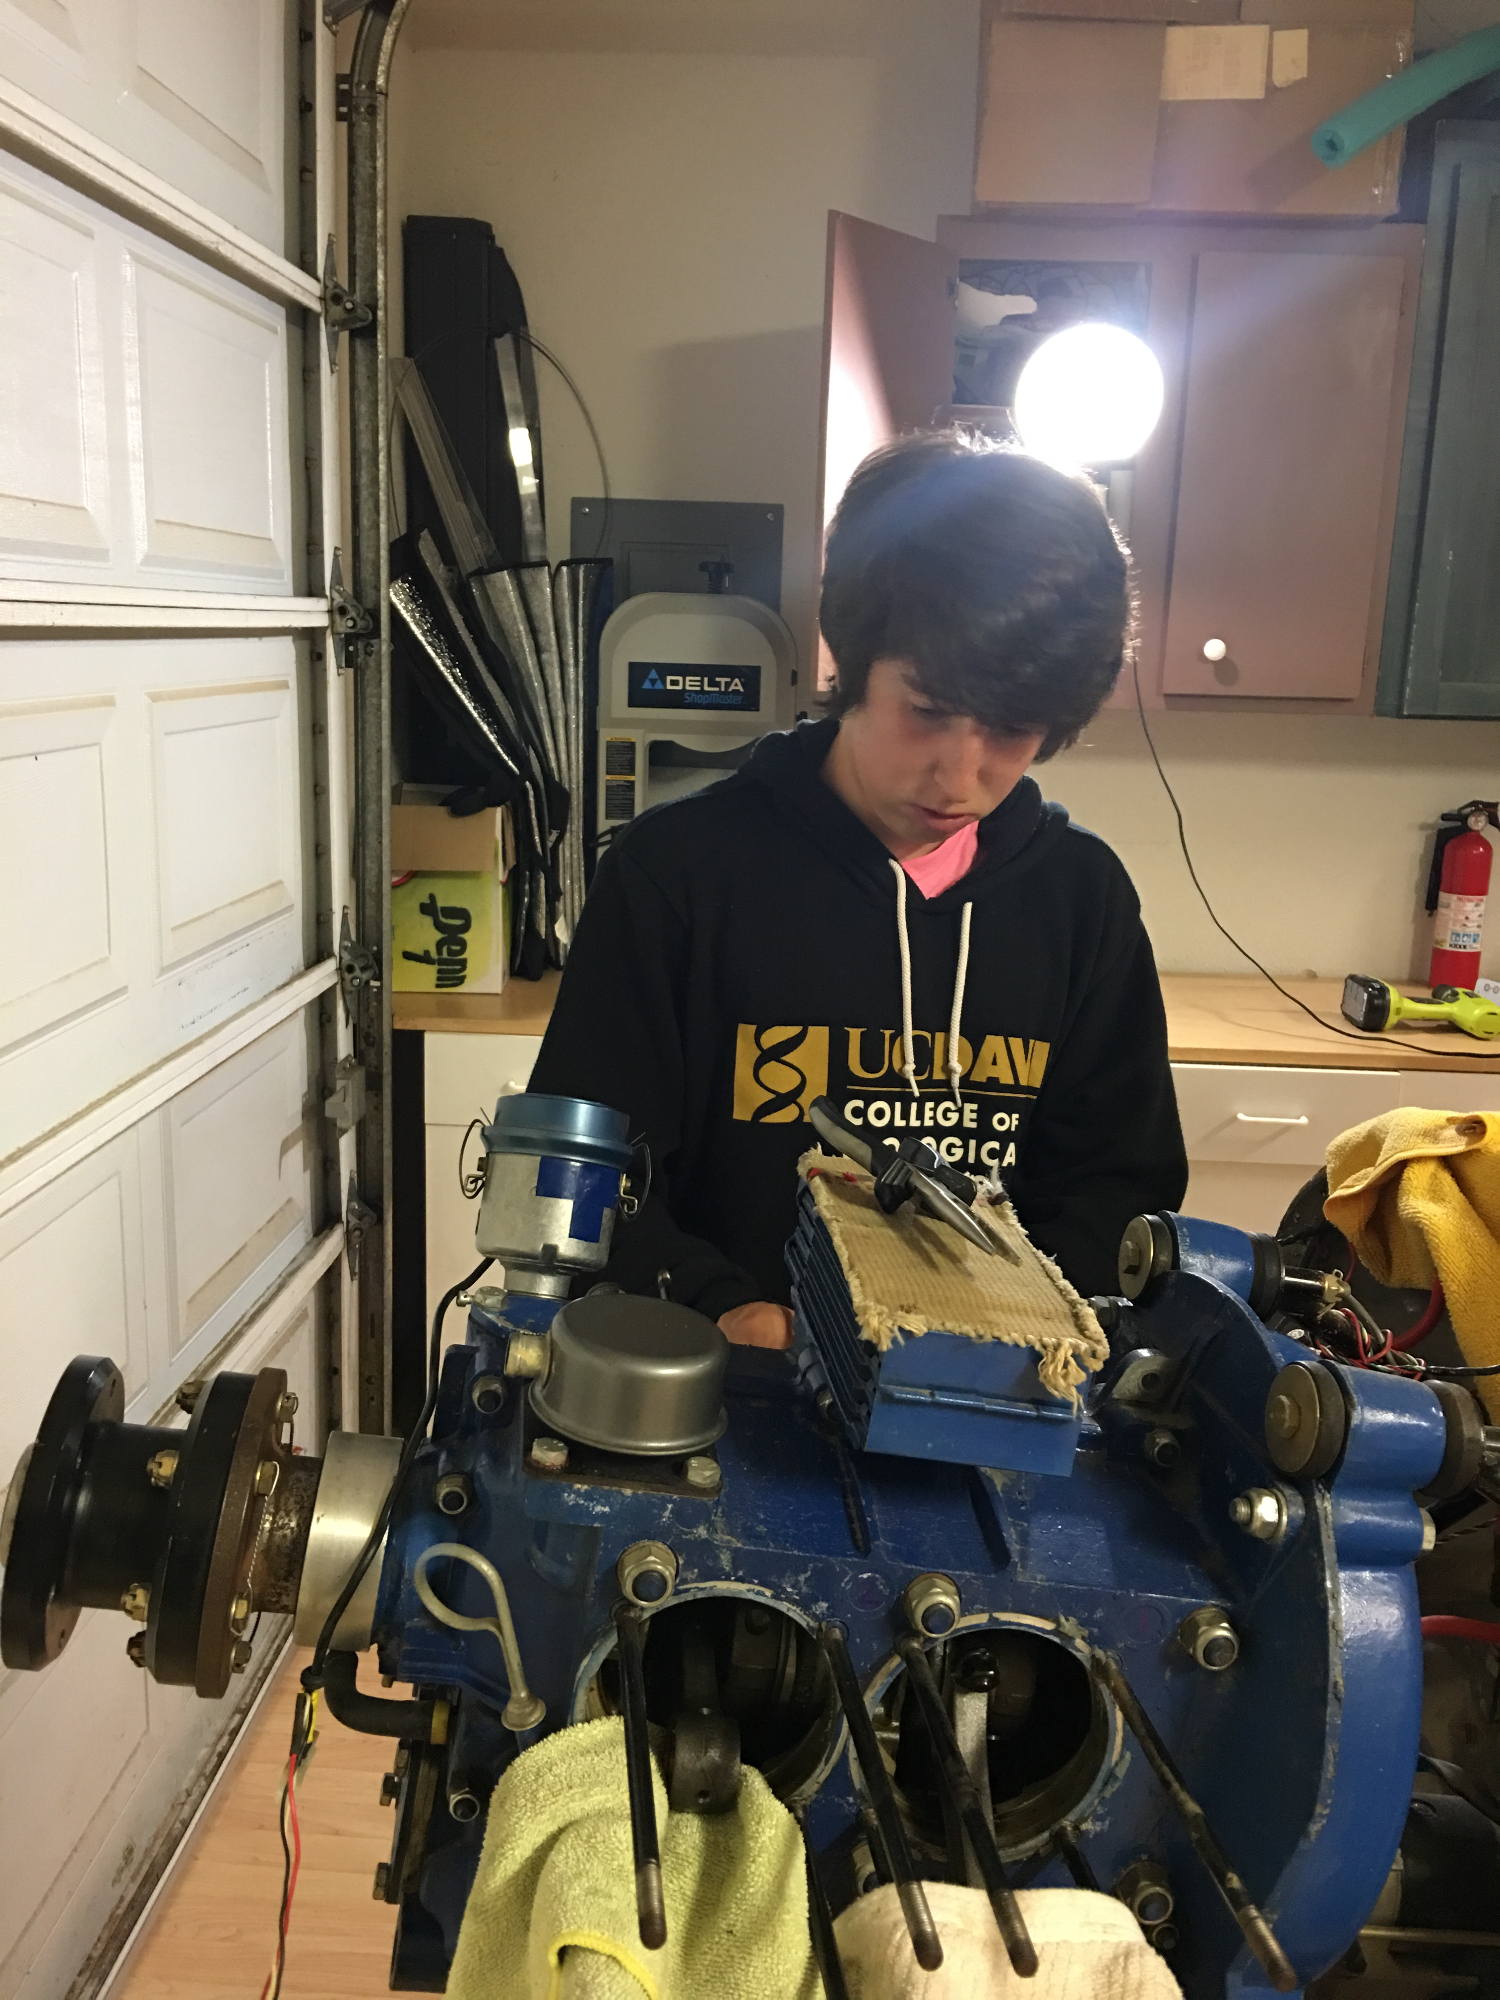
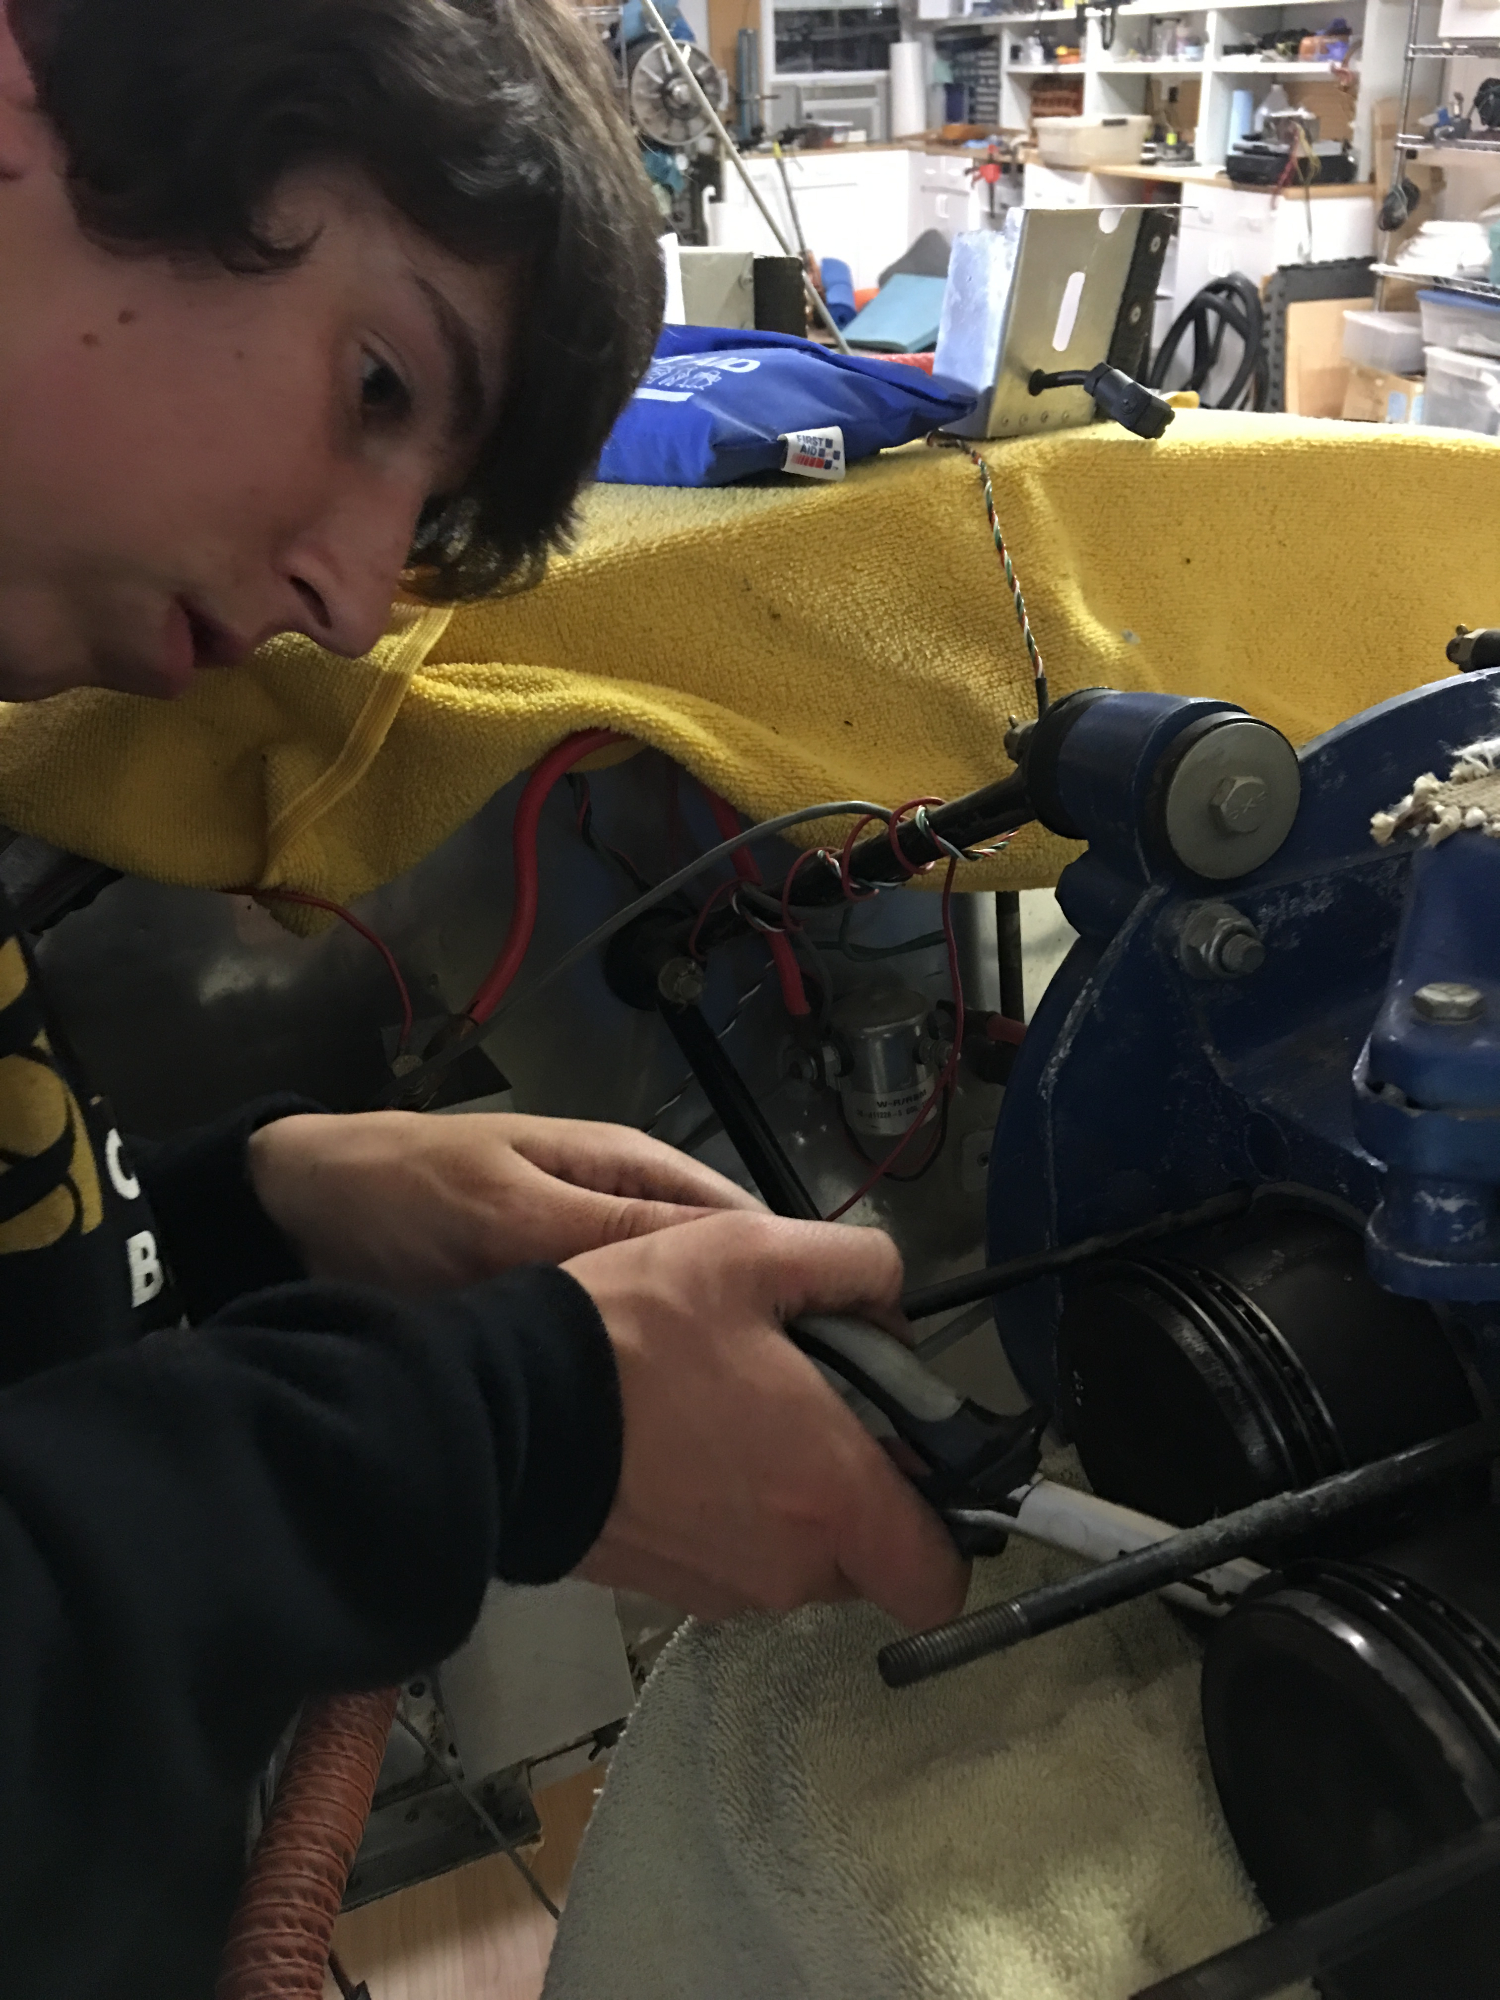
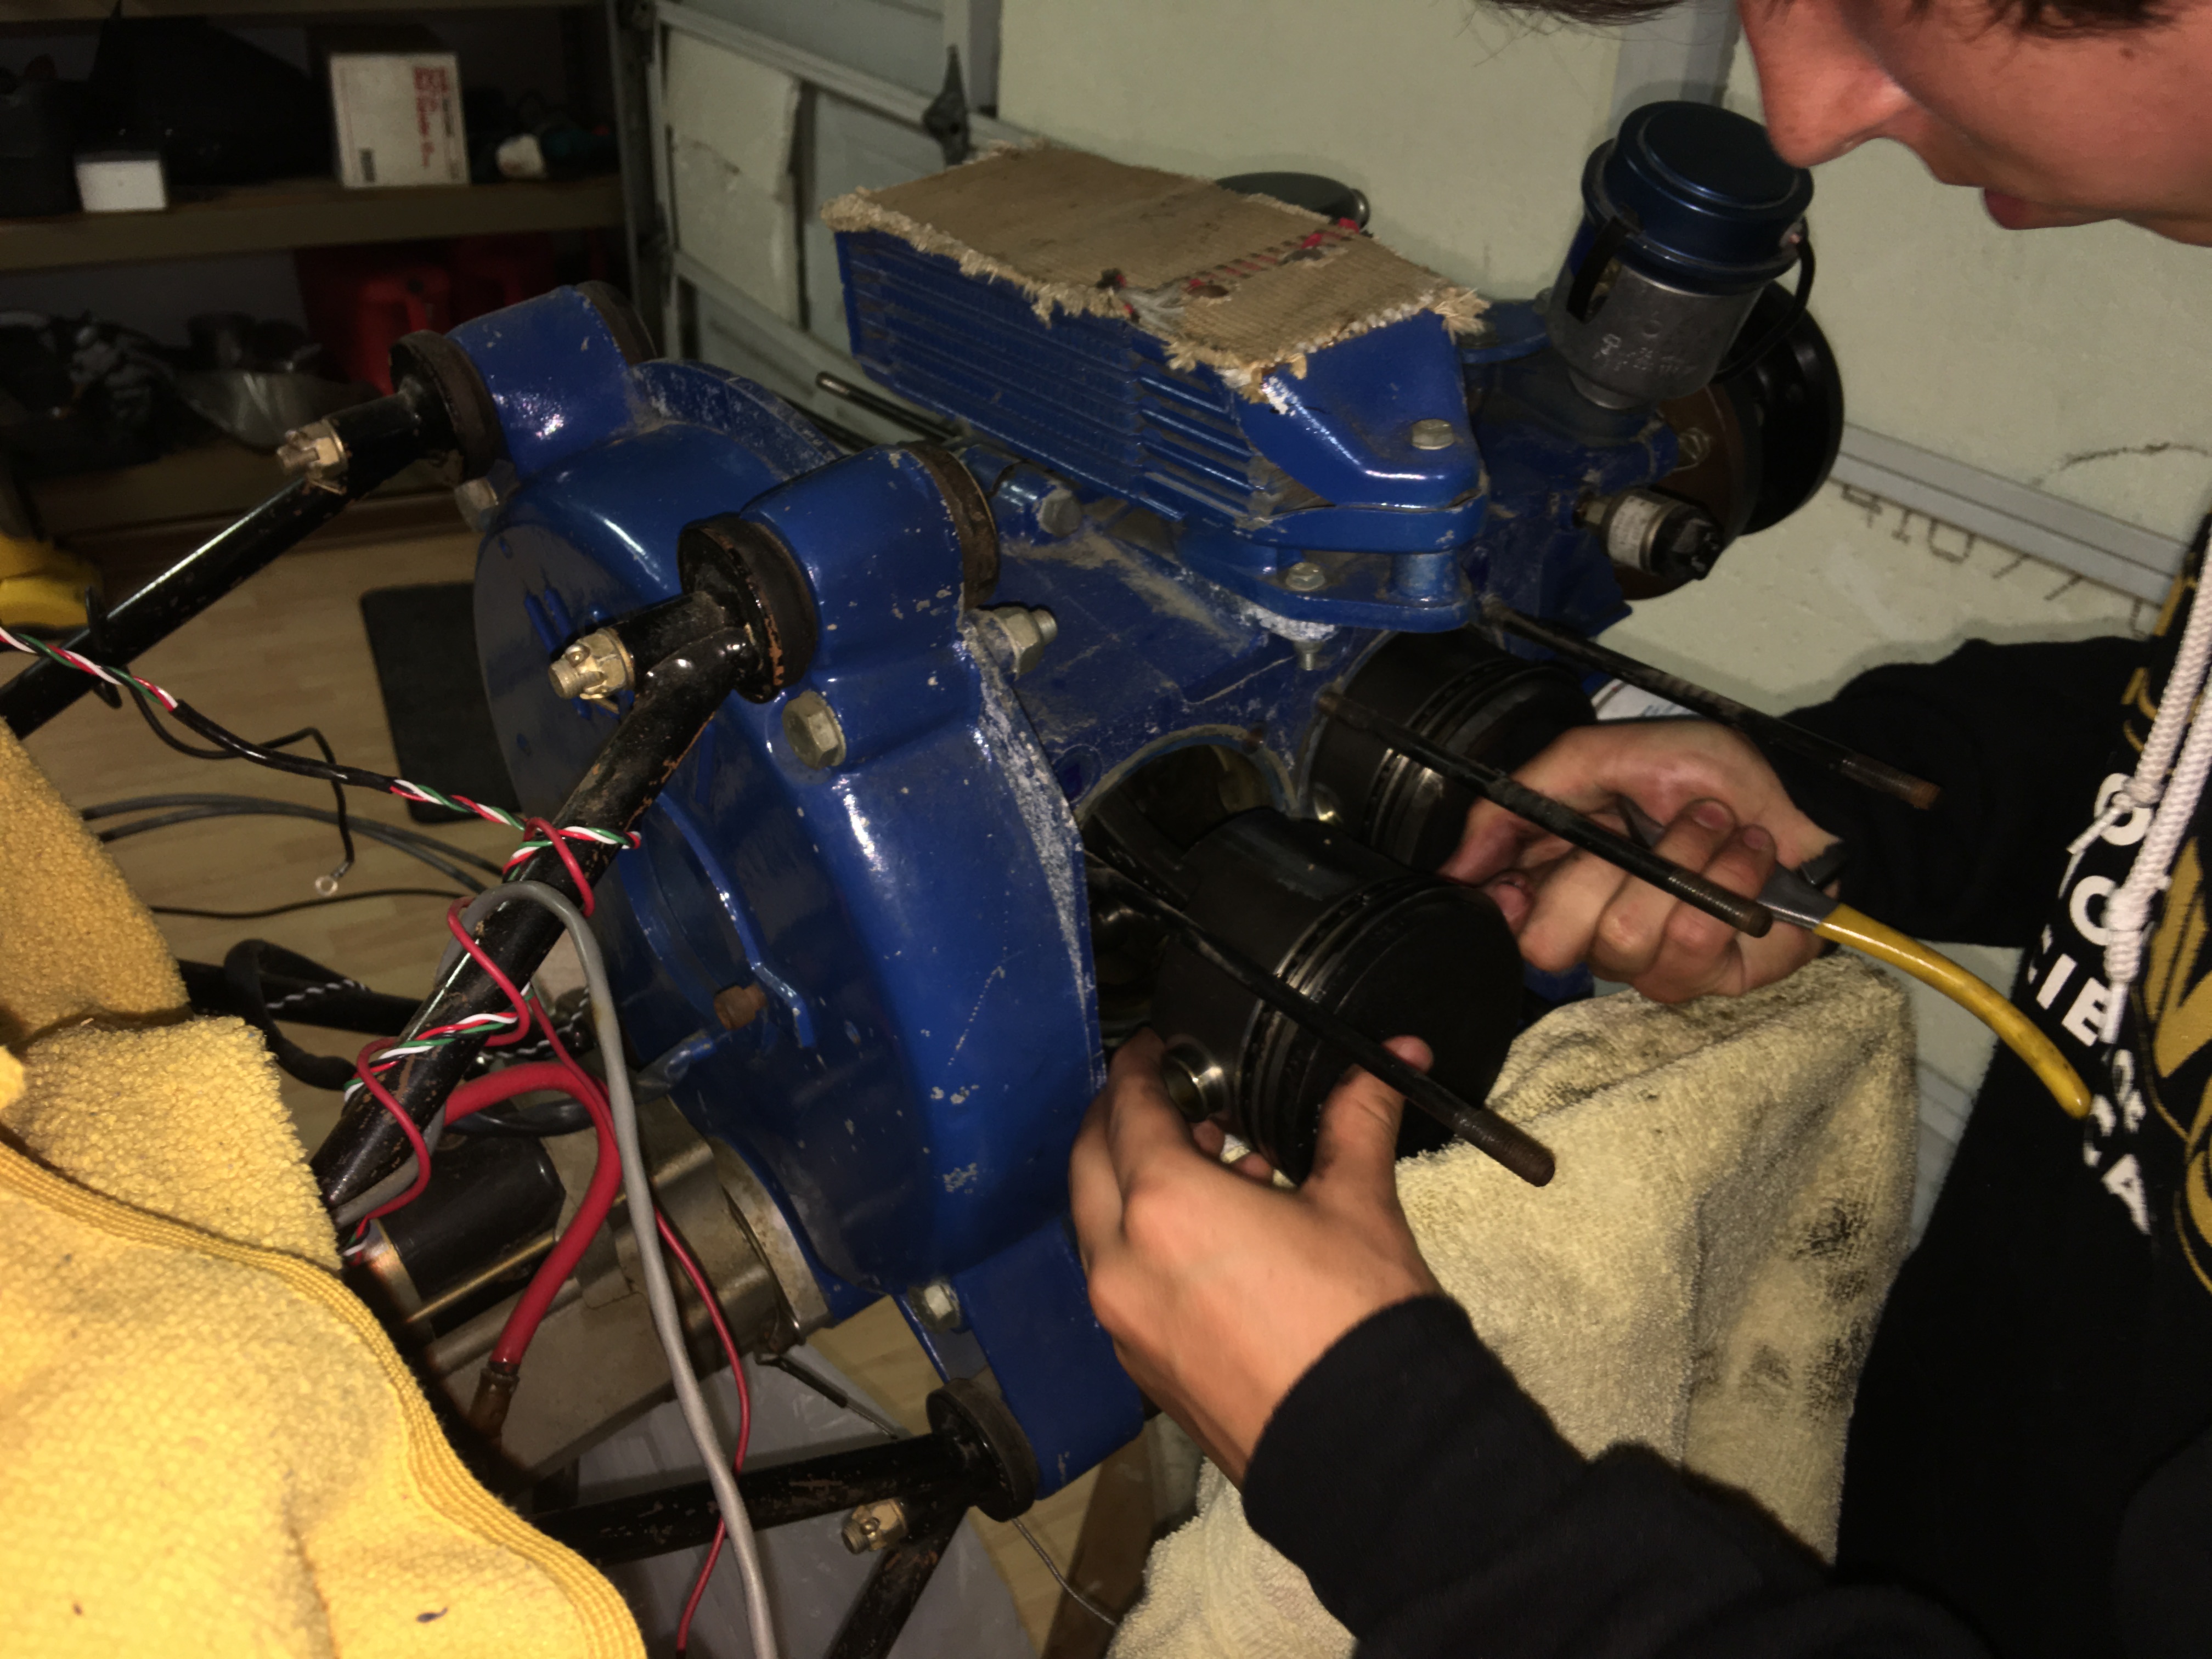
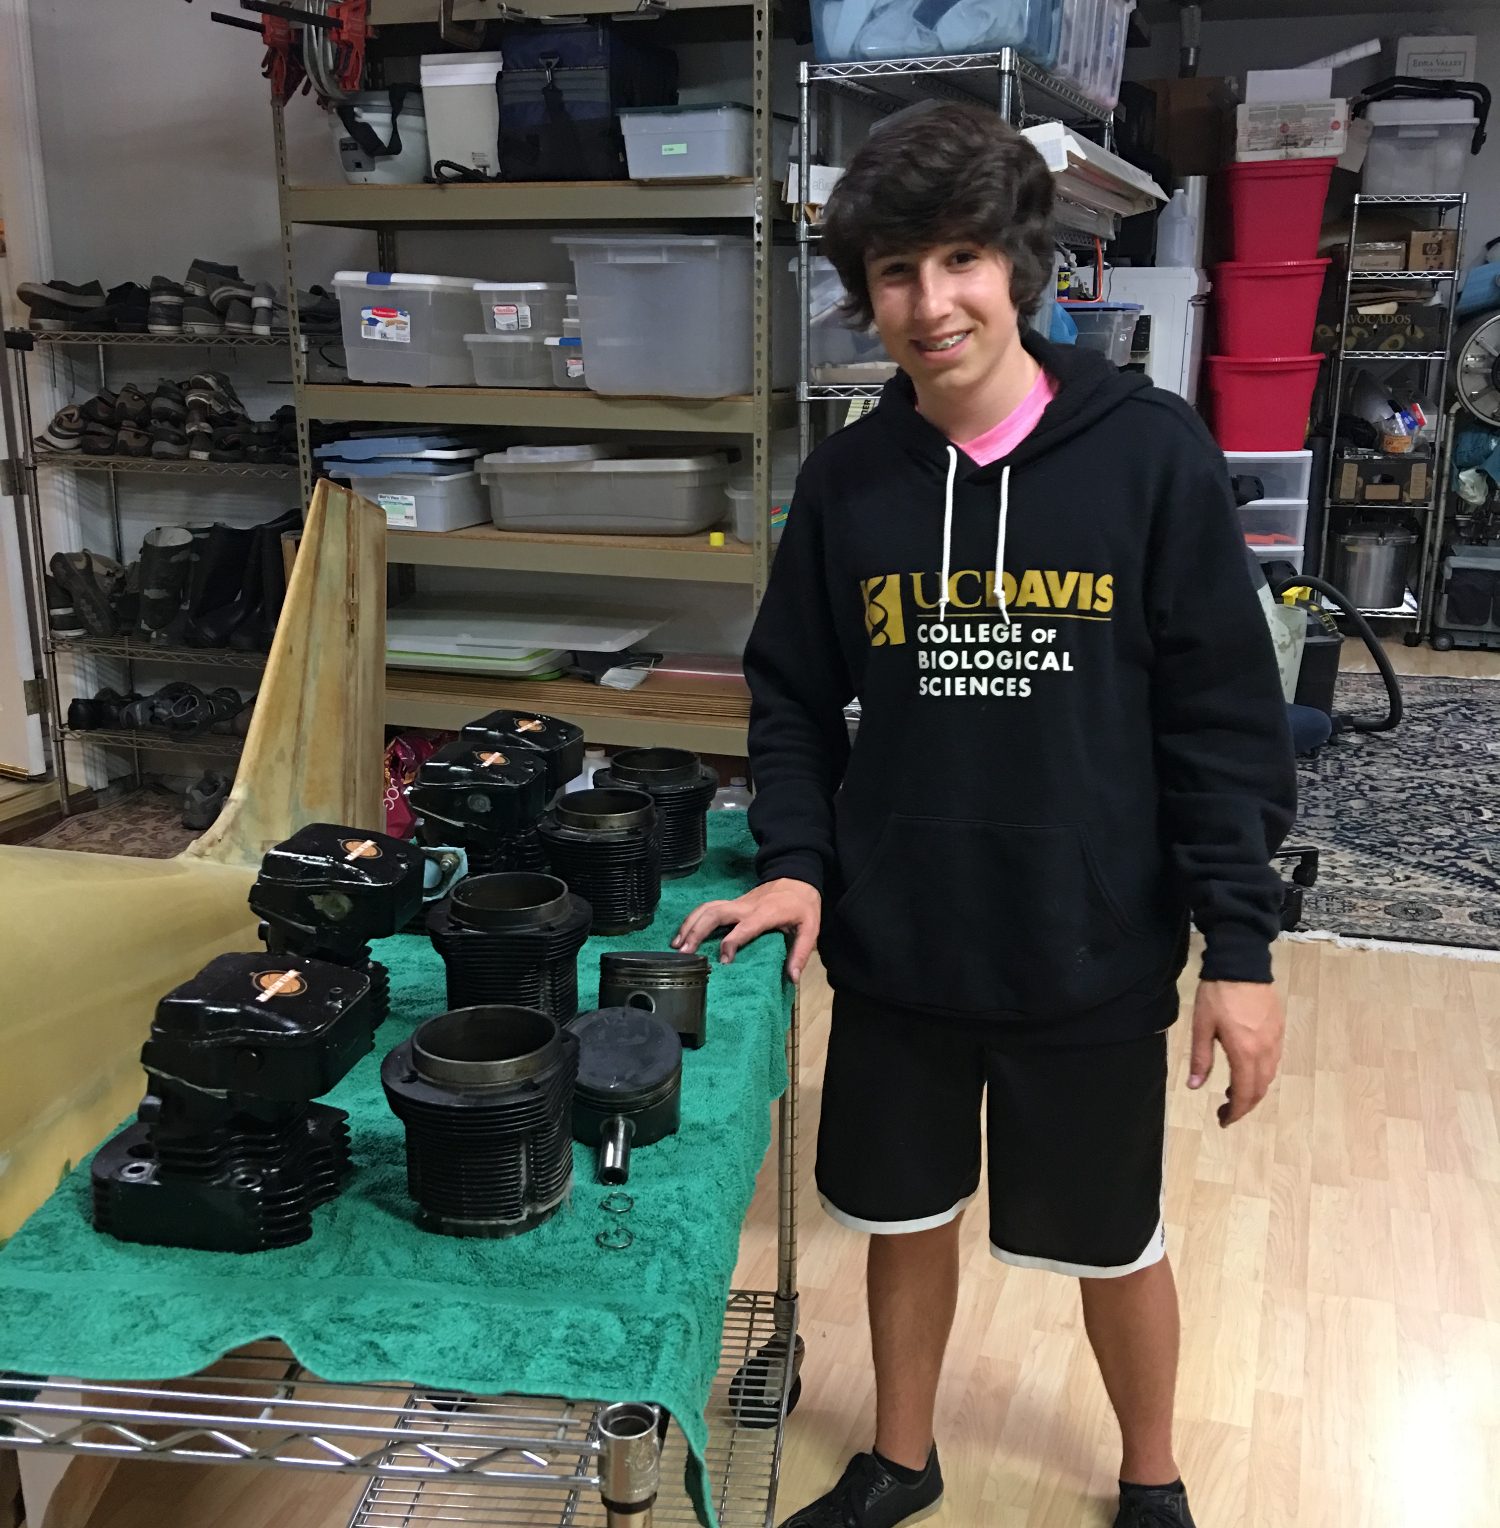
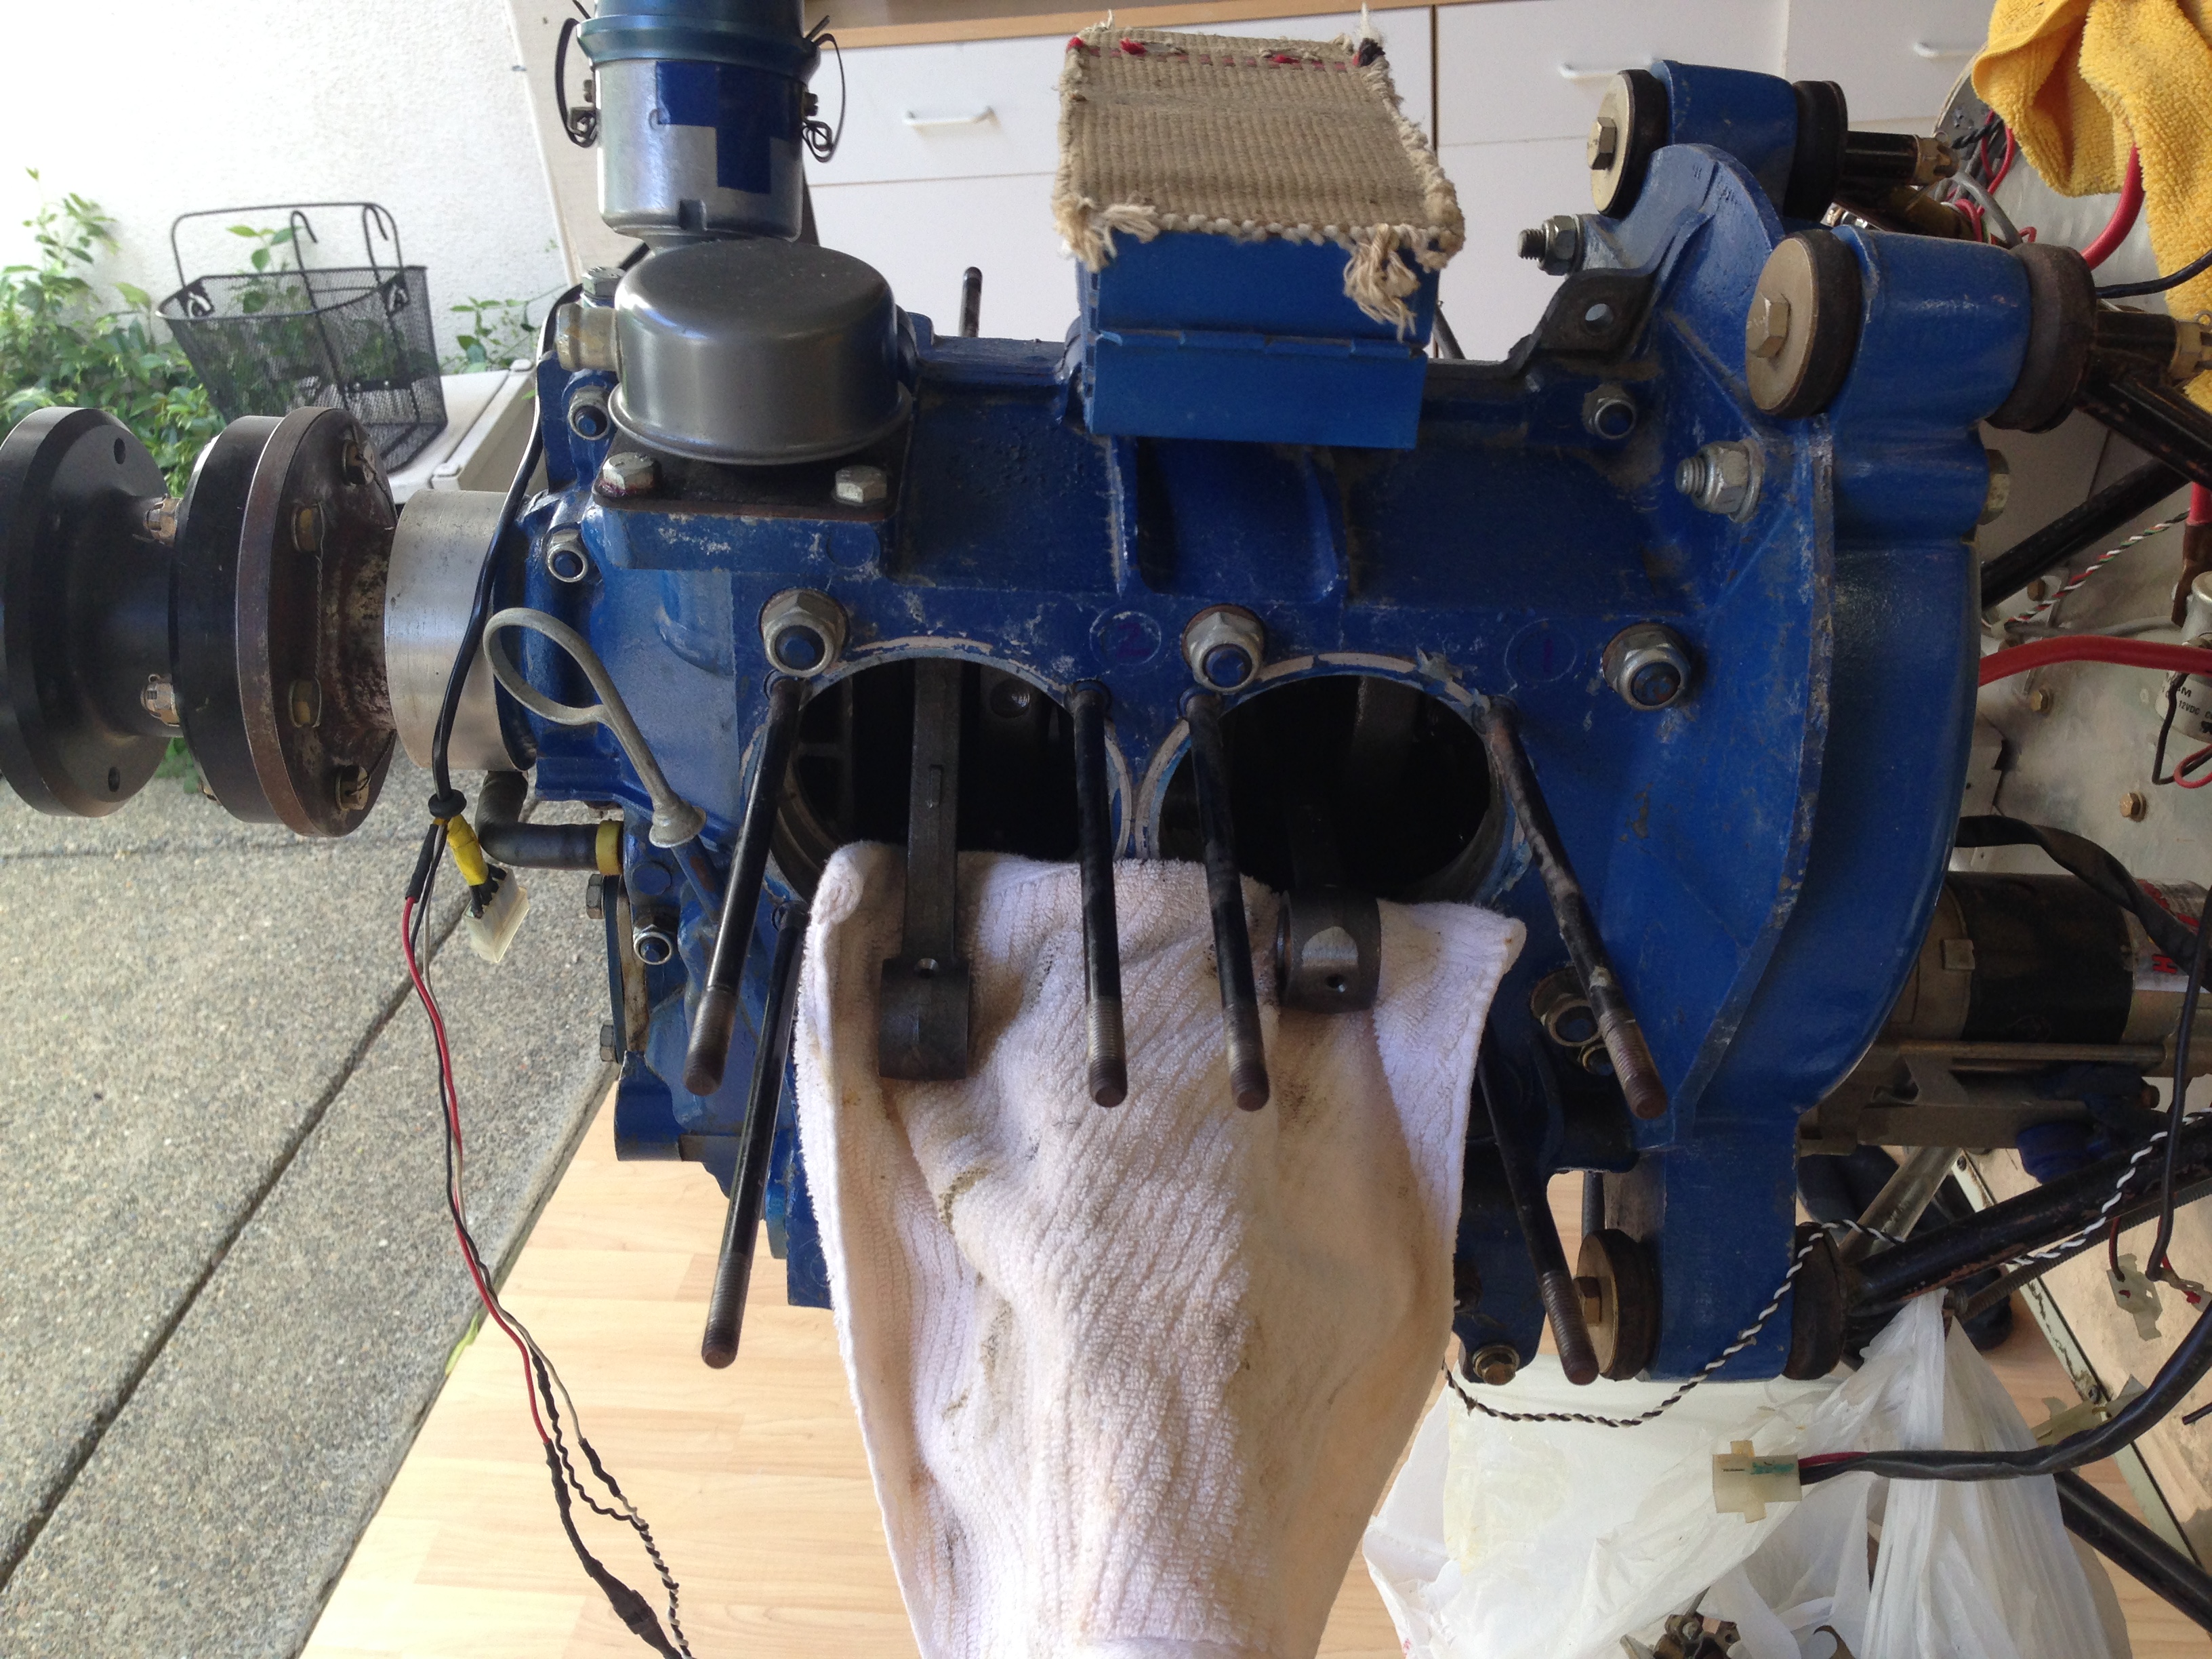
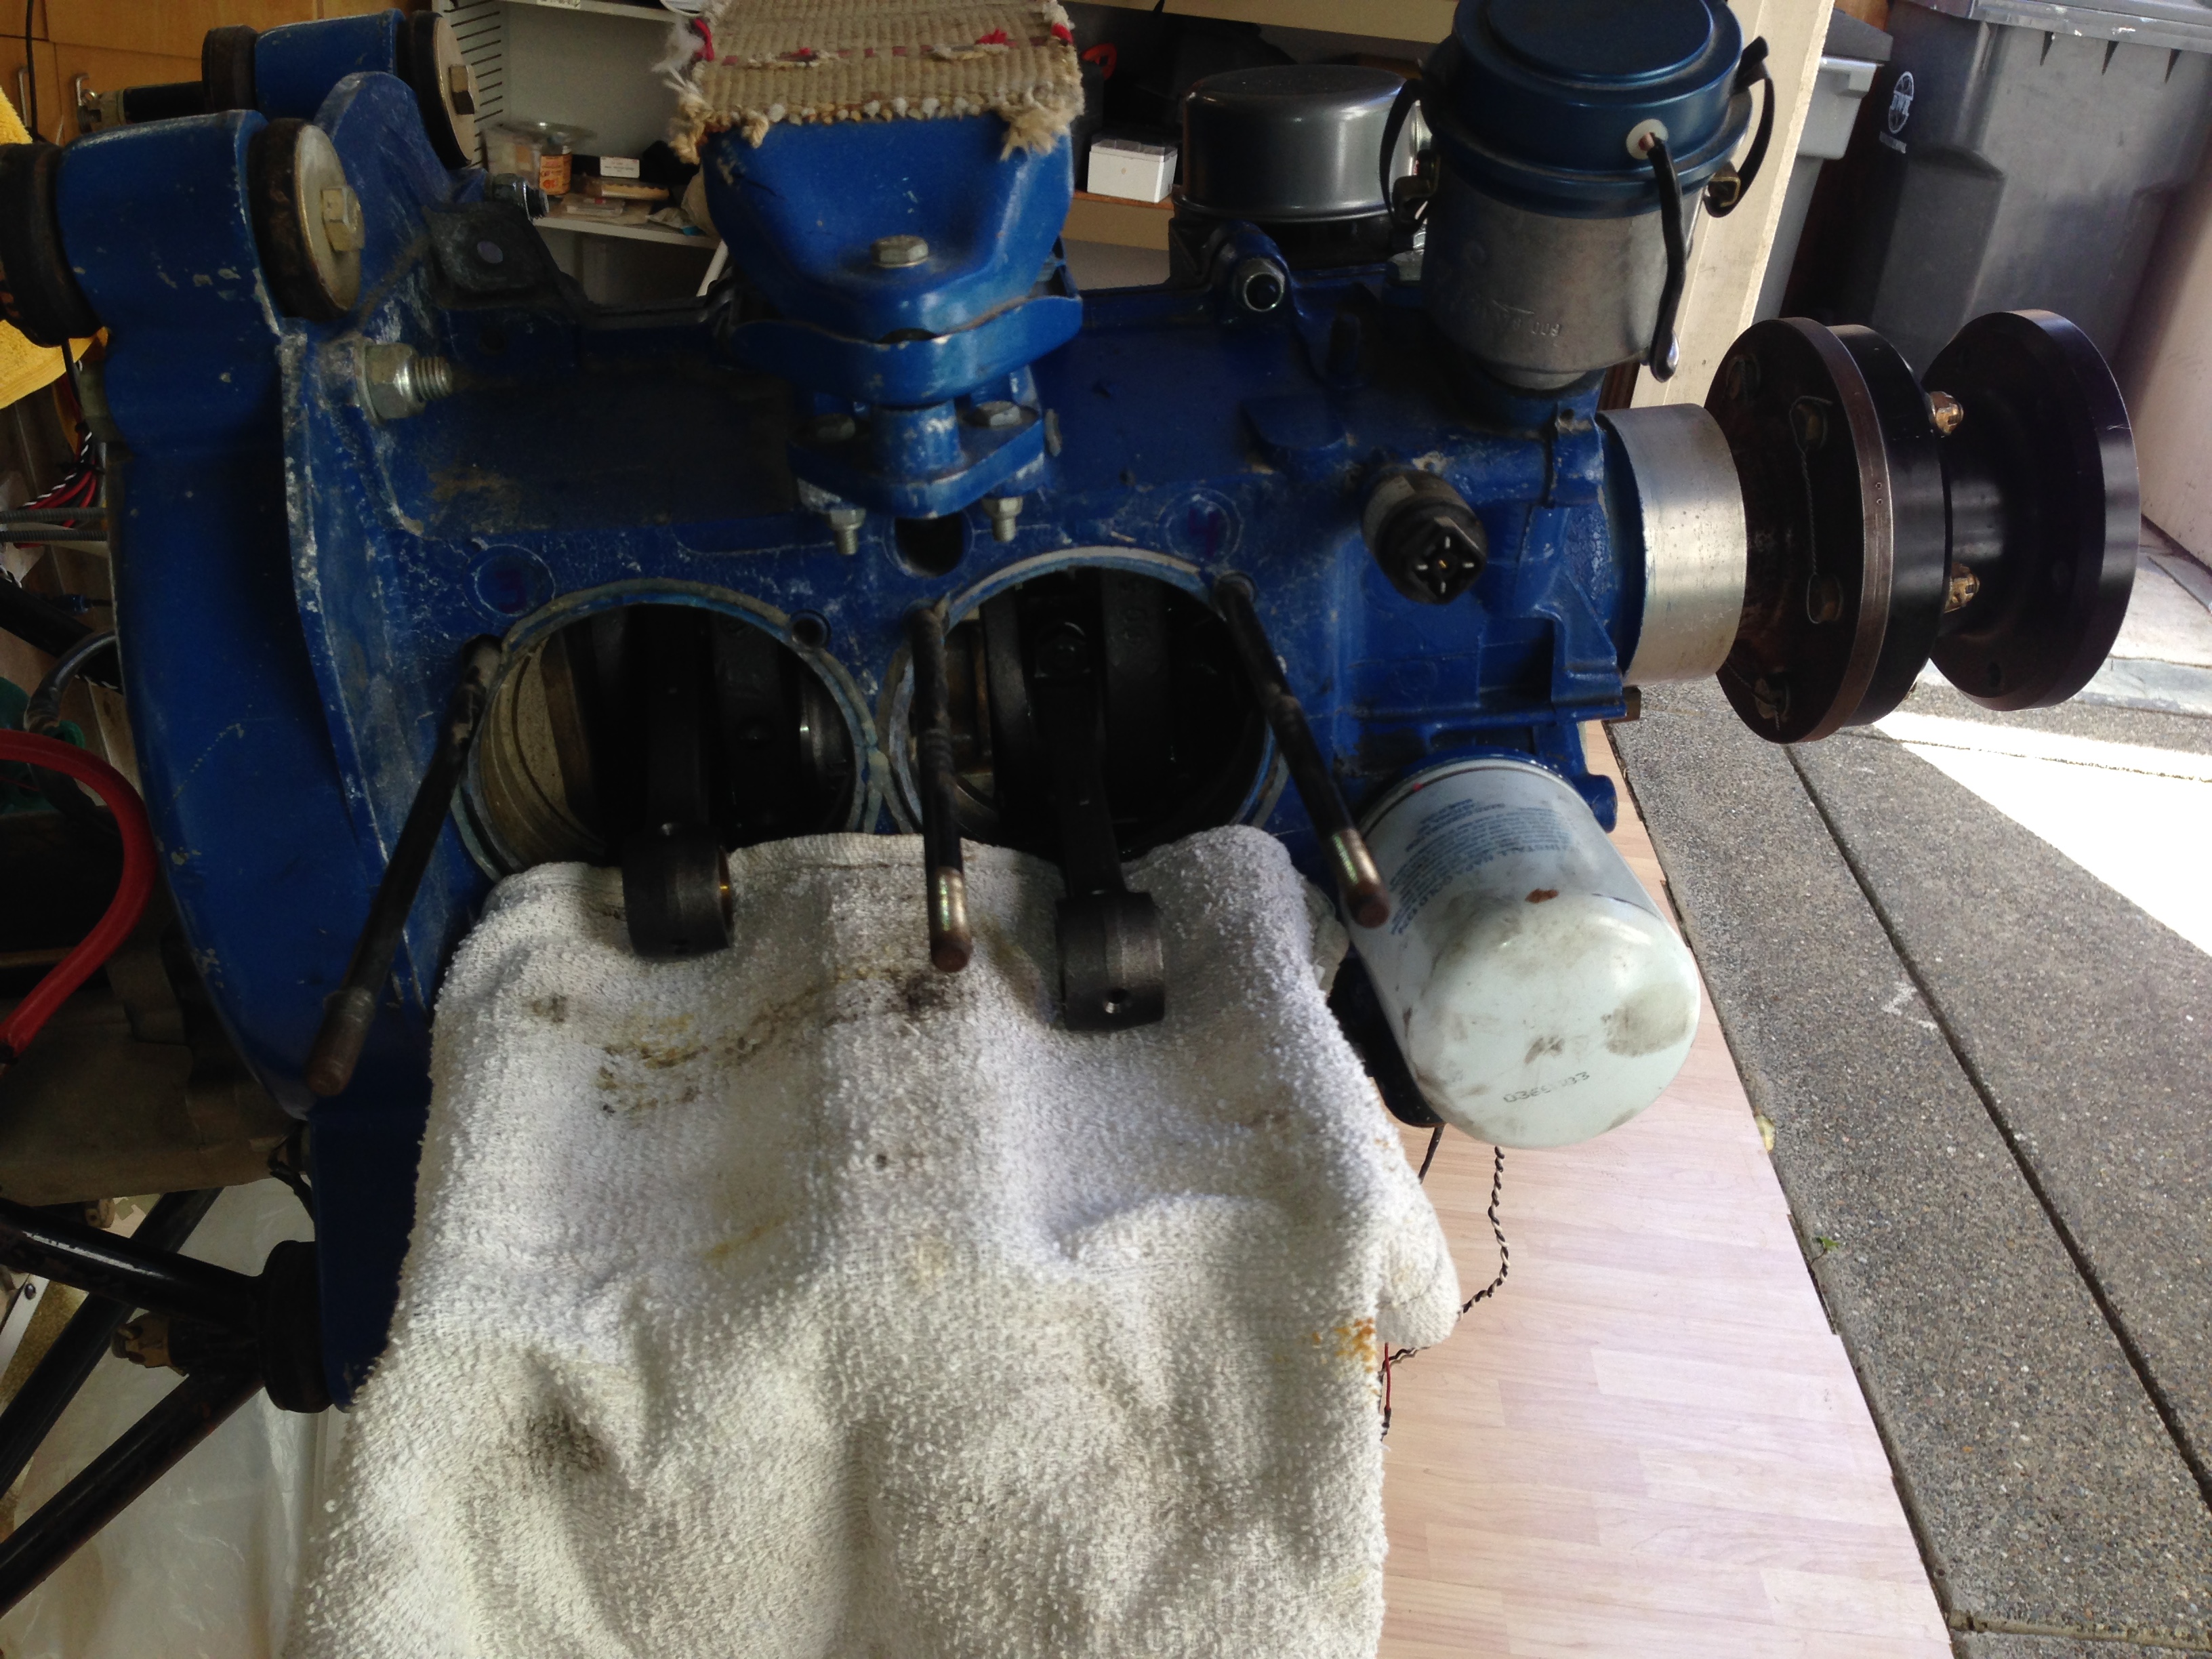
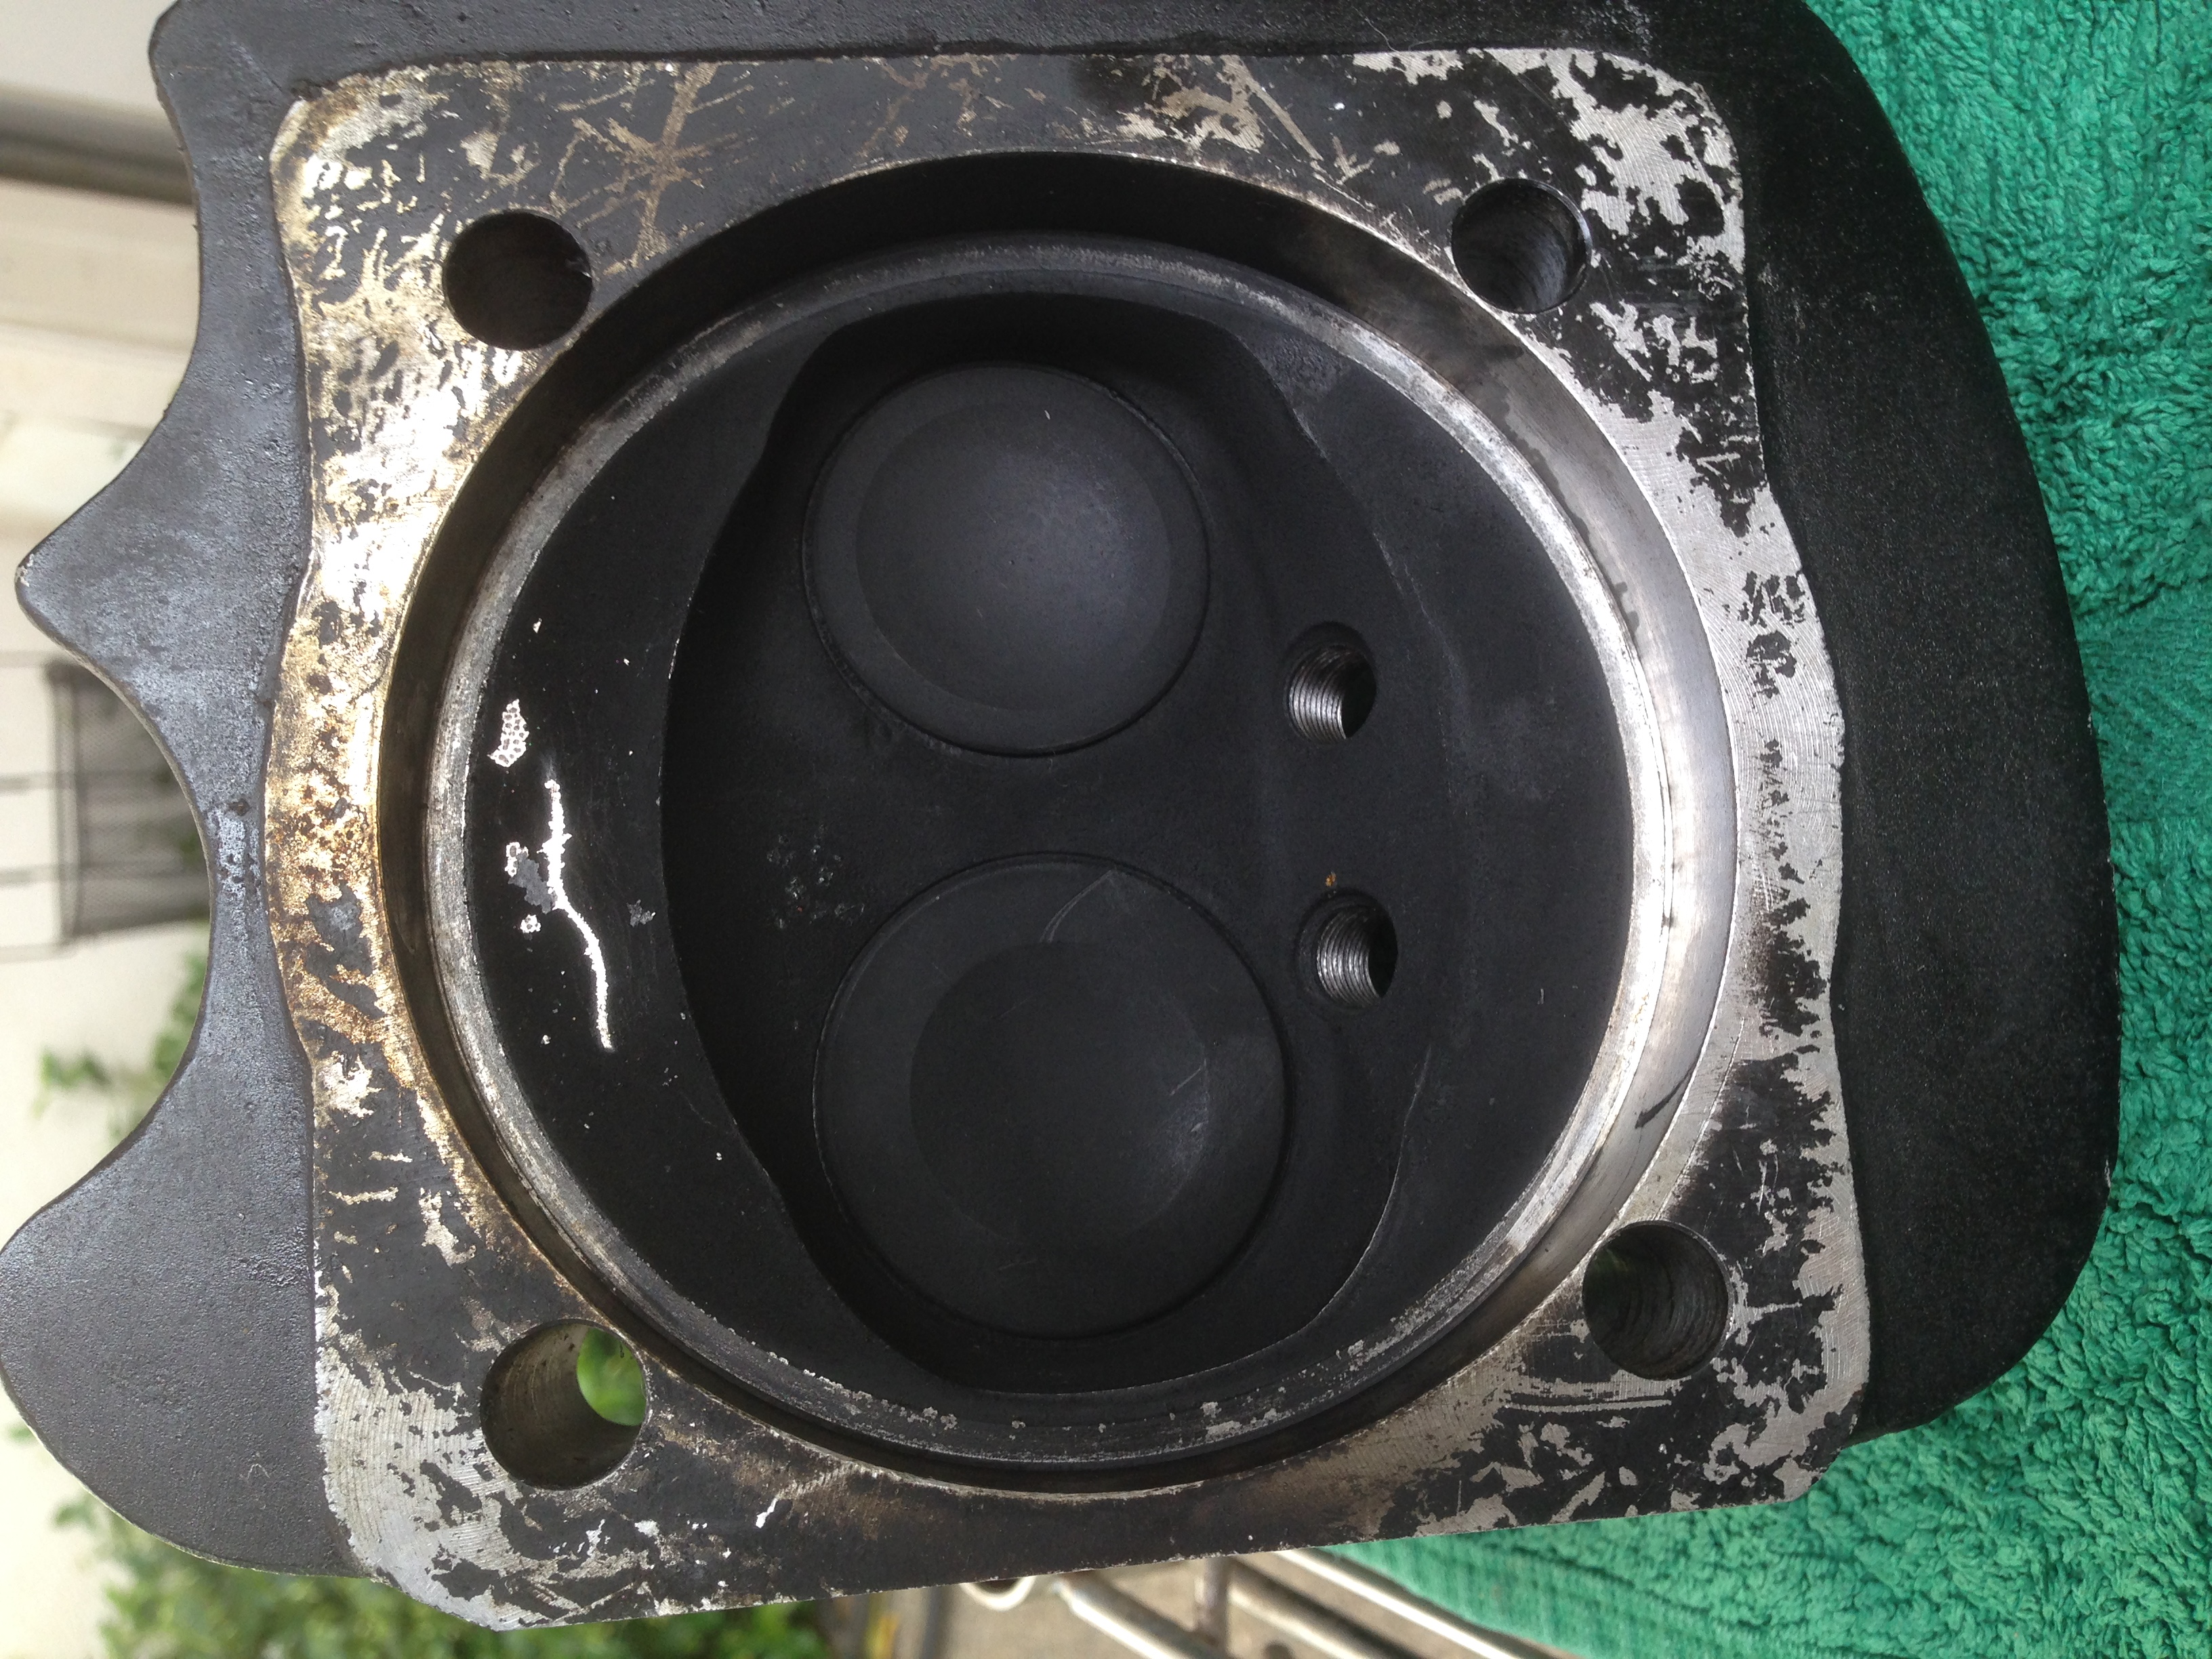
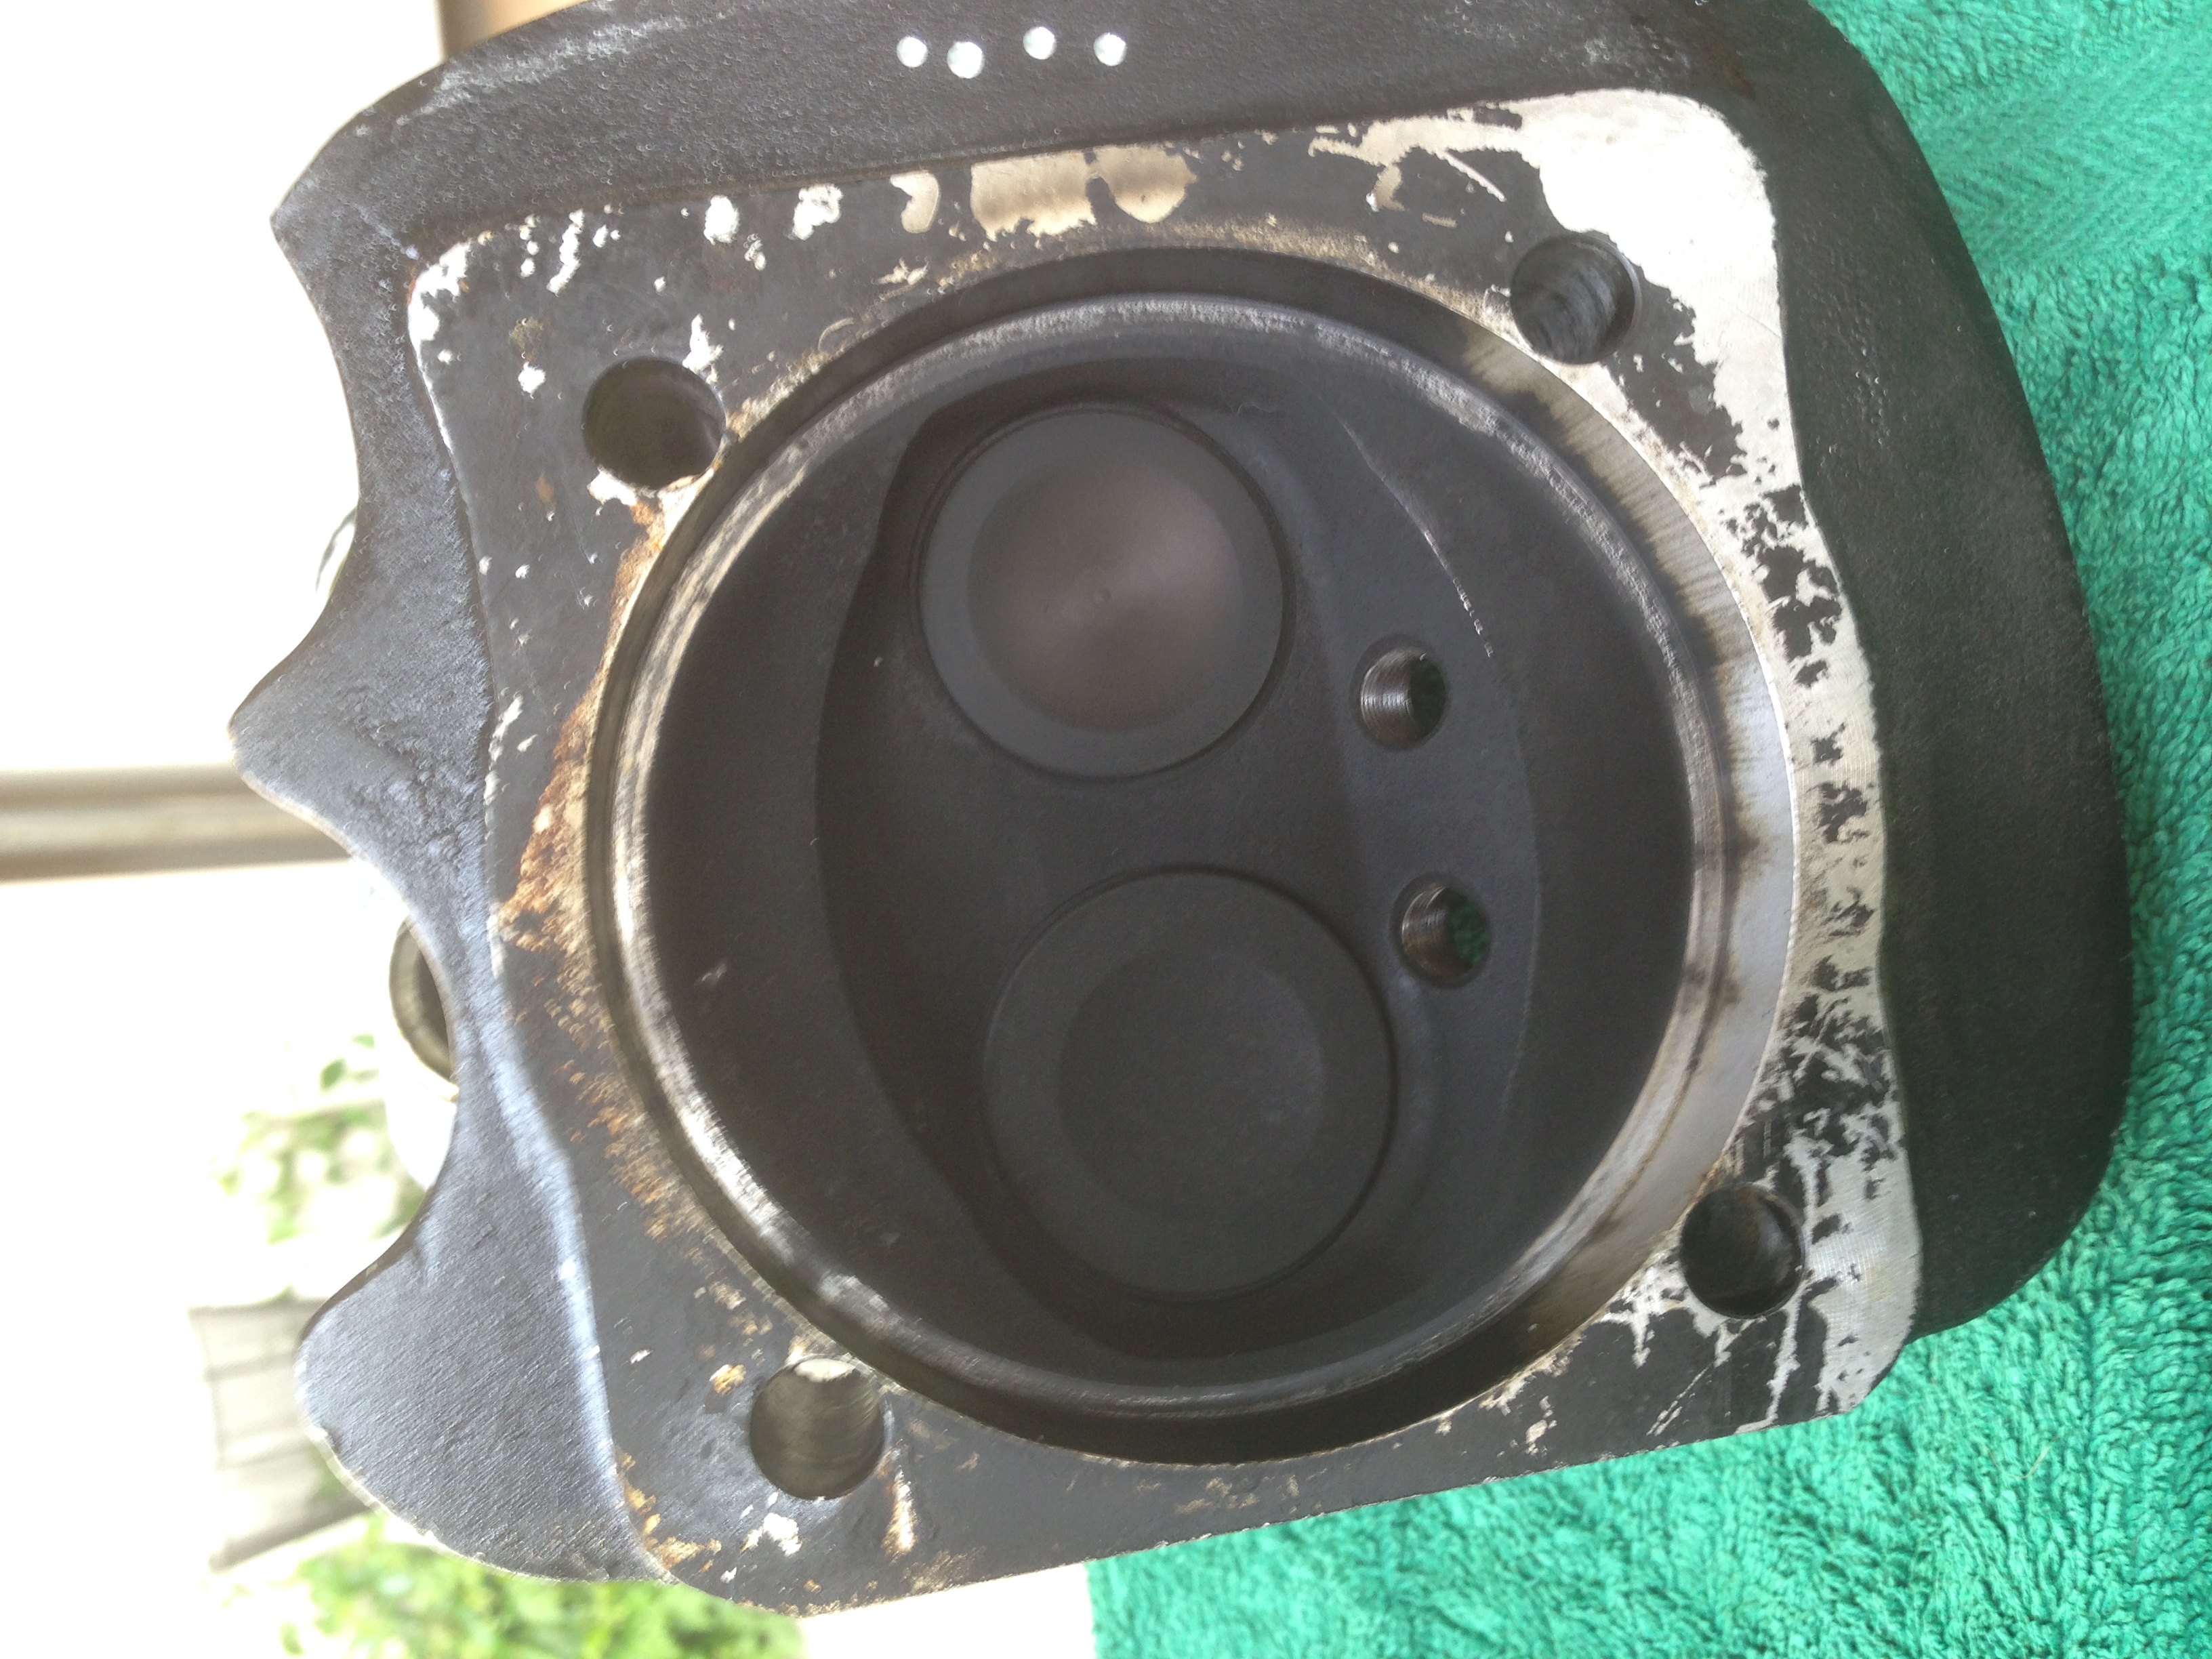
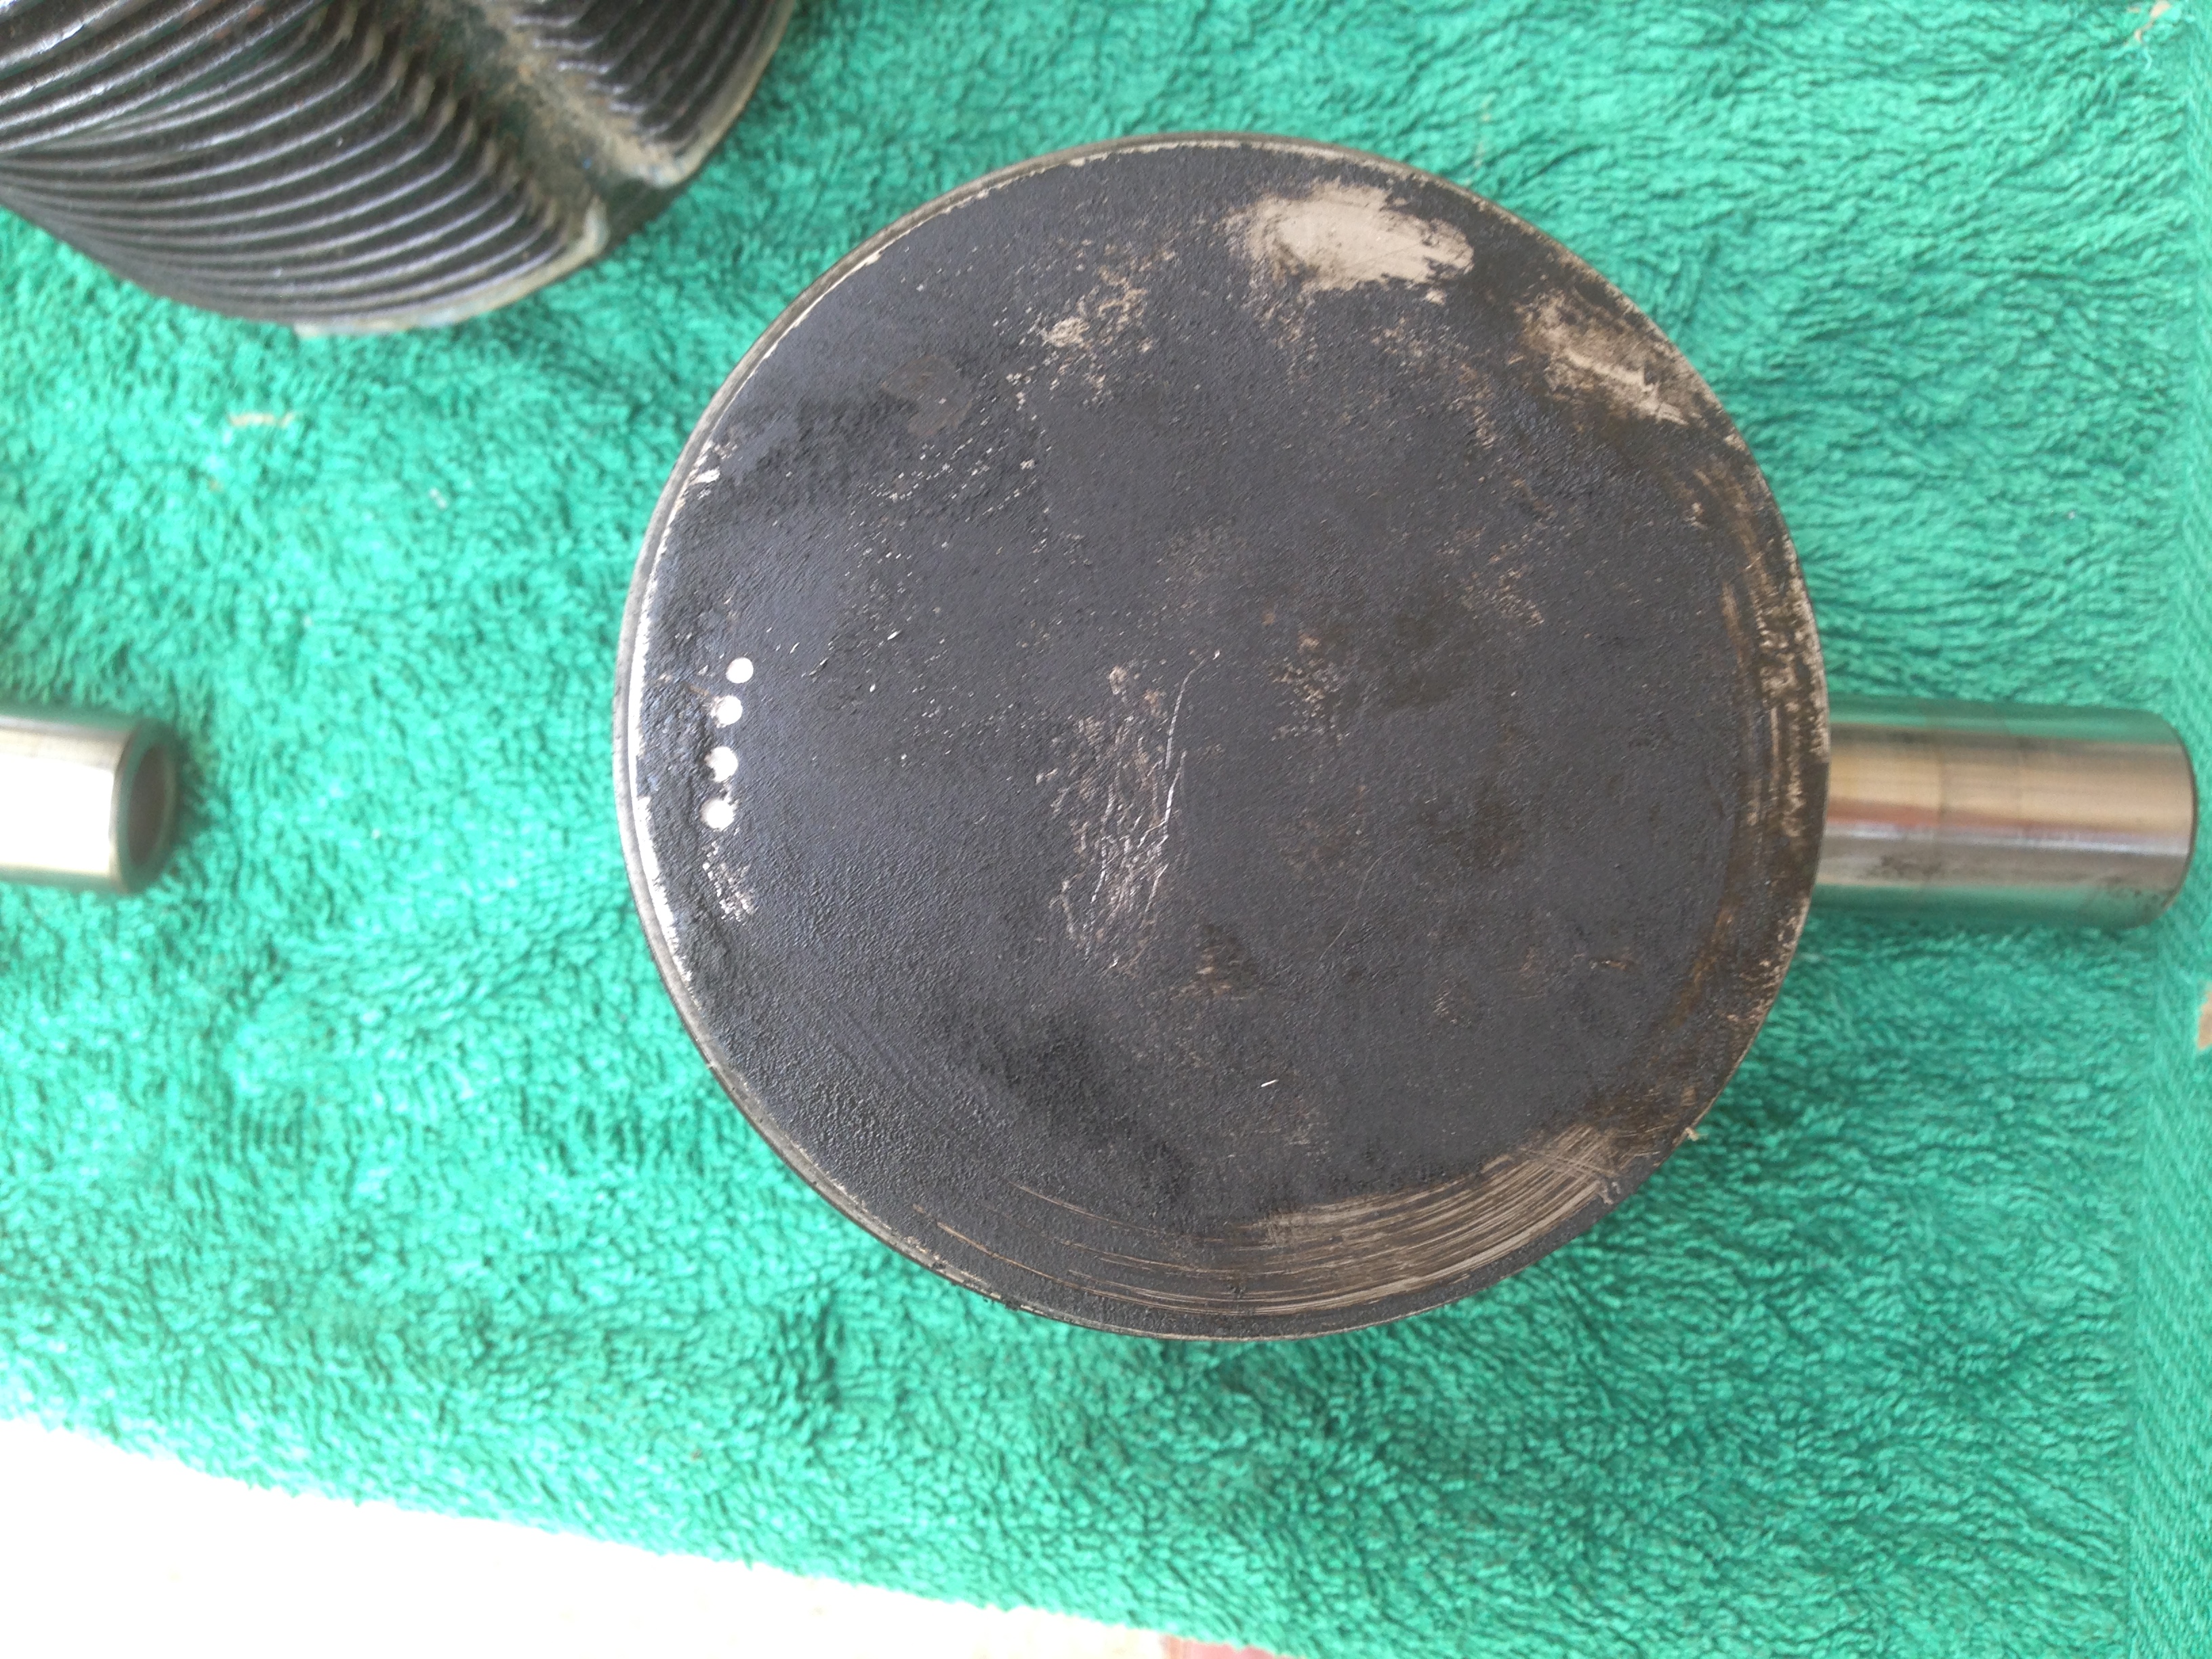
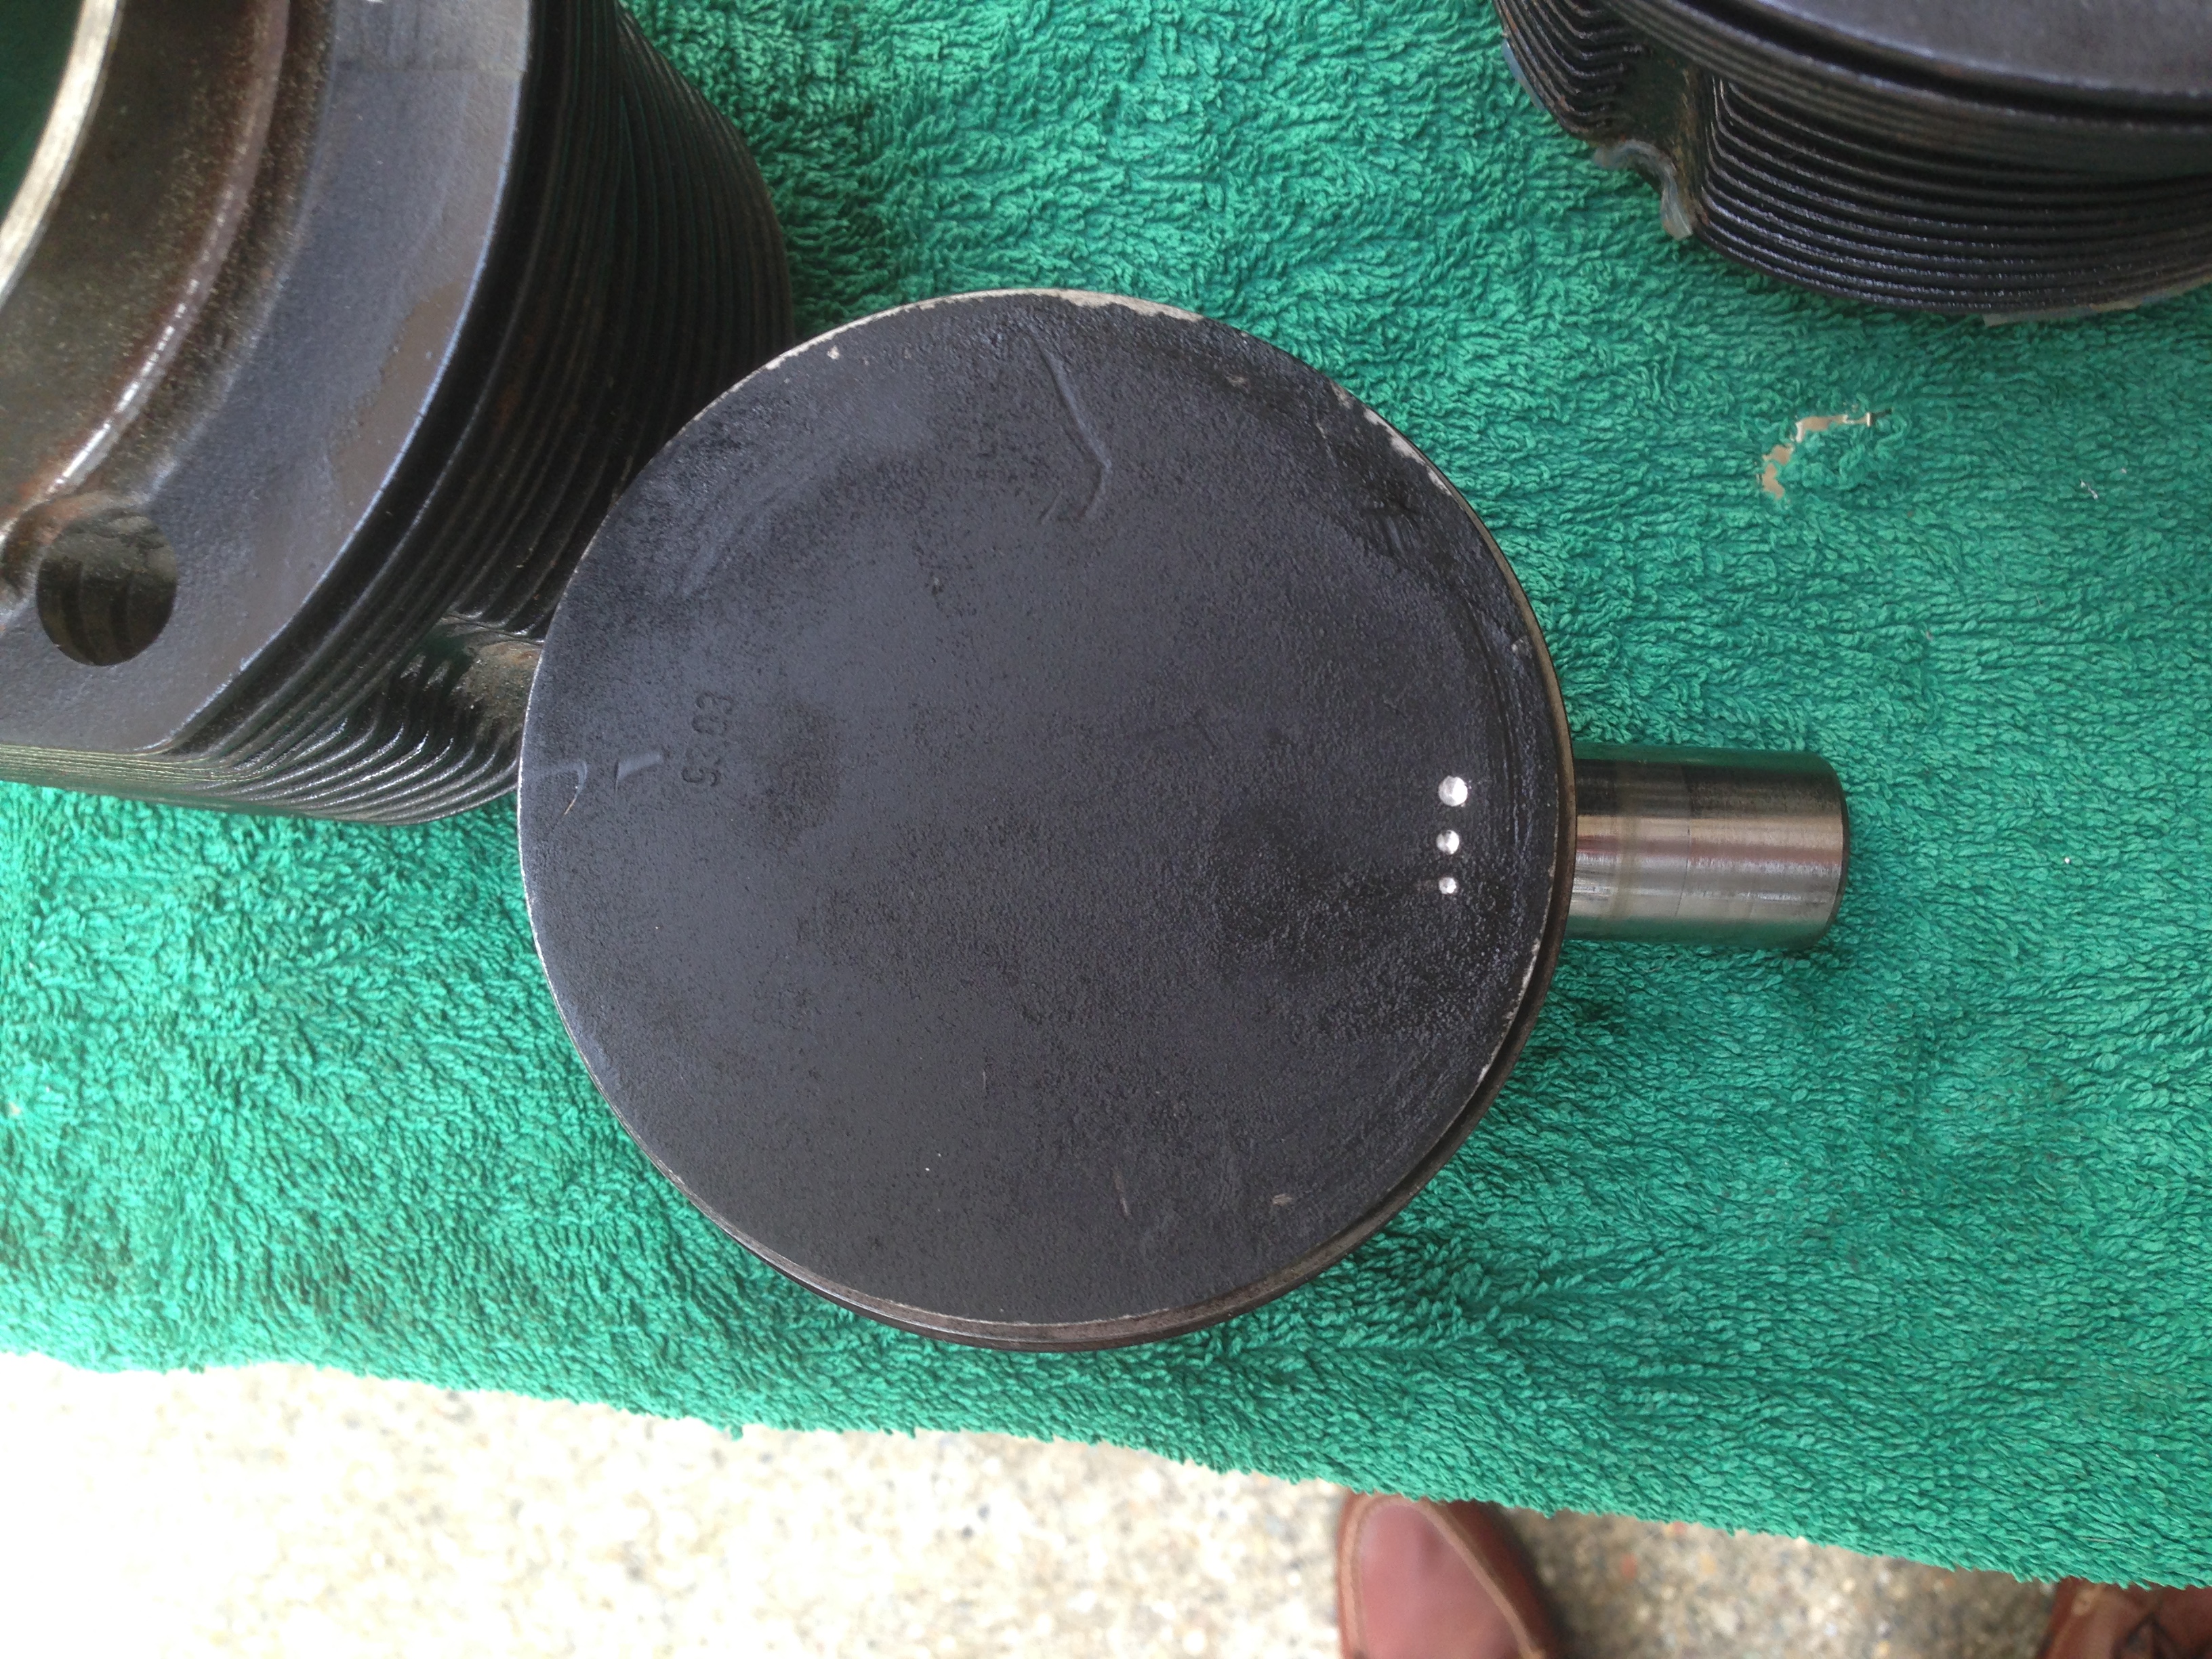
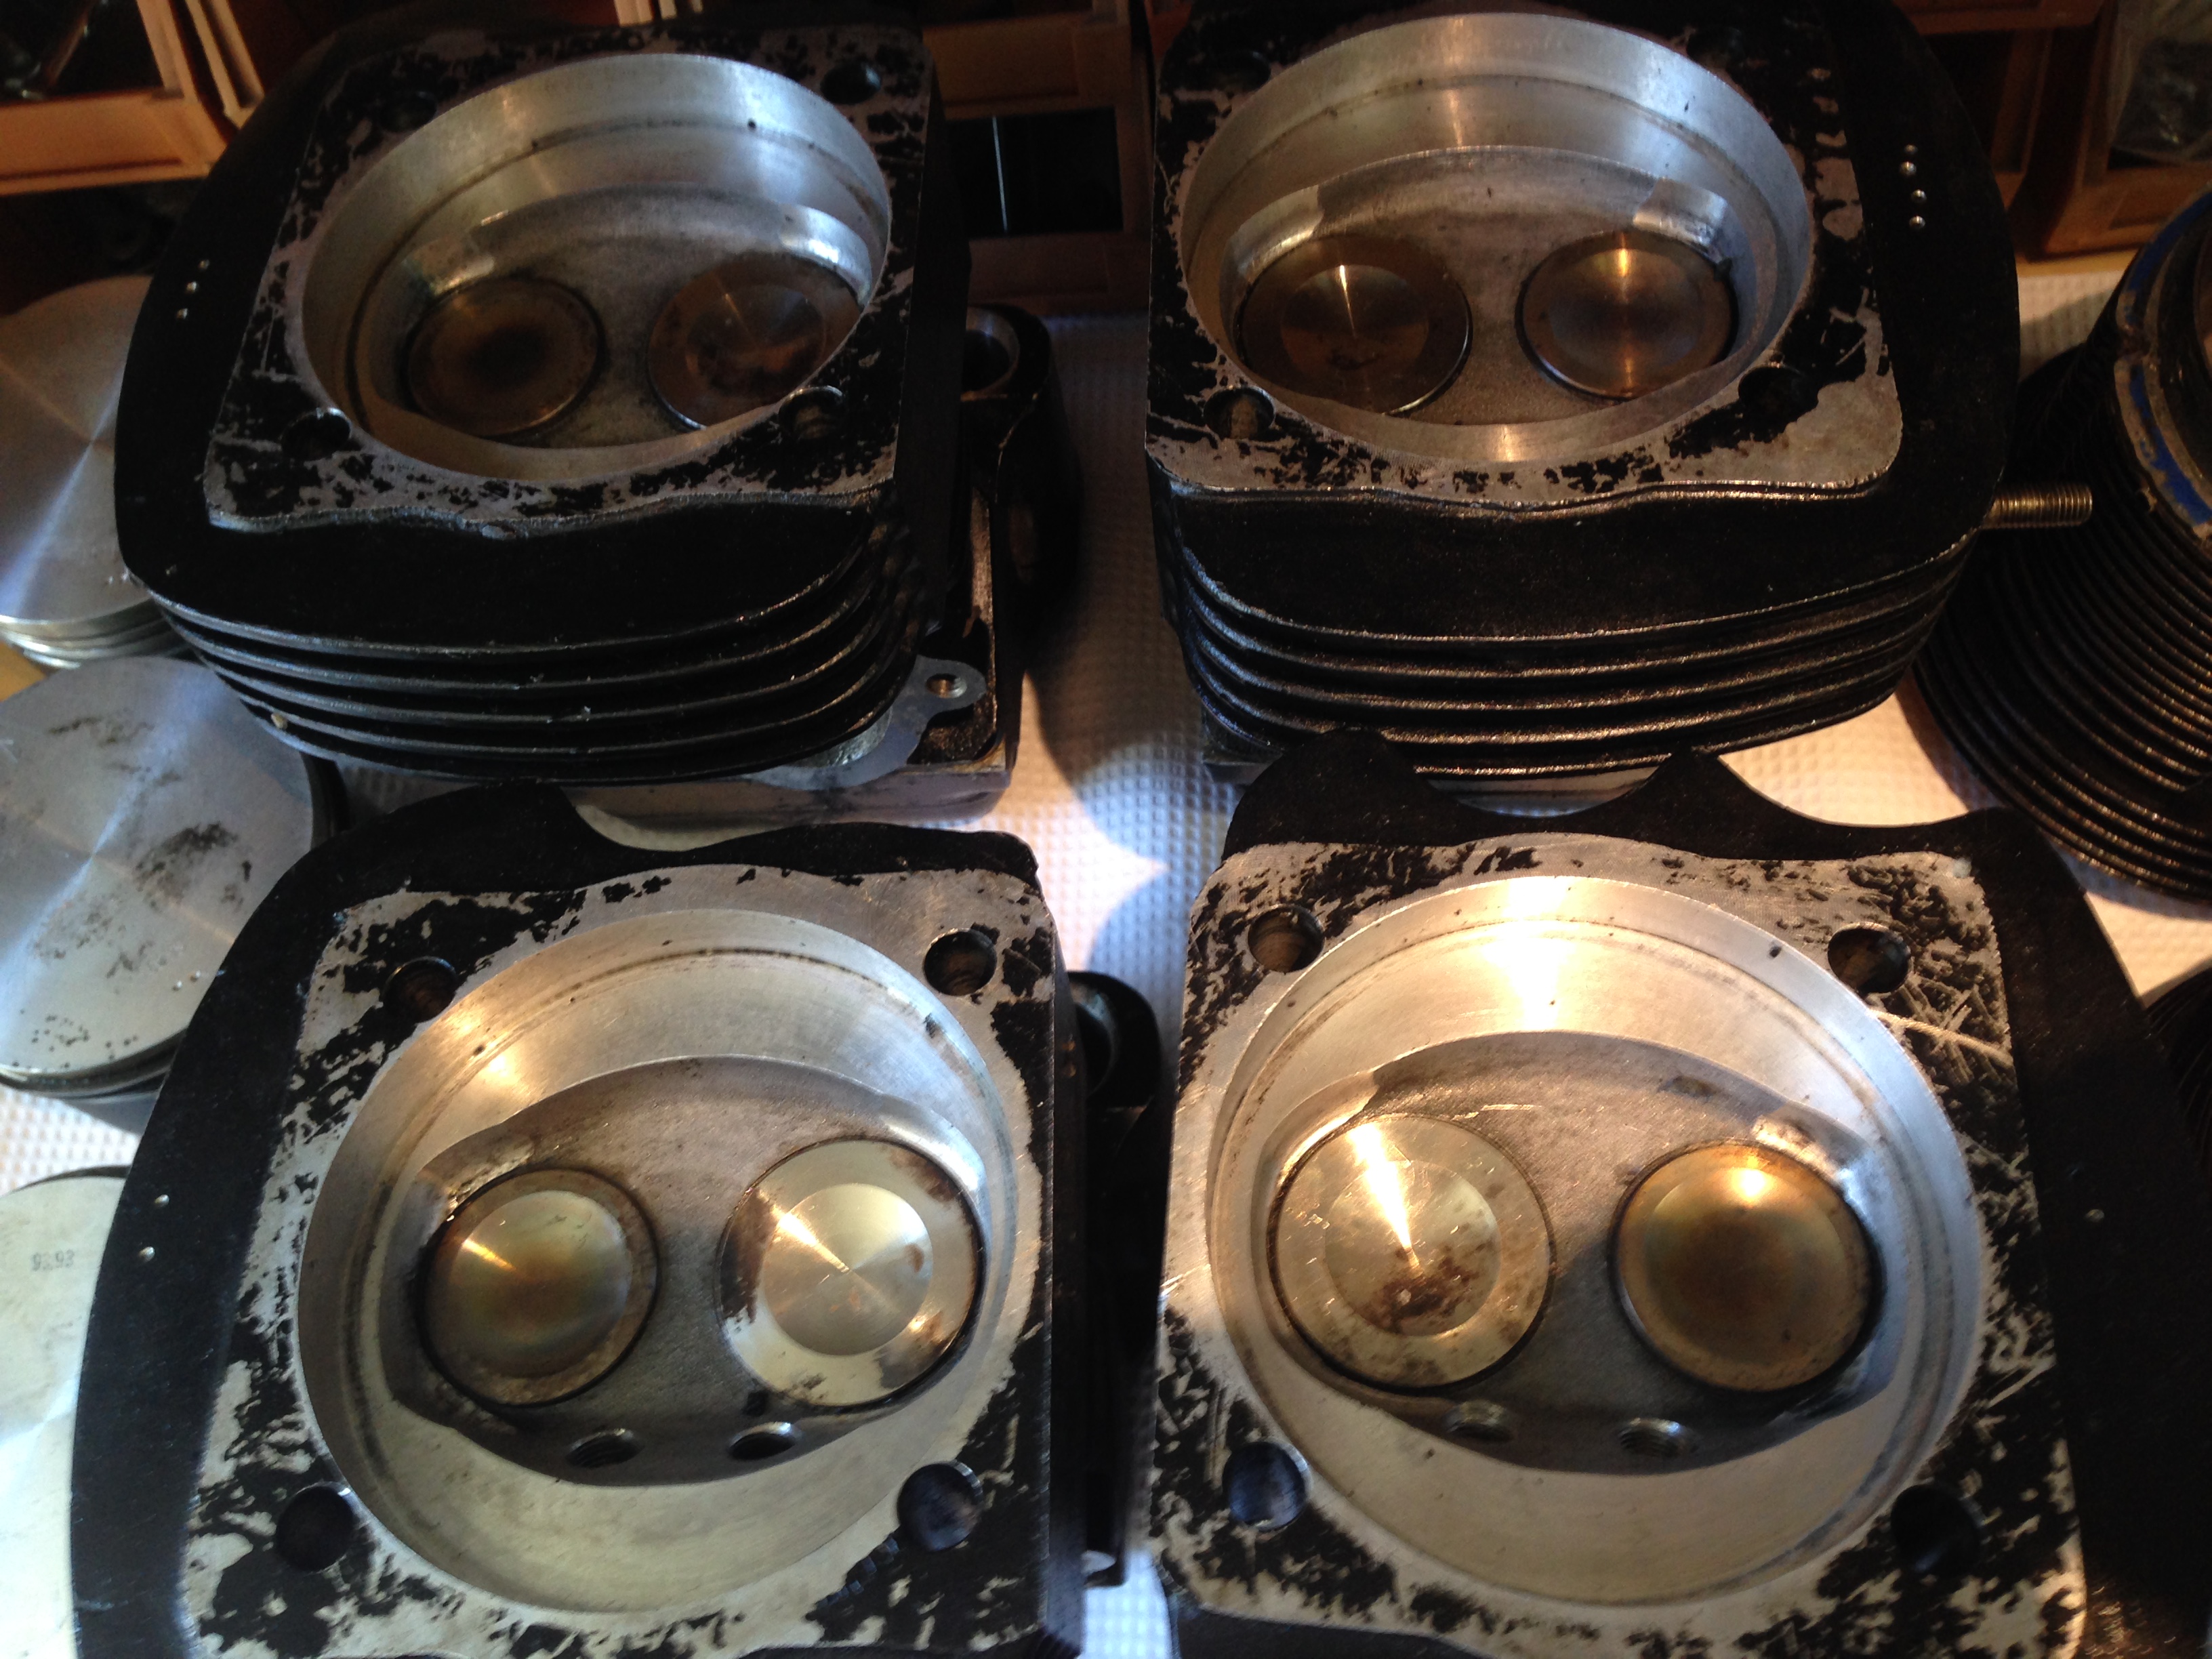
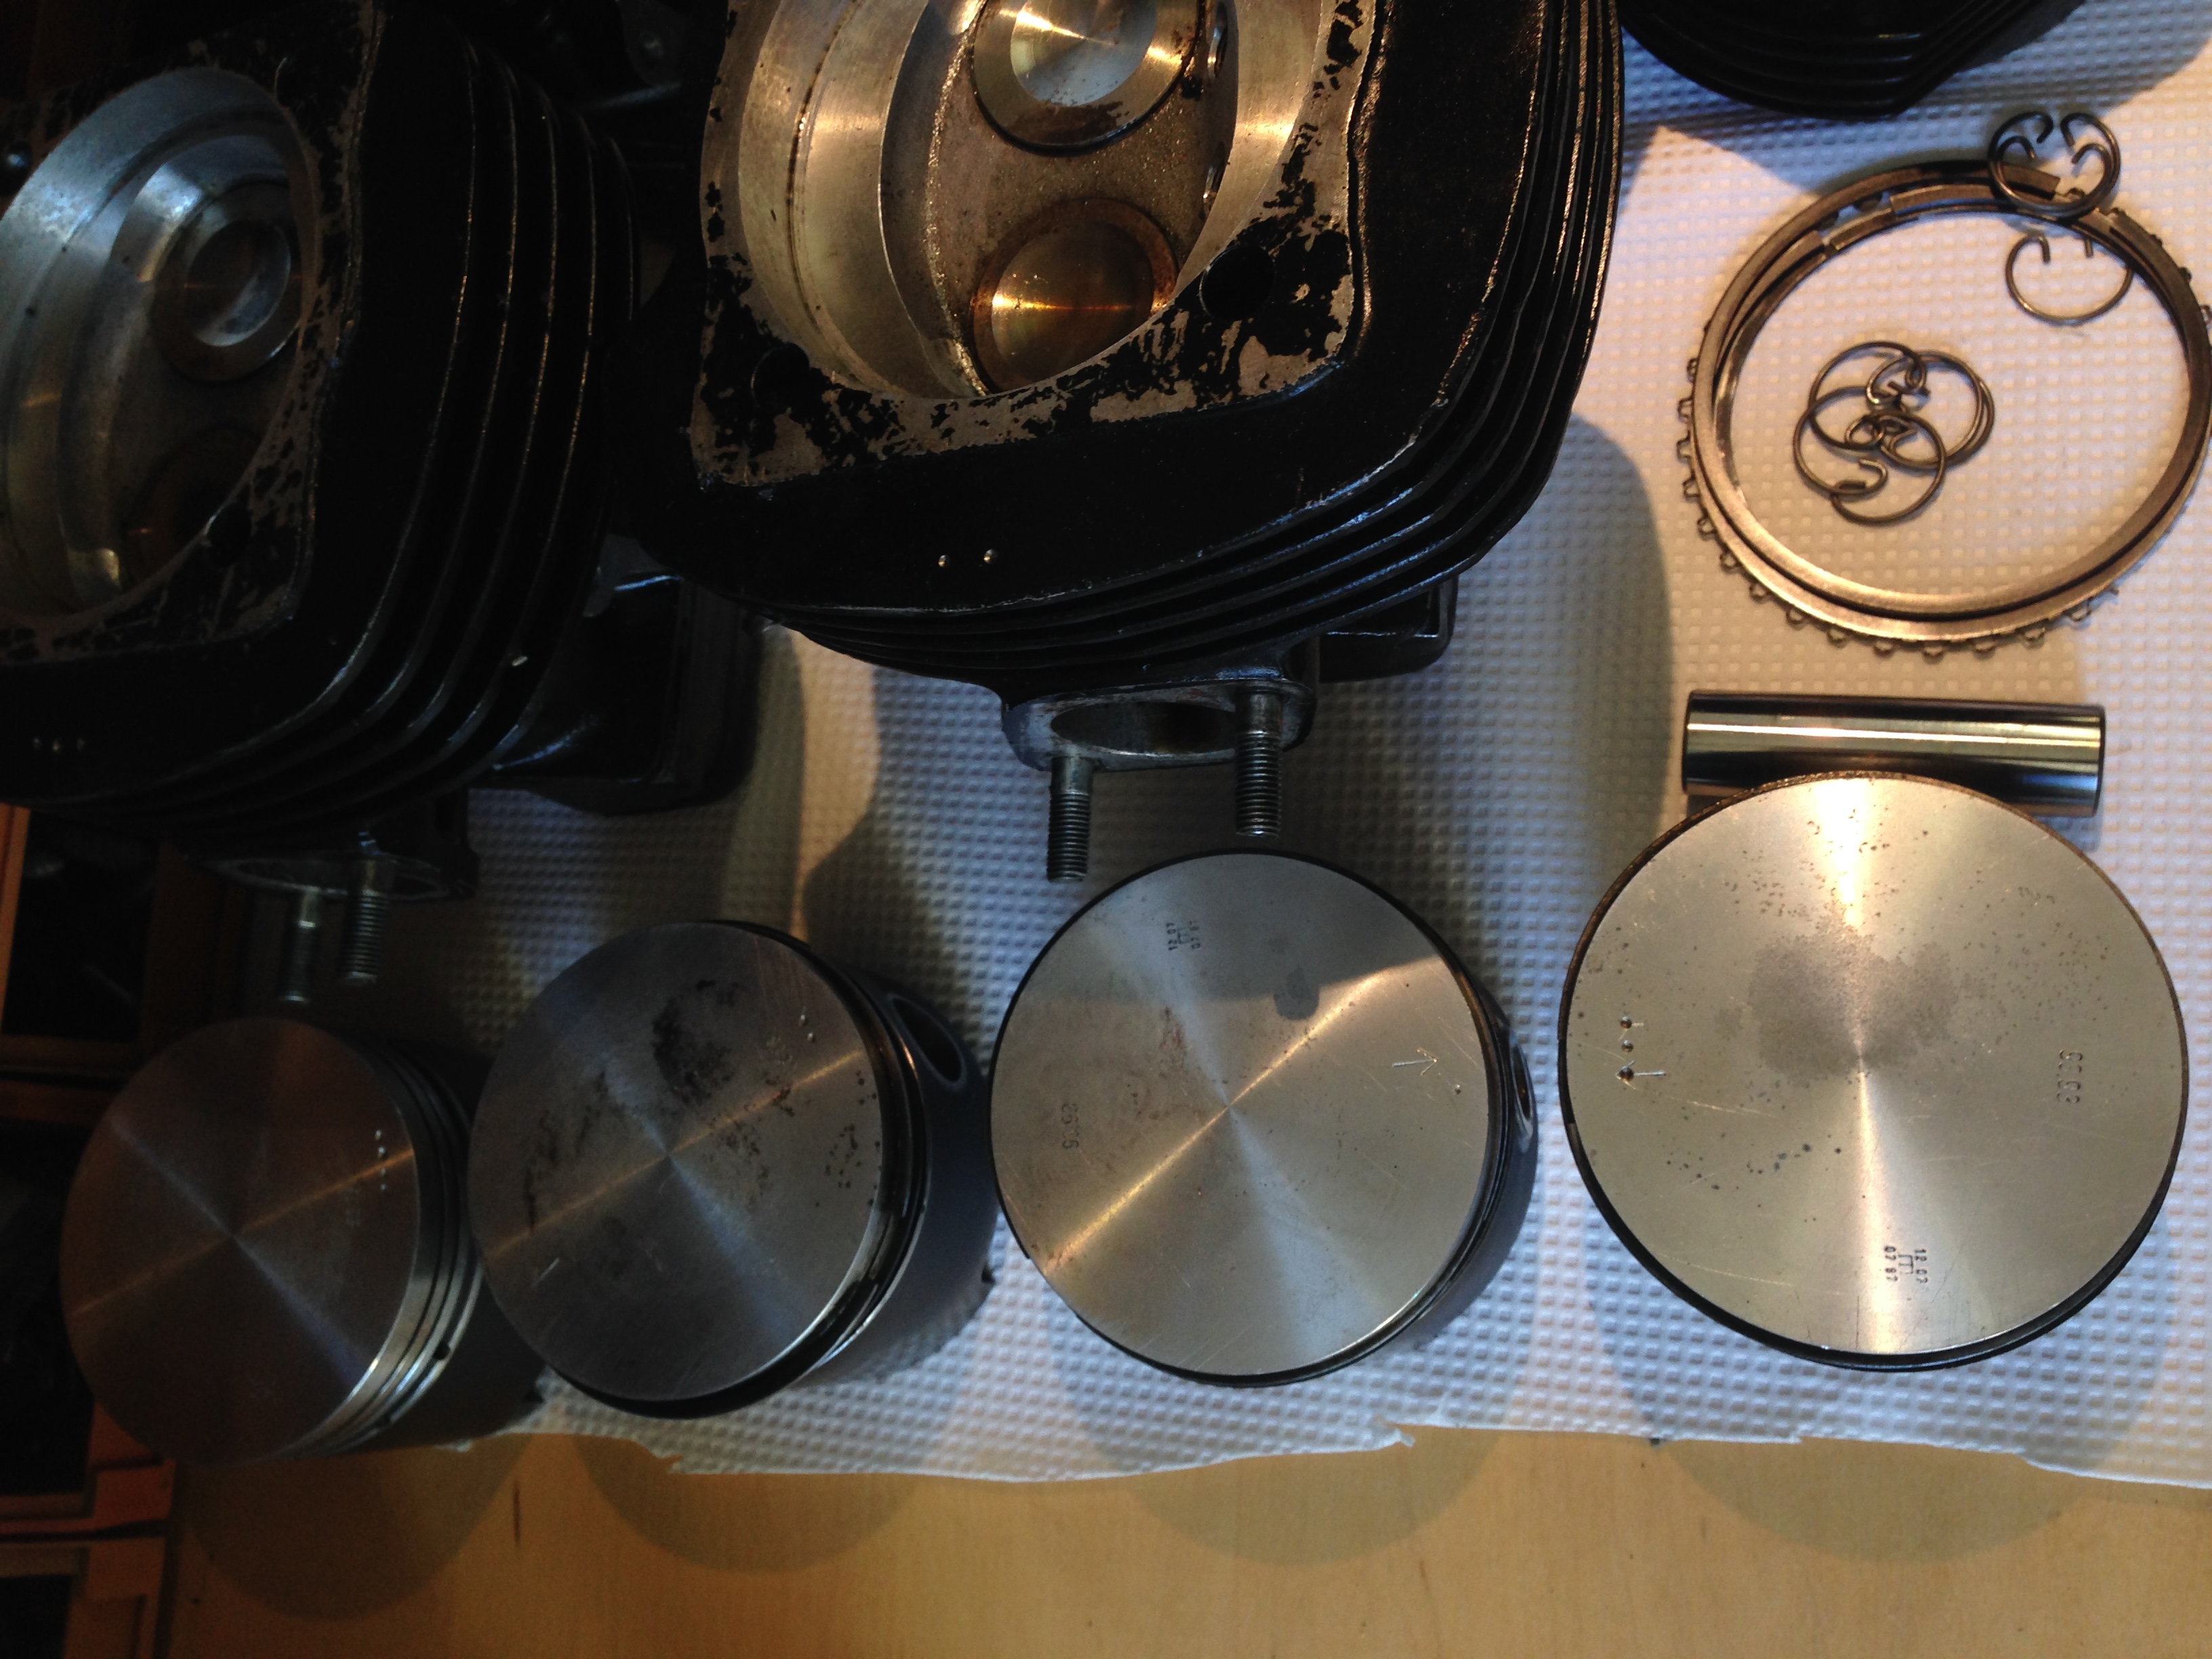
Removing the Pistons and Cylinders
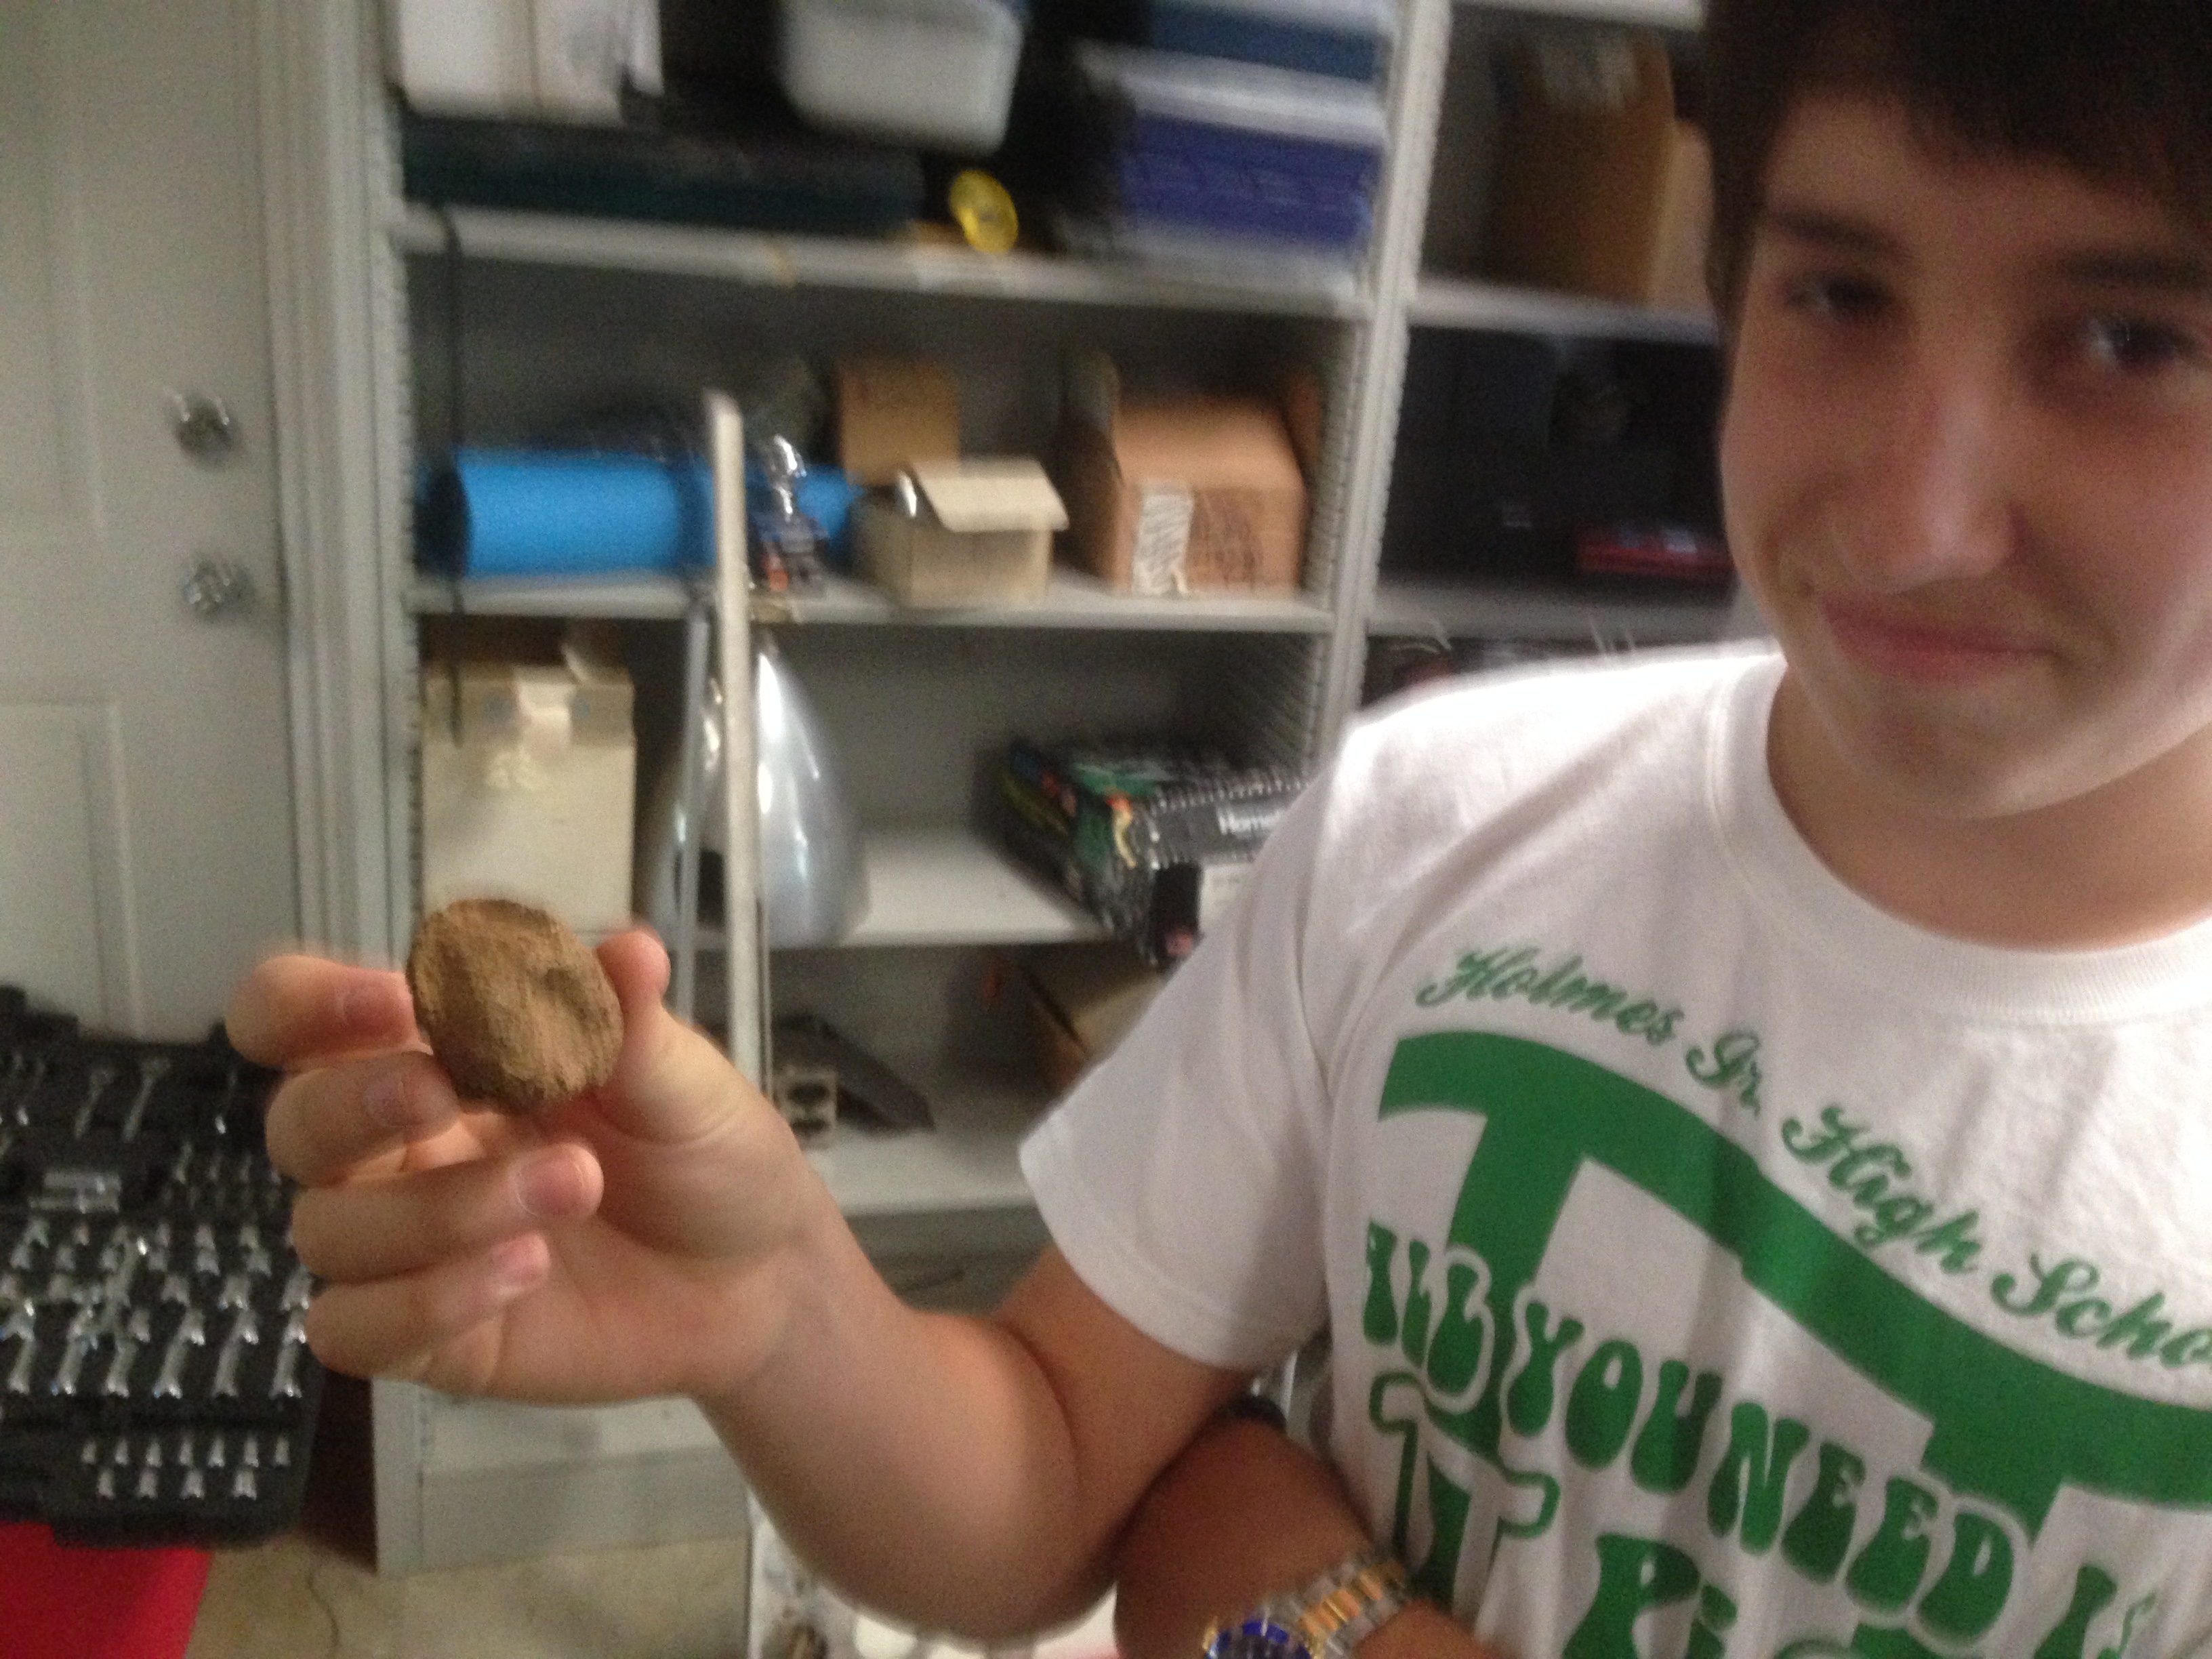
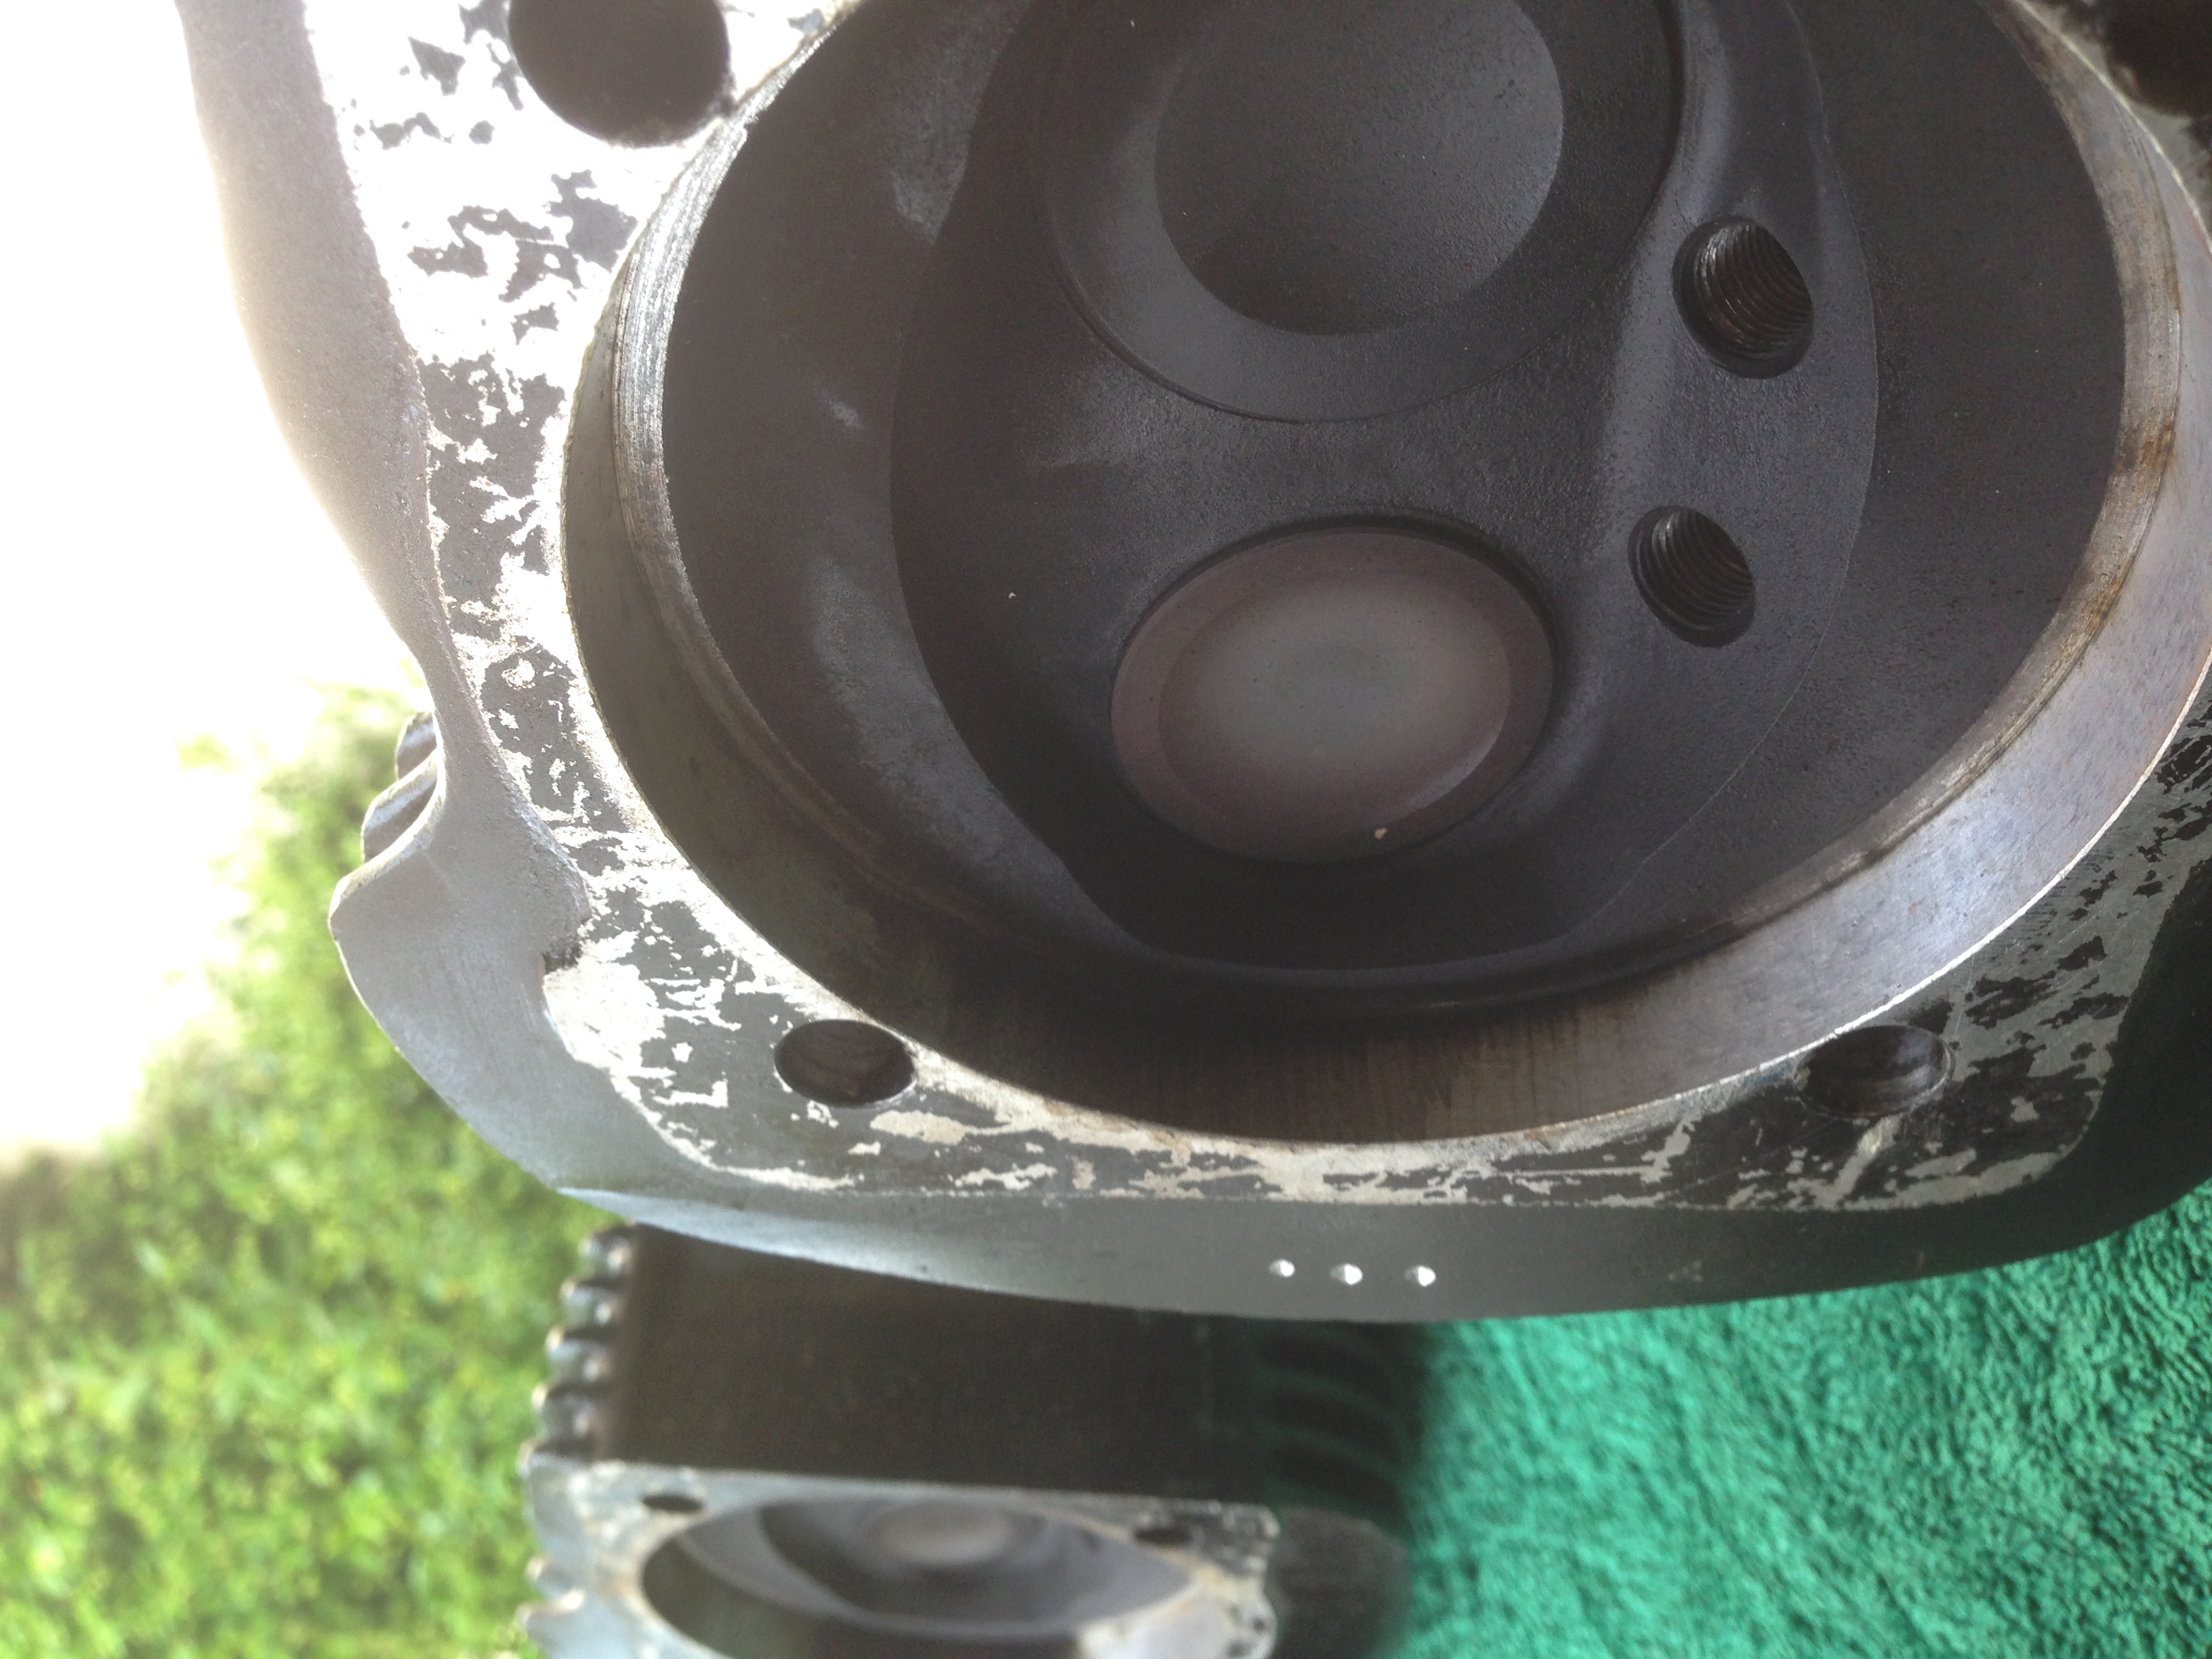
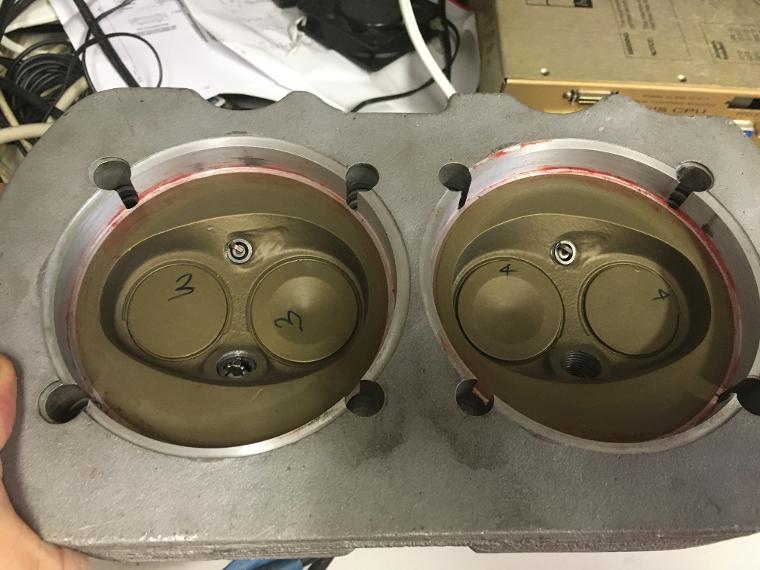
I watched YouTube videos on how to remove the cylinders and pistons - and then started in on it. (I know it sounds sketchy, but YouTube is an excellent "how to" resource!) First I marked each cylinder, piston, and head with 1, 2, 3, or 4 small dots (using a drill) to denote its location on the engine.
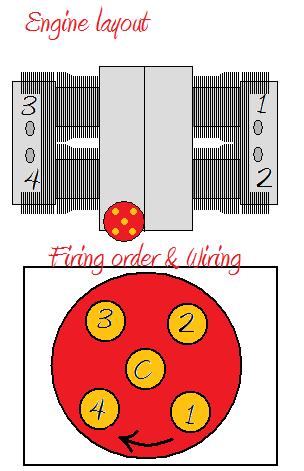
Here's a pretty good animation of the ignition firing made by Darryl Deppe:
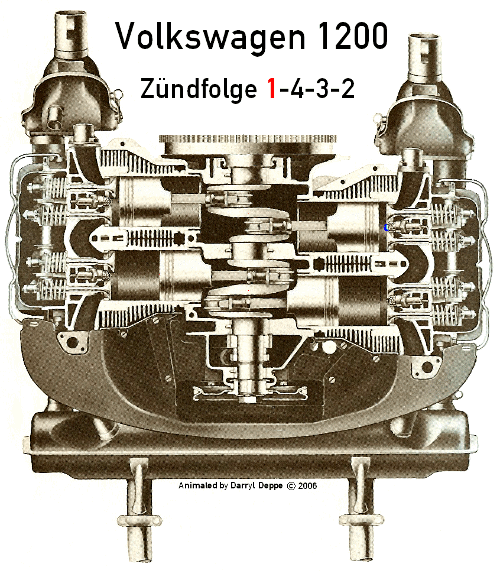 For orientation, the propeller would be at the bottom of the picture above (about where the muffler and Darryl Deppe attribution is in the picture).
Using a rubber mallet and pulling by hand, I loosened and removed each cylinder (carefully laying the pistons on a cloth). Then I removed the piston wrist pin clips with needle nose pliers. Then pushed out the piston wrist pins (with the rubber coated end of players) and removed the pistons.
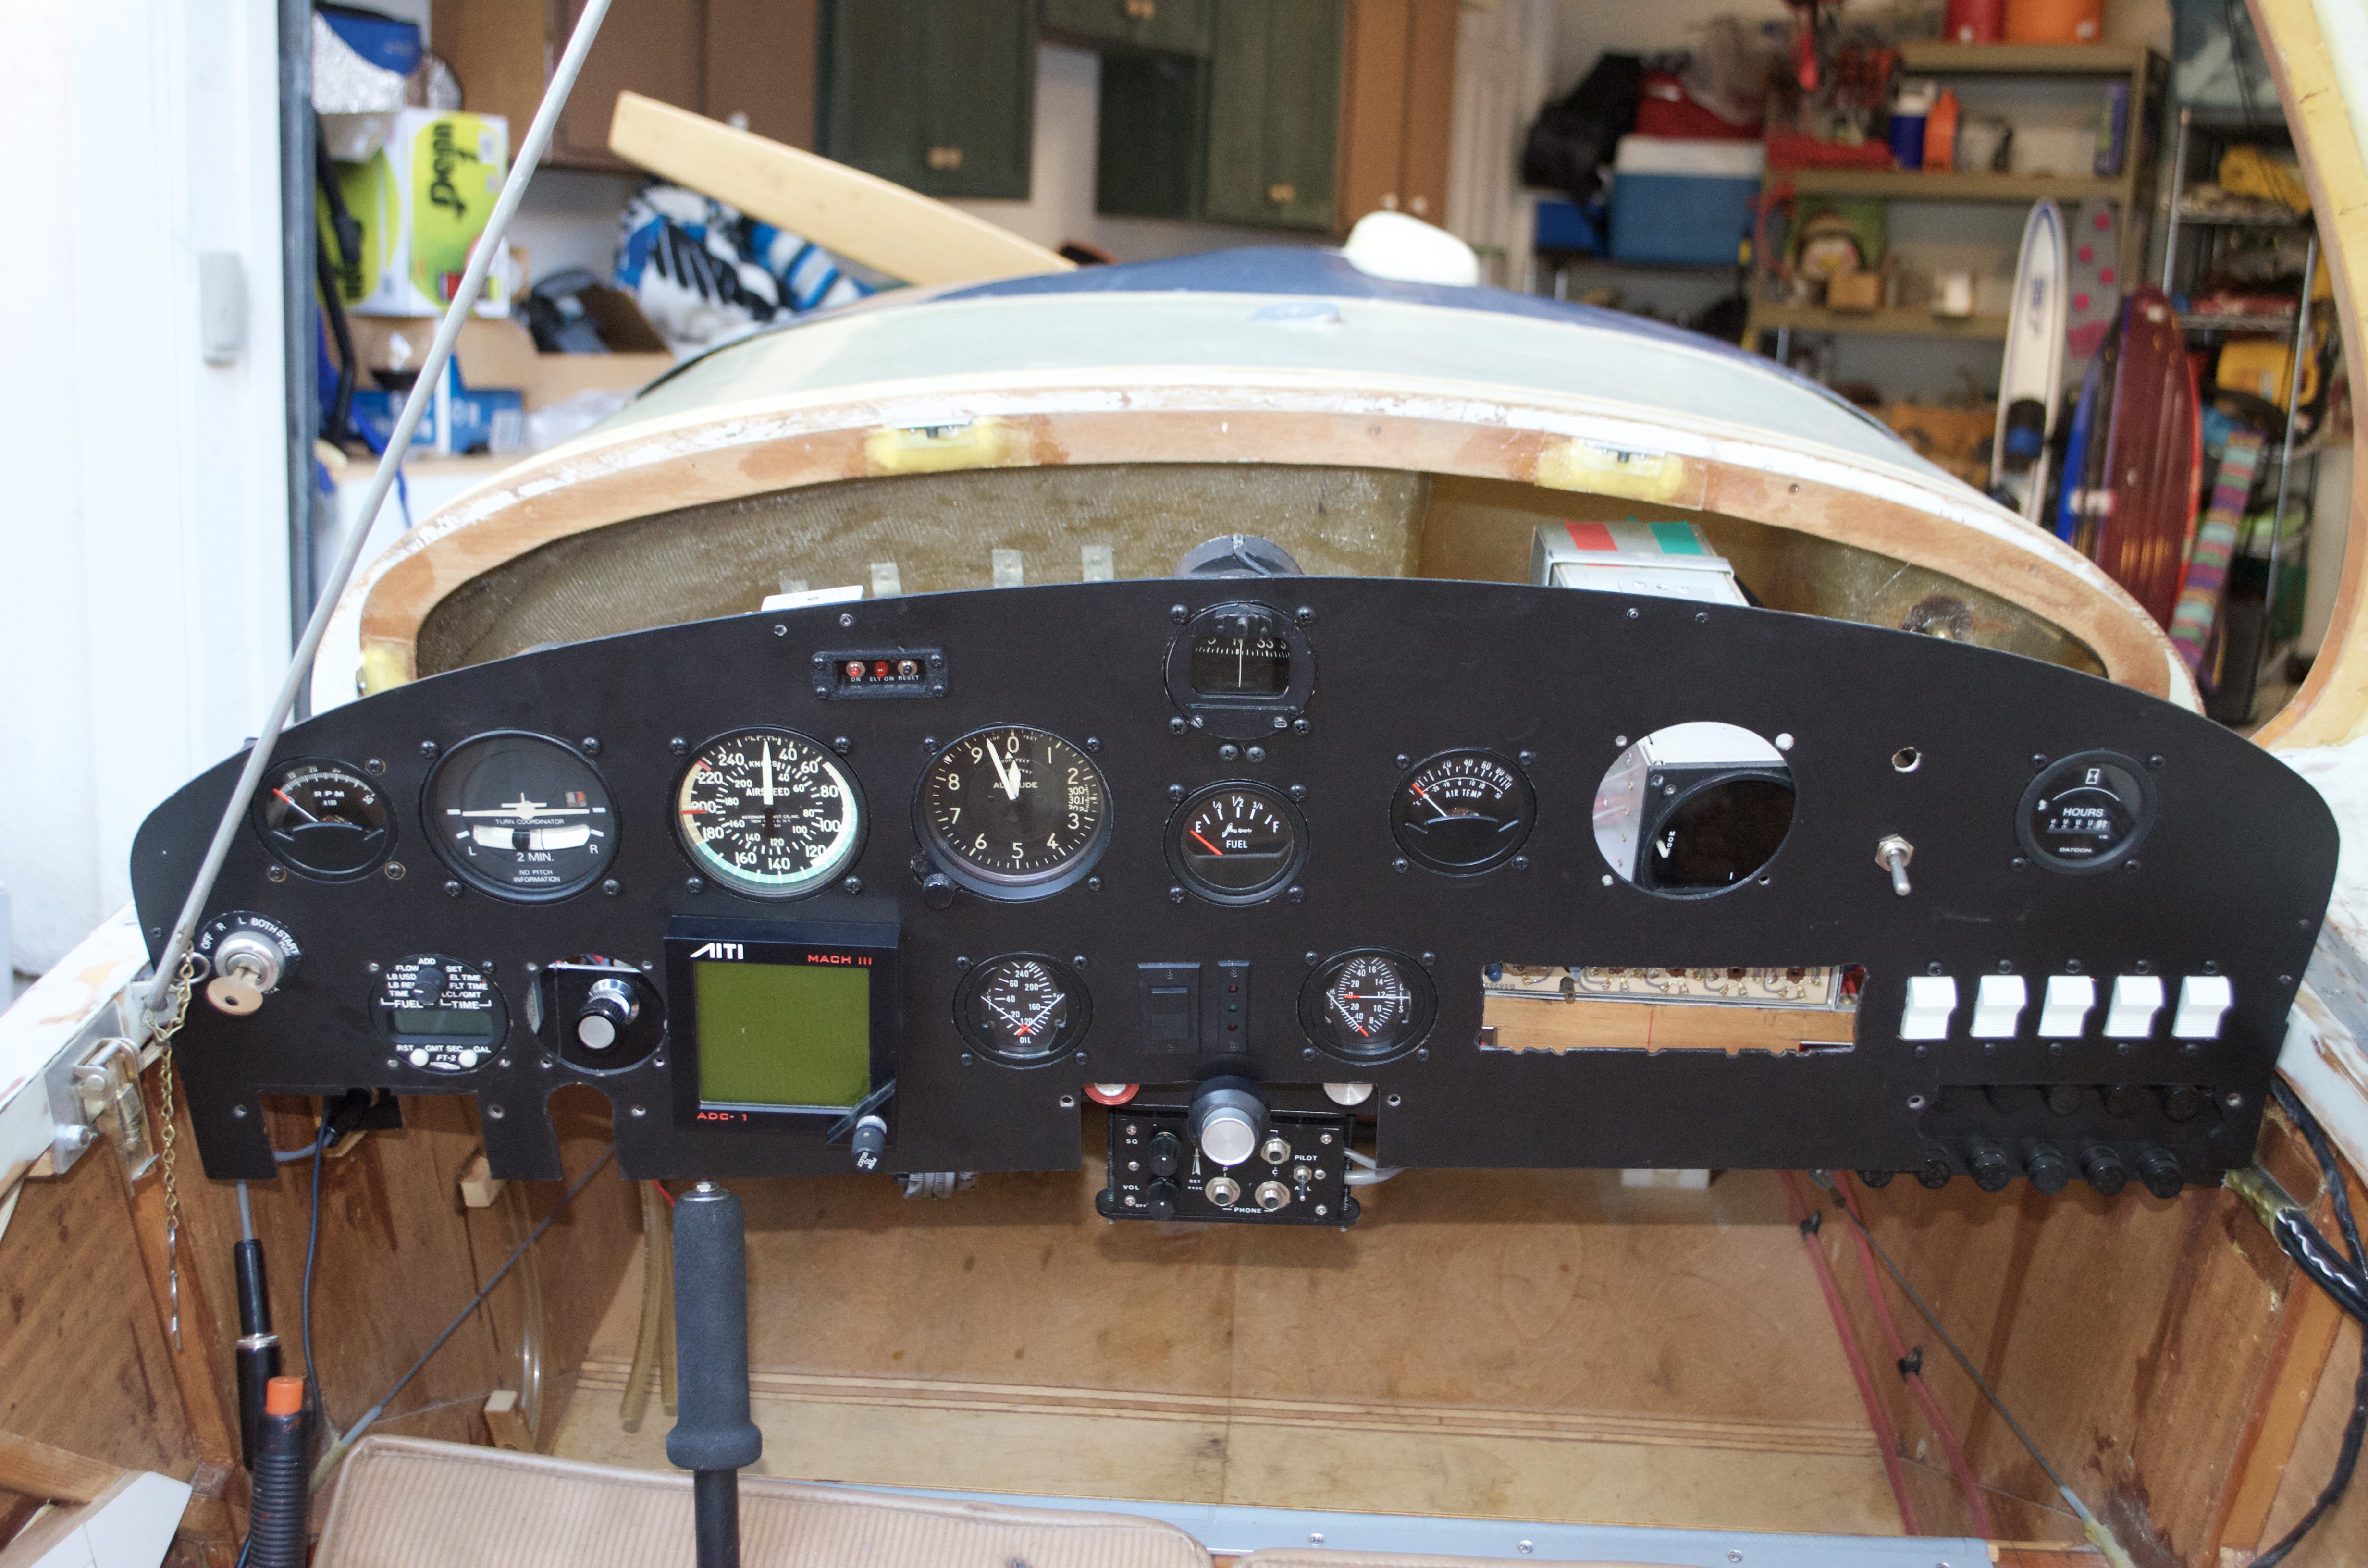
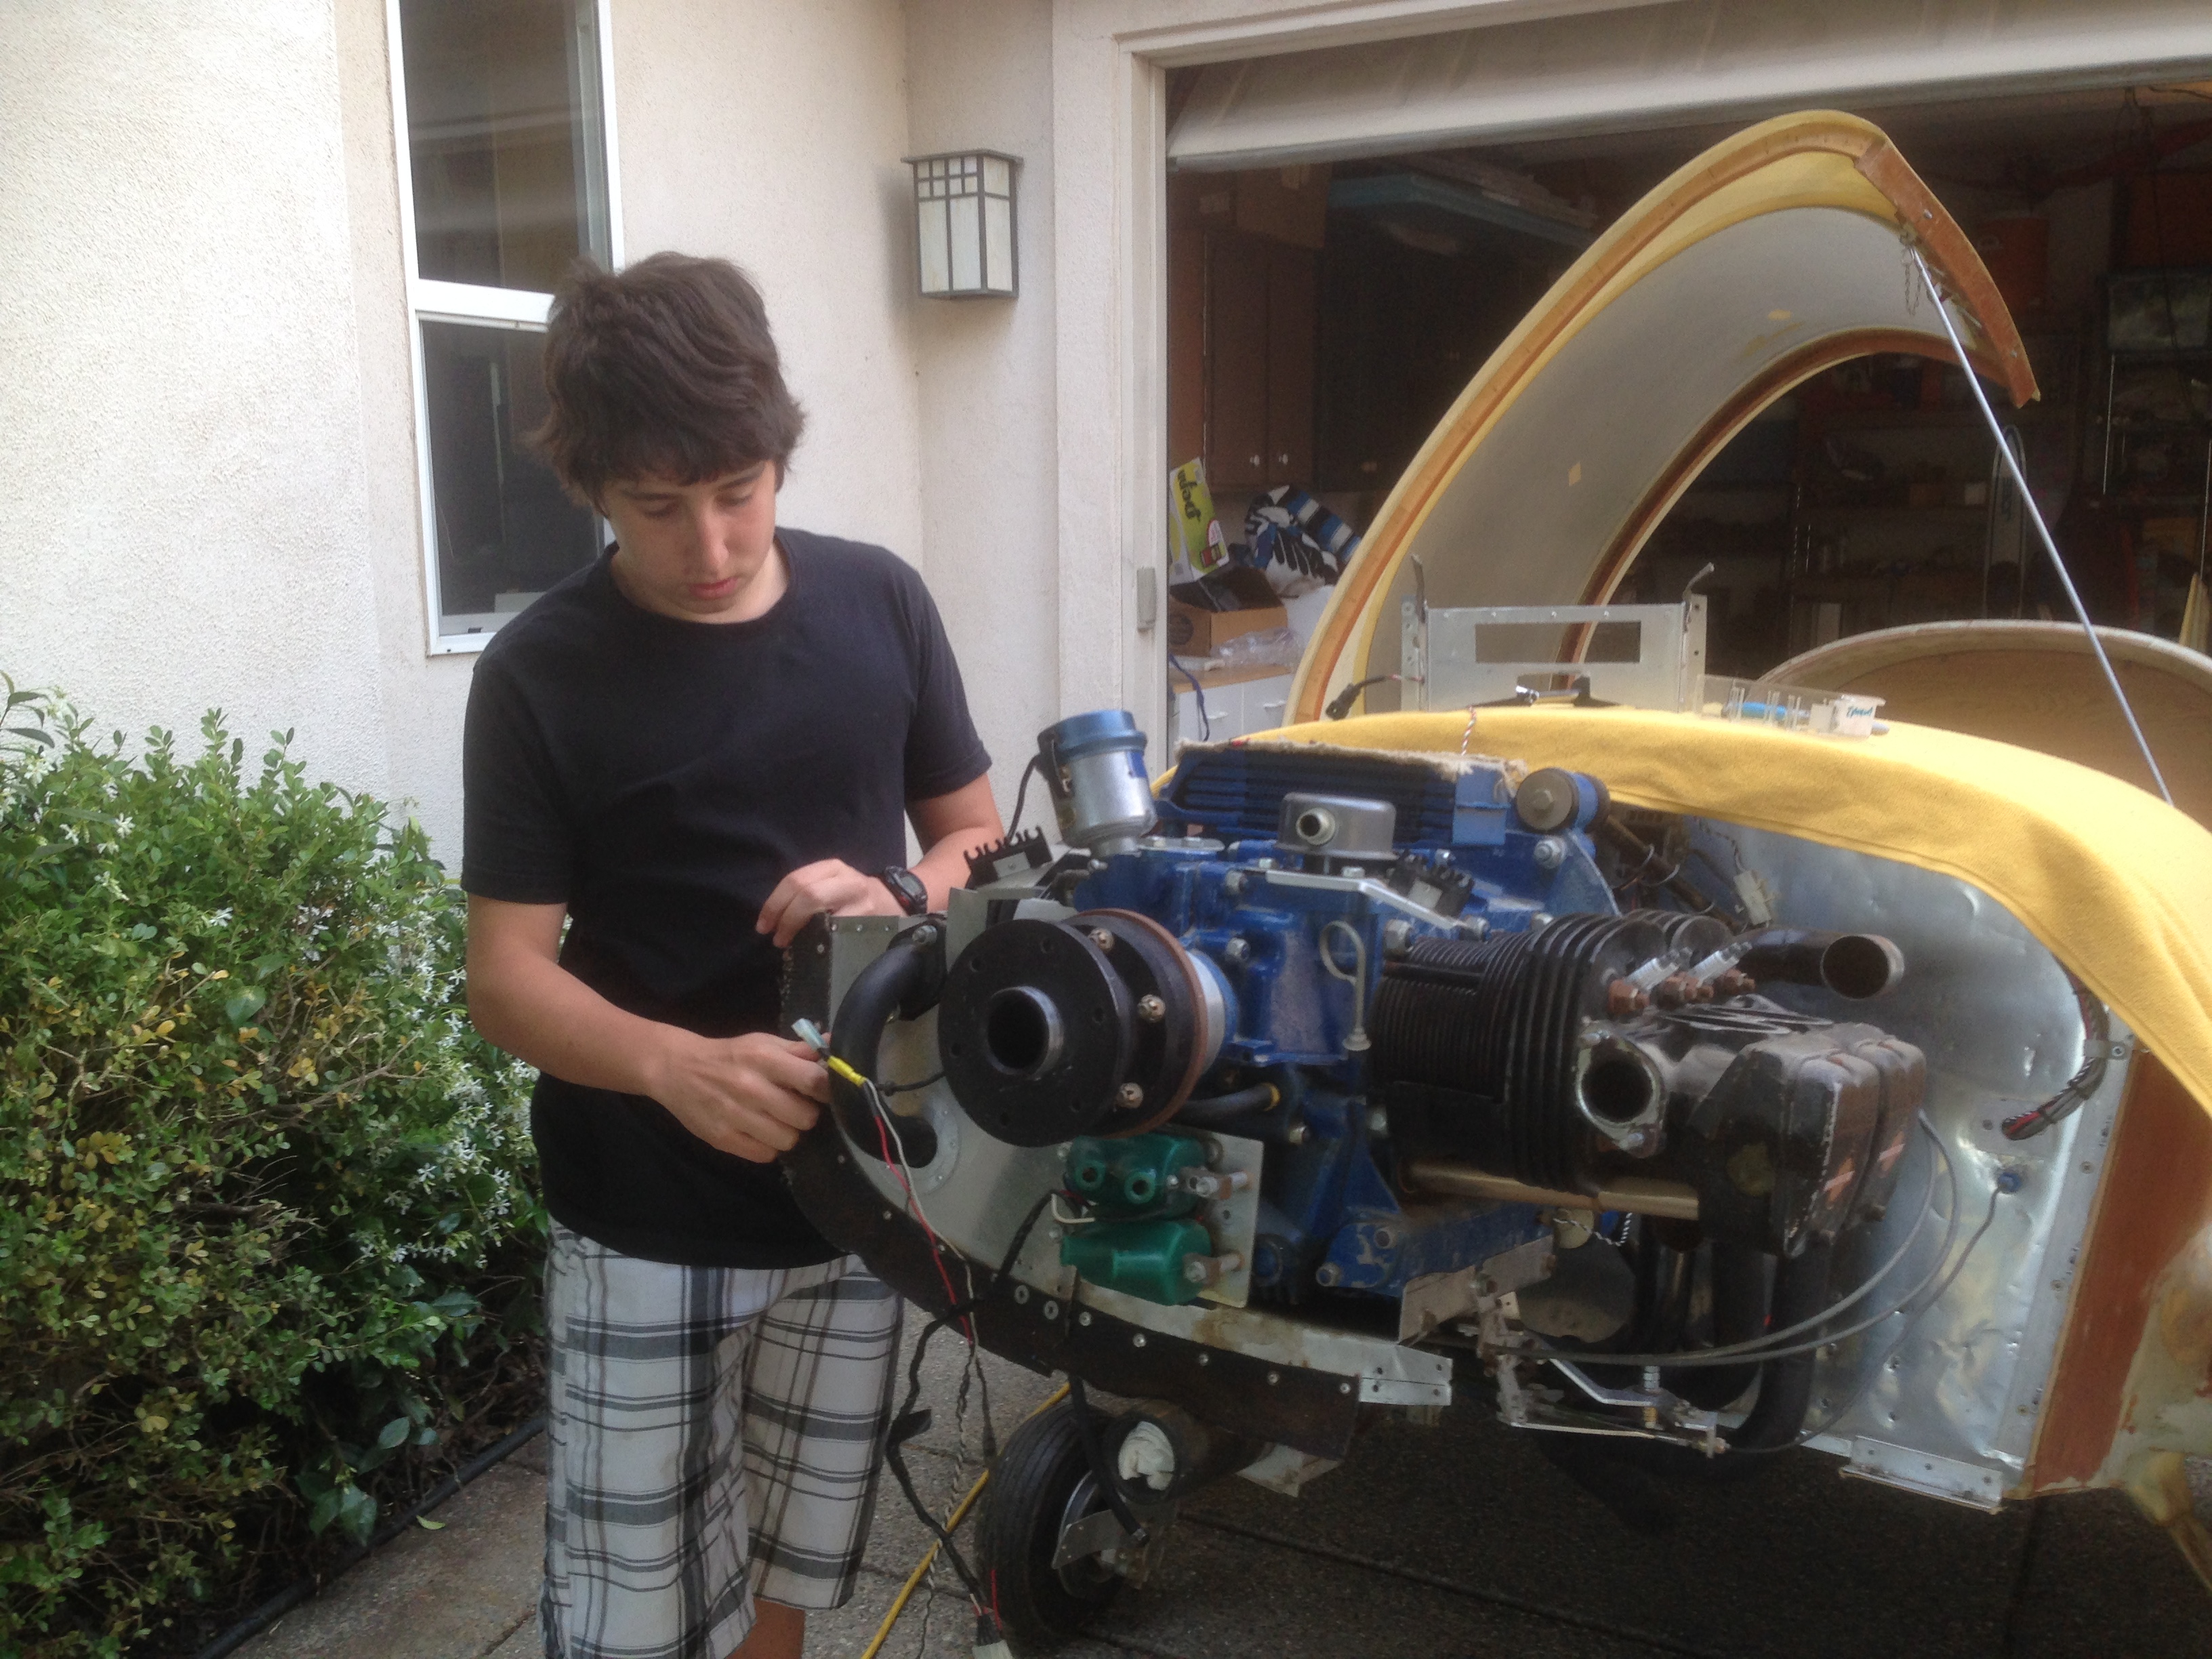
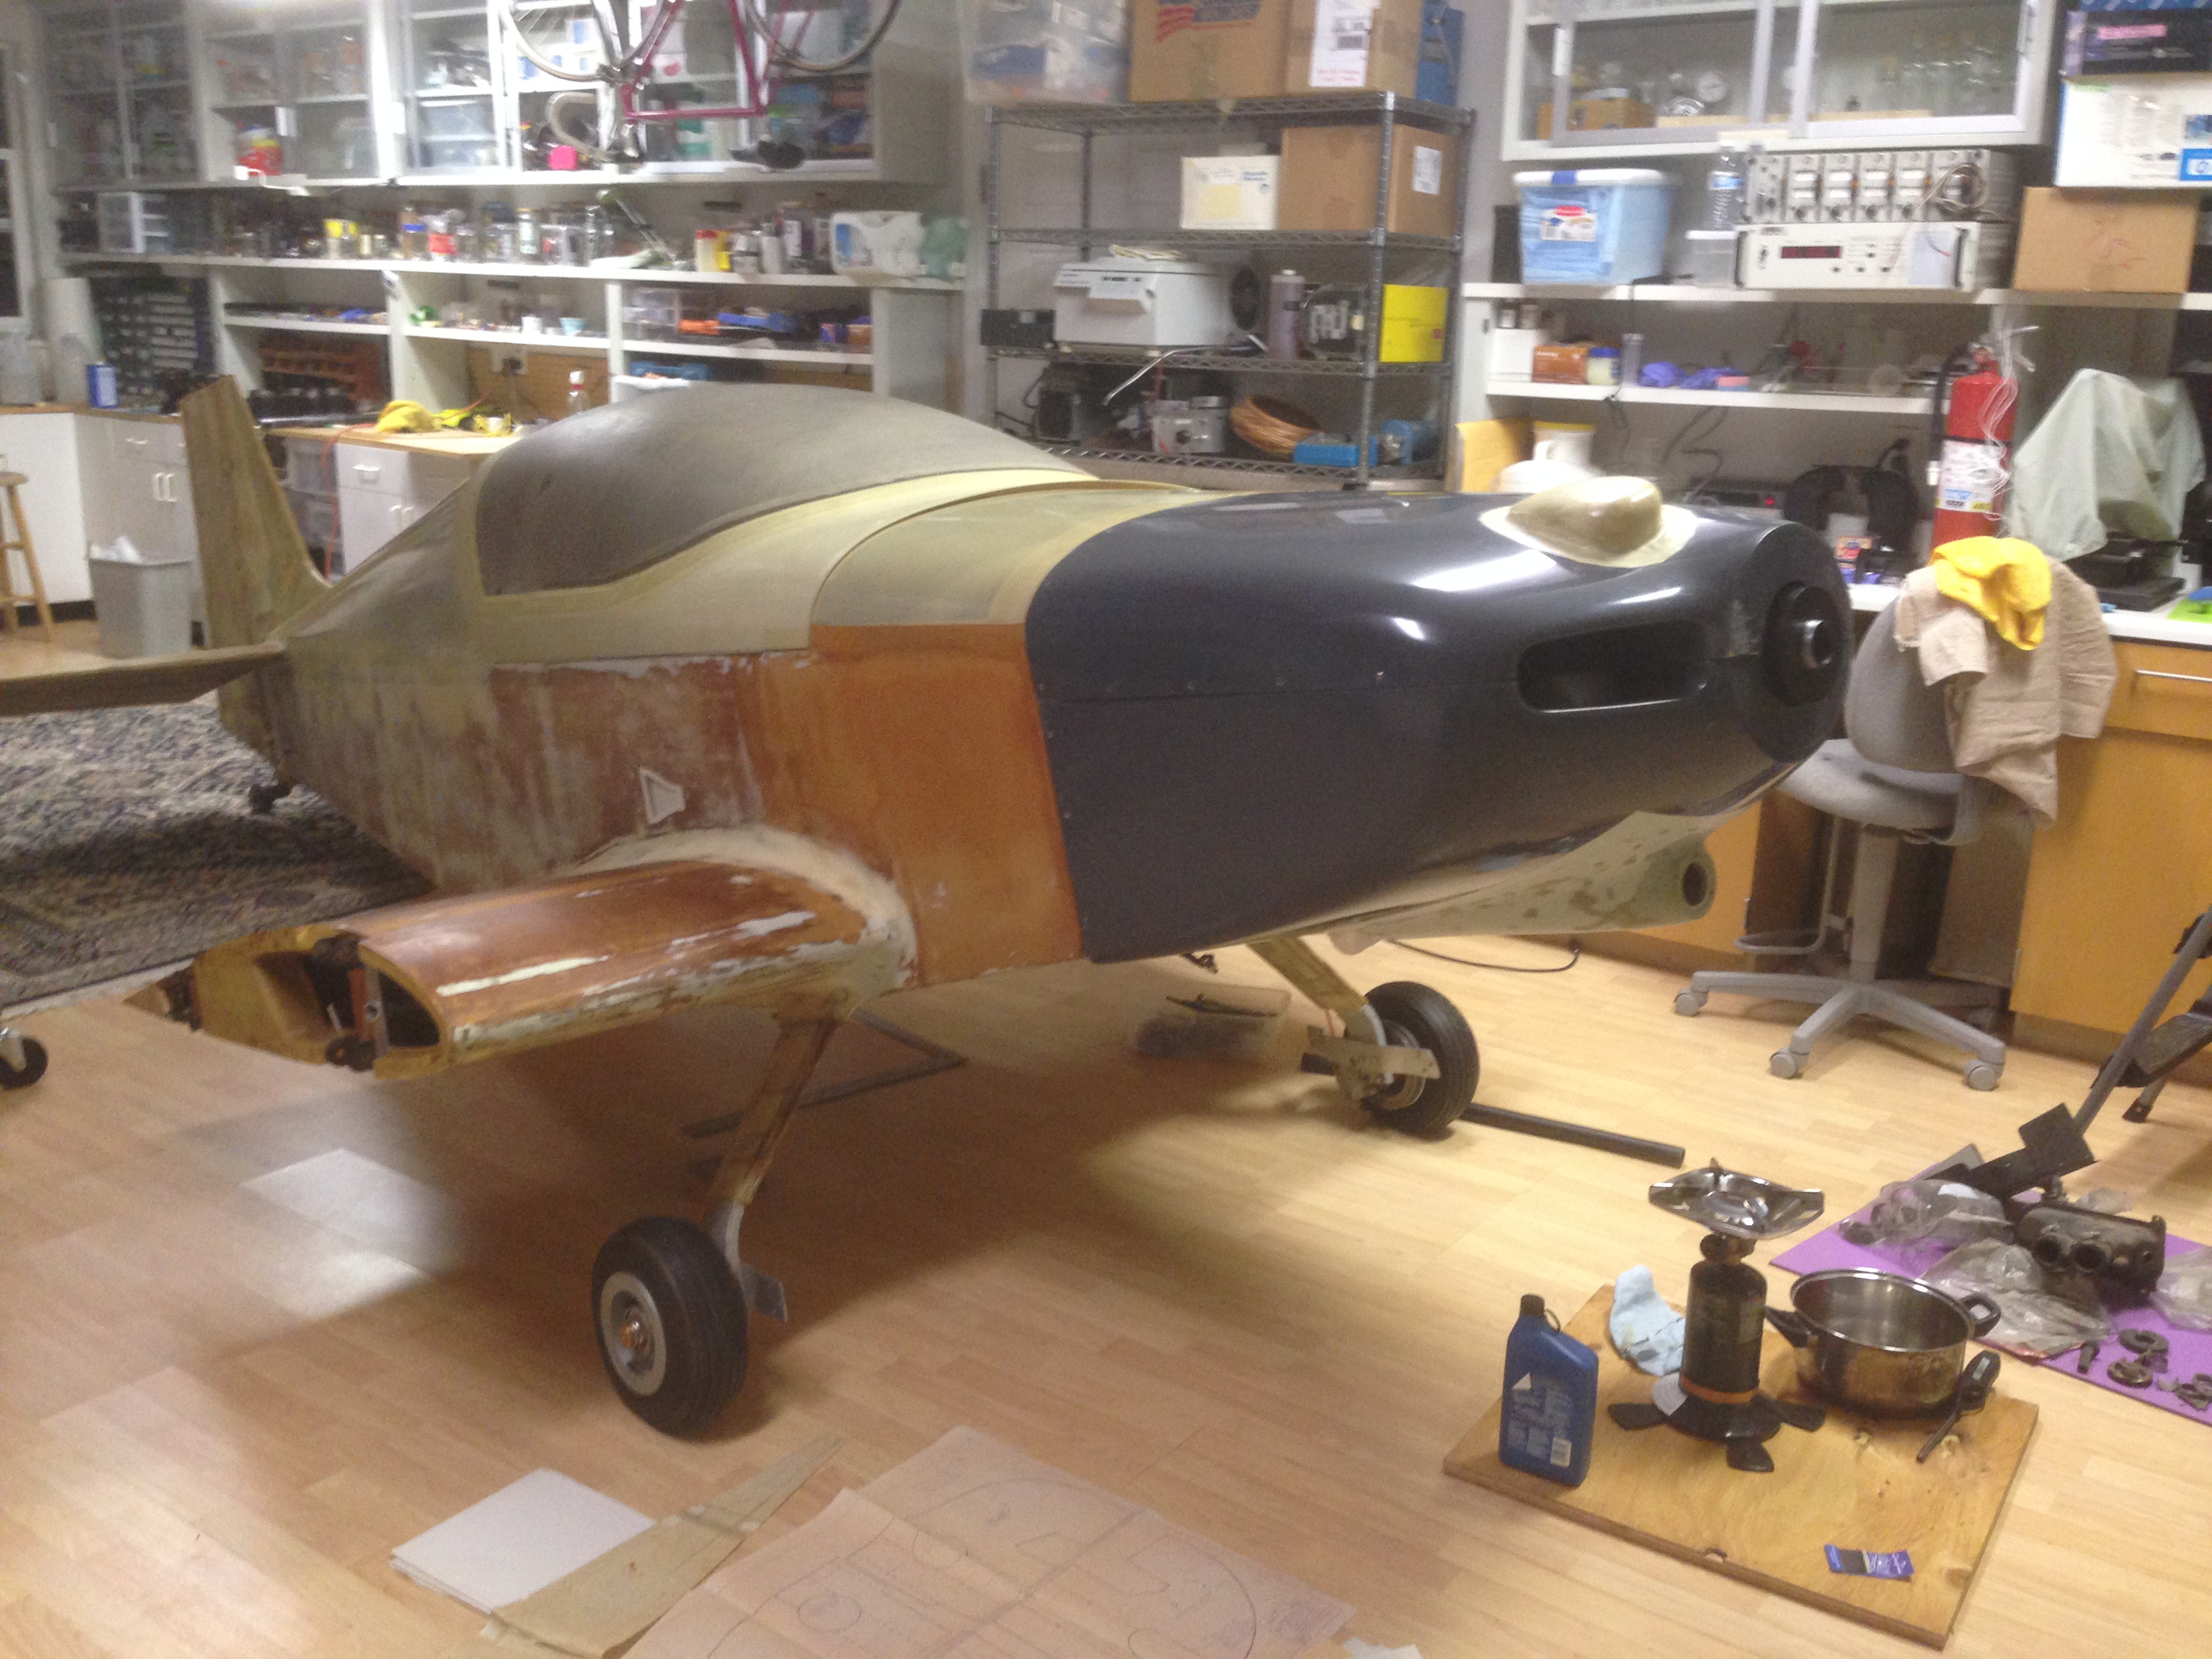
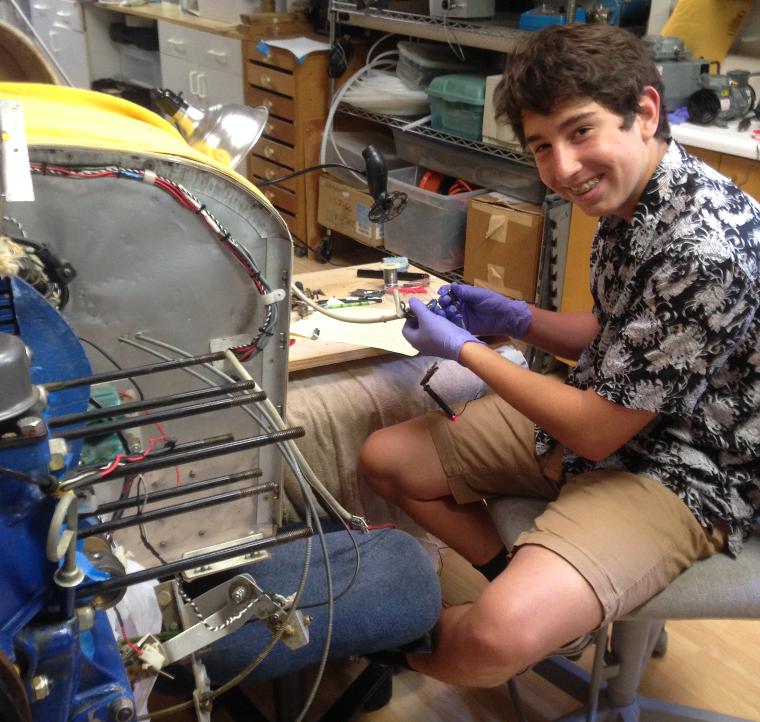
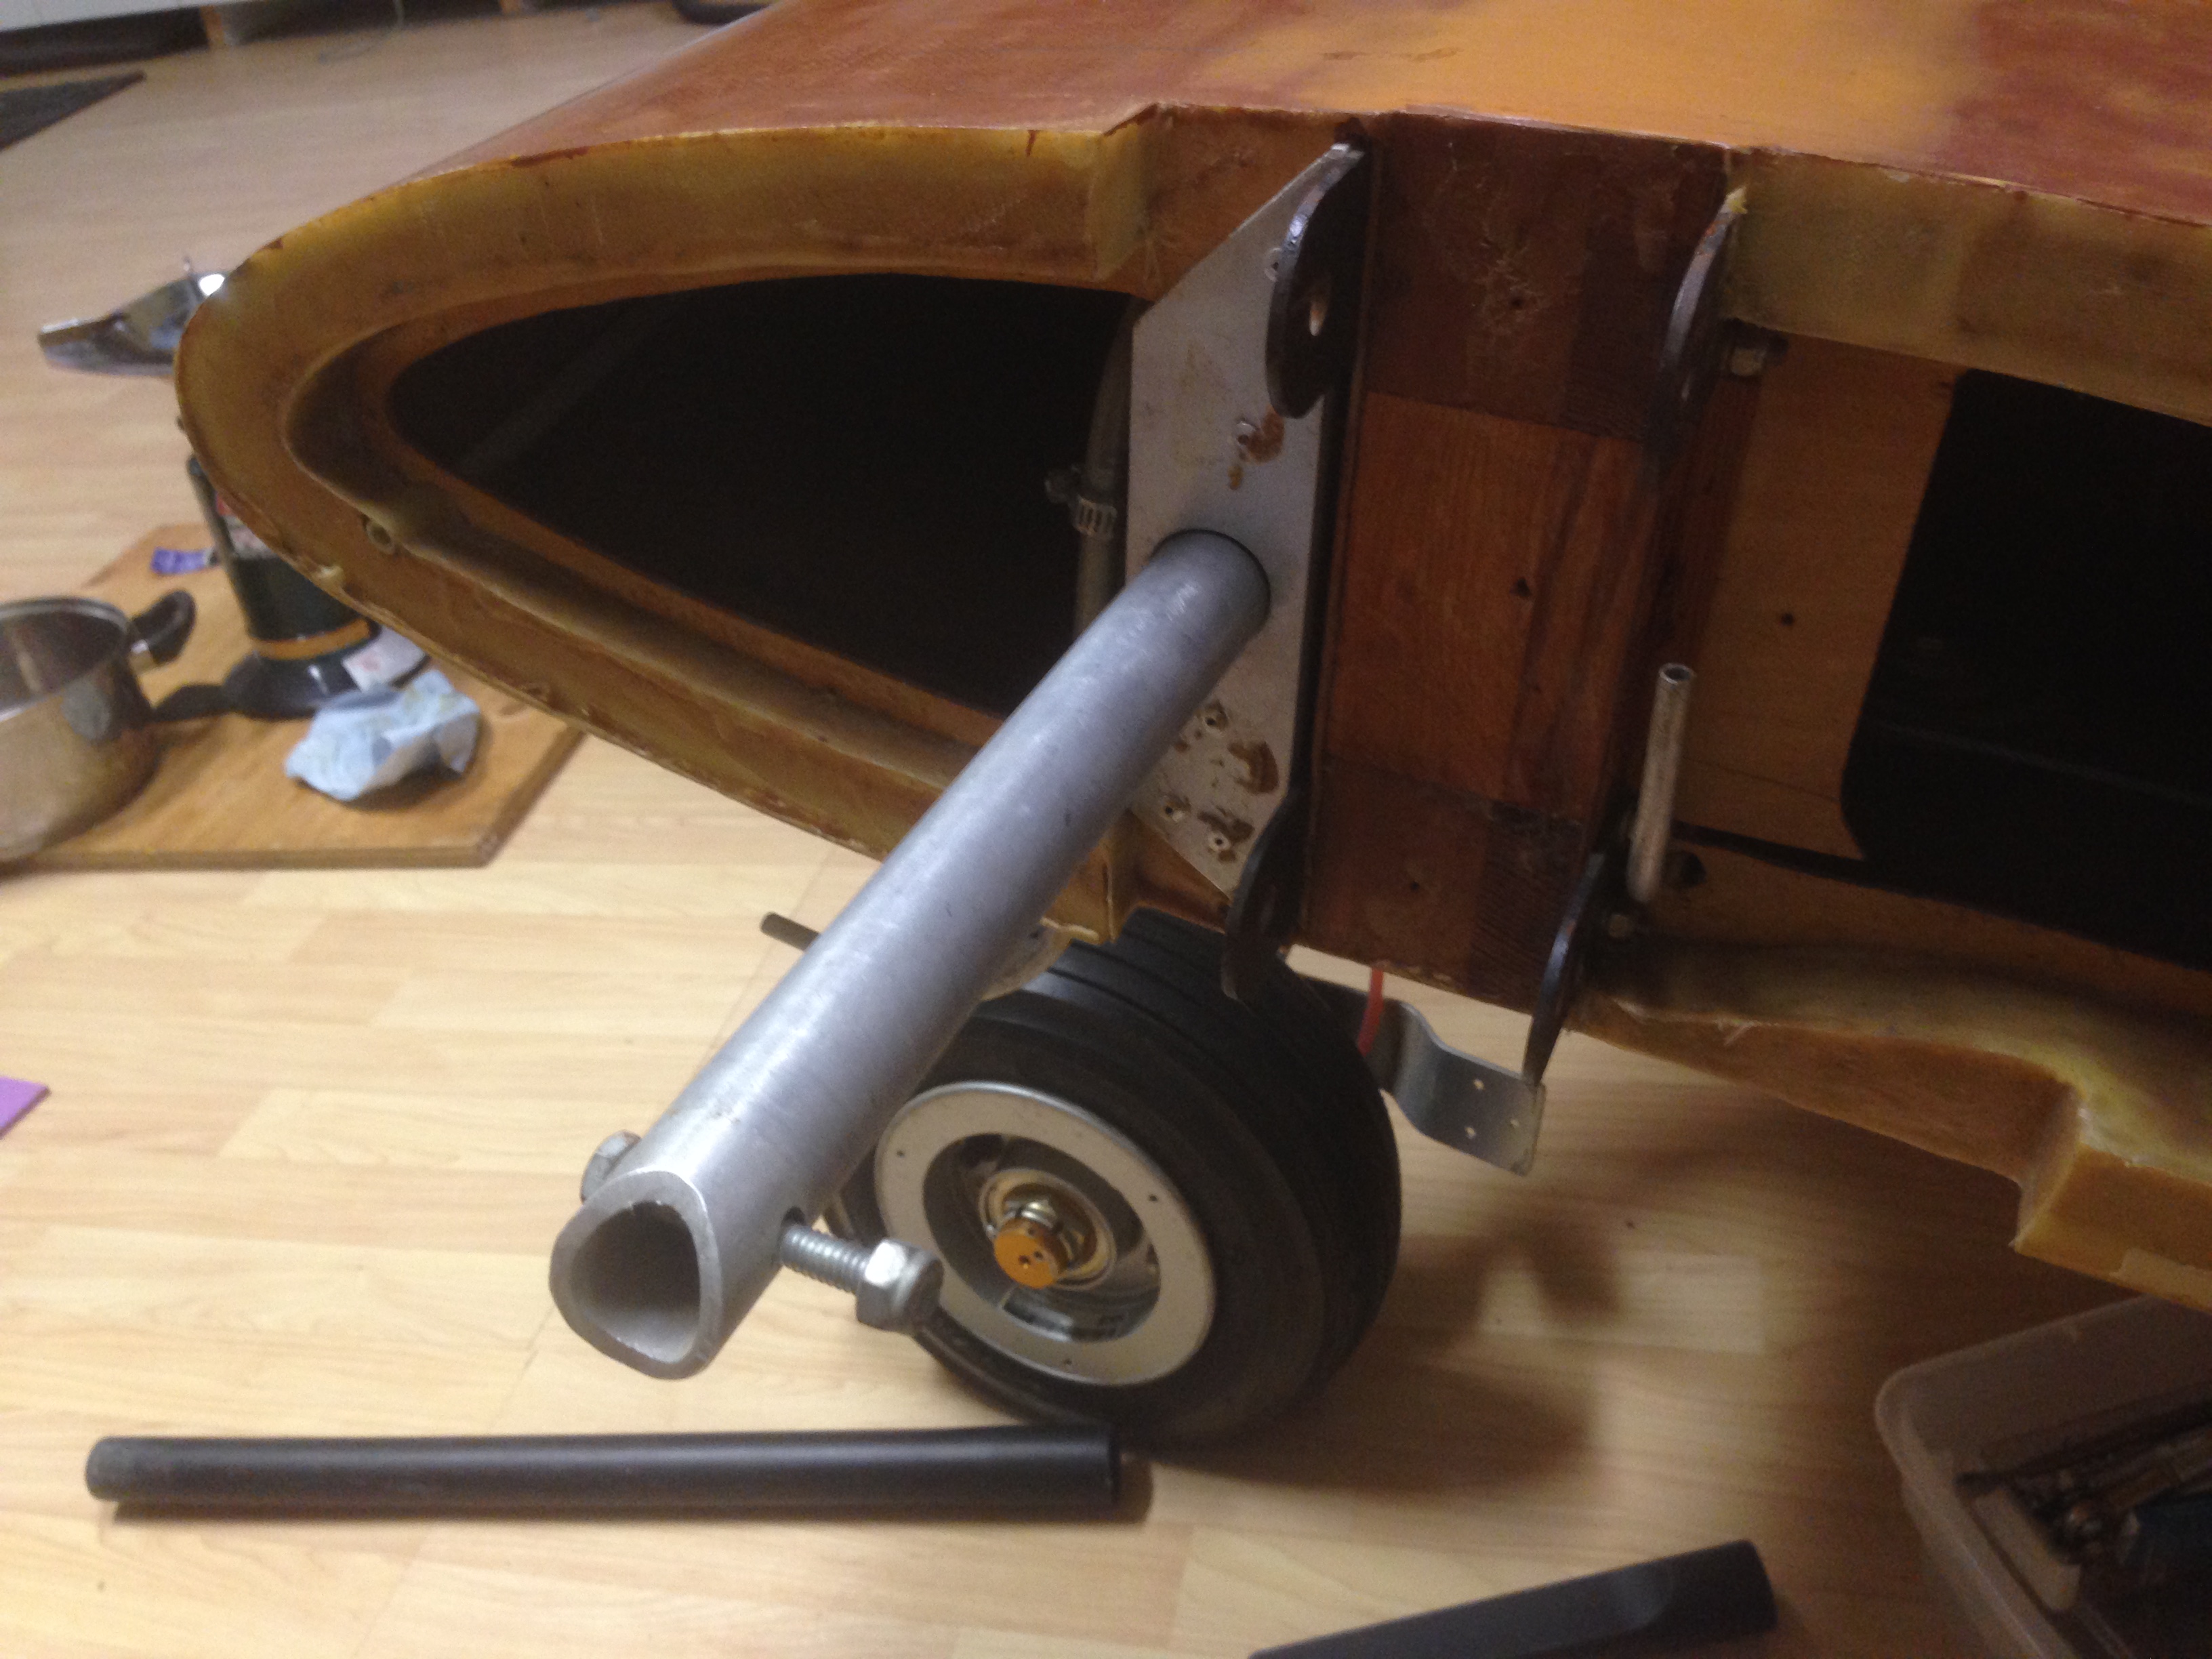
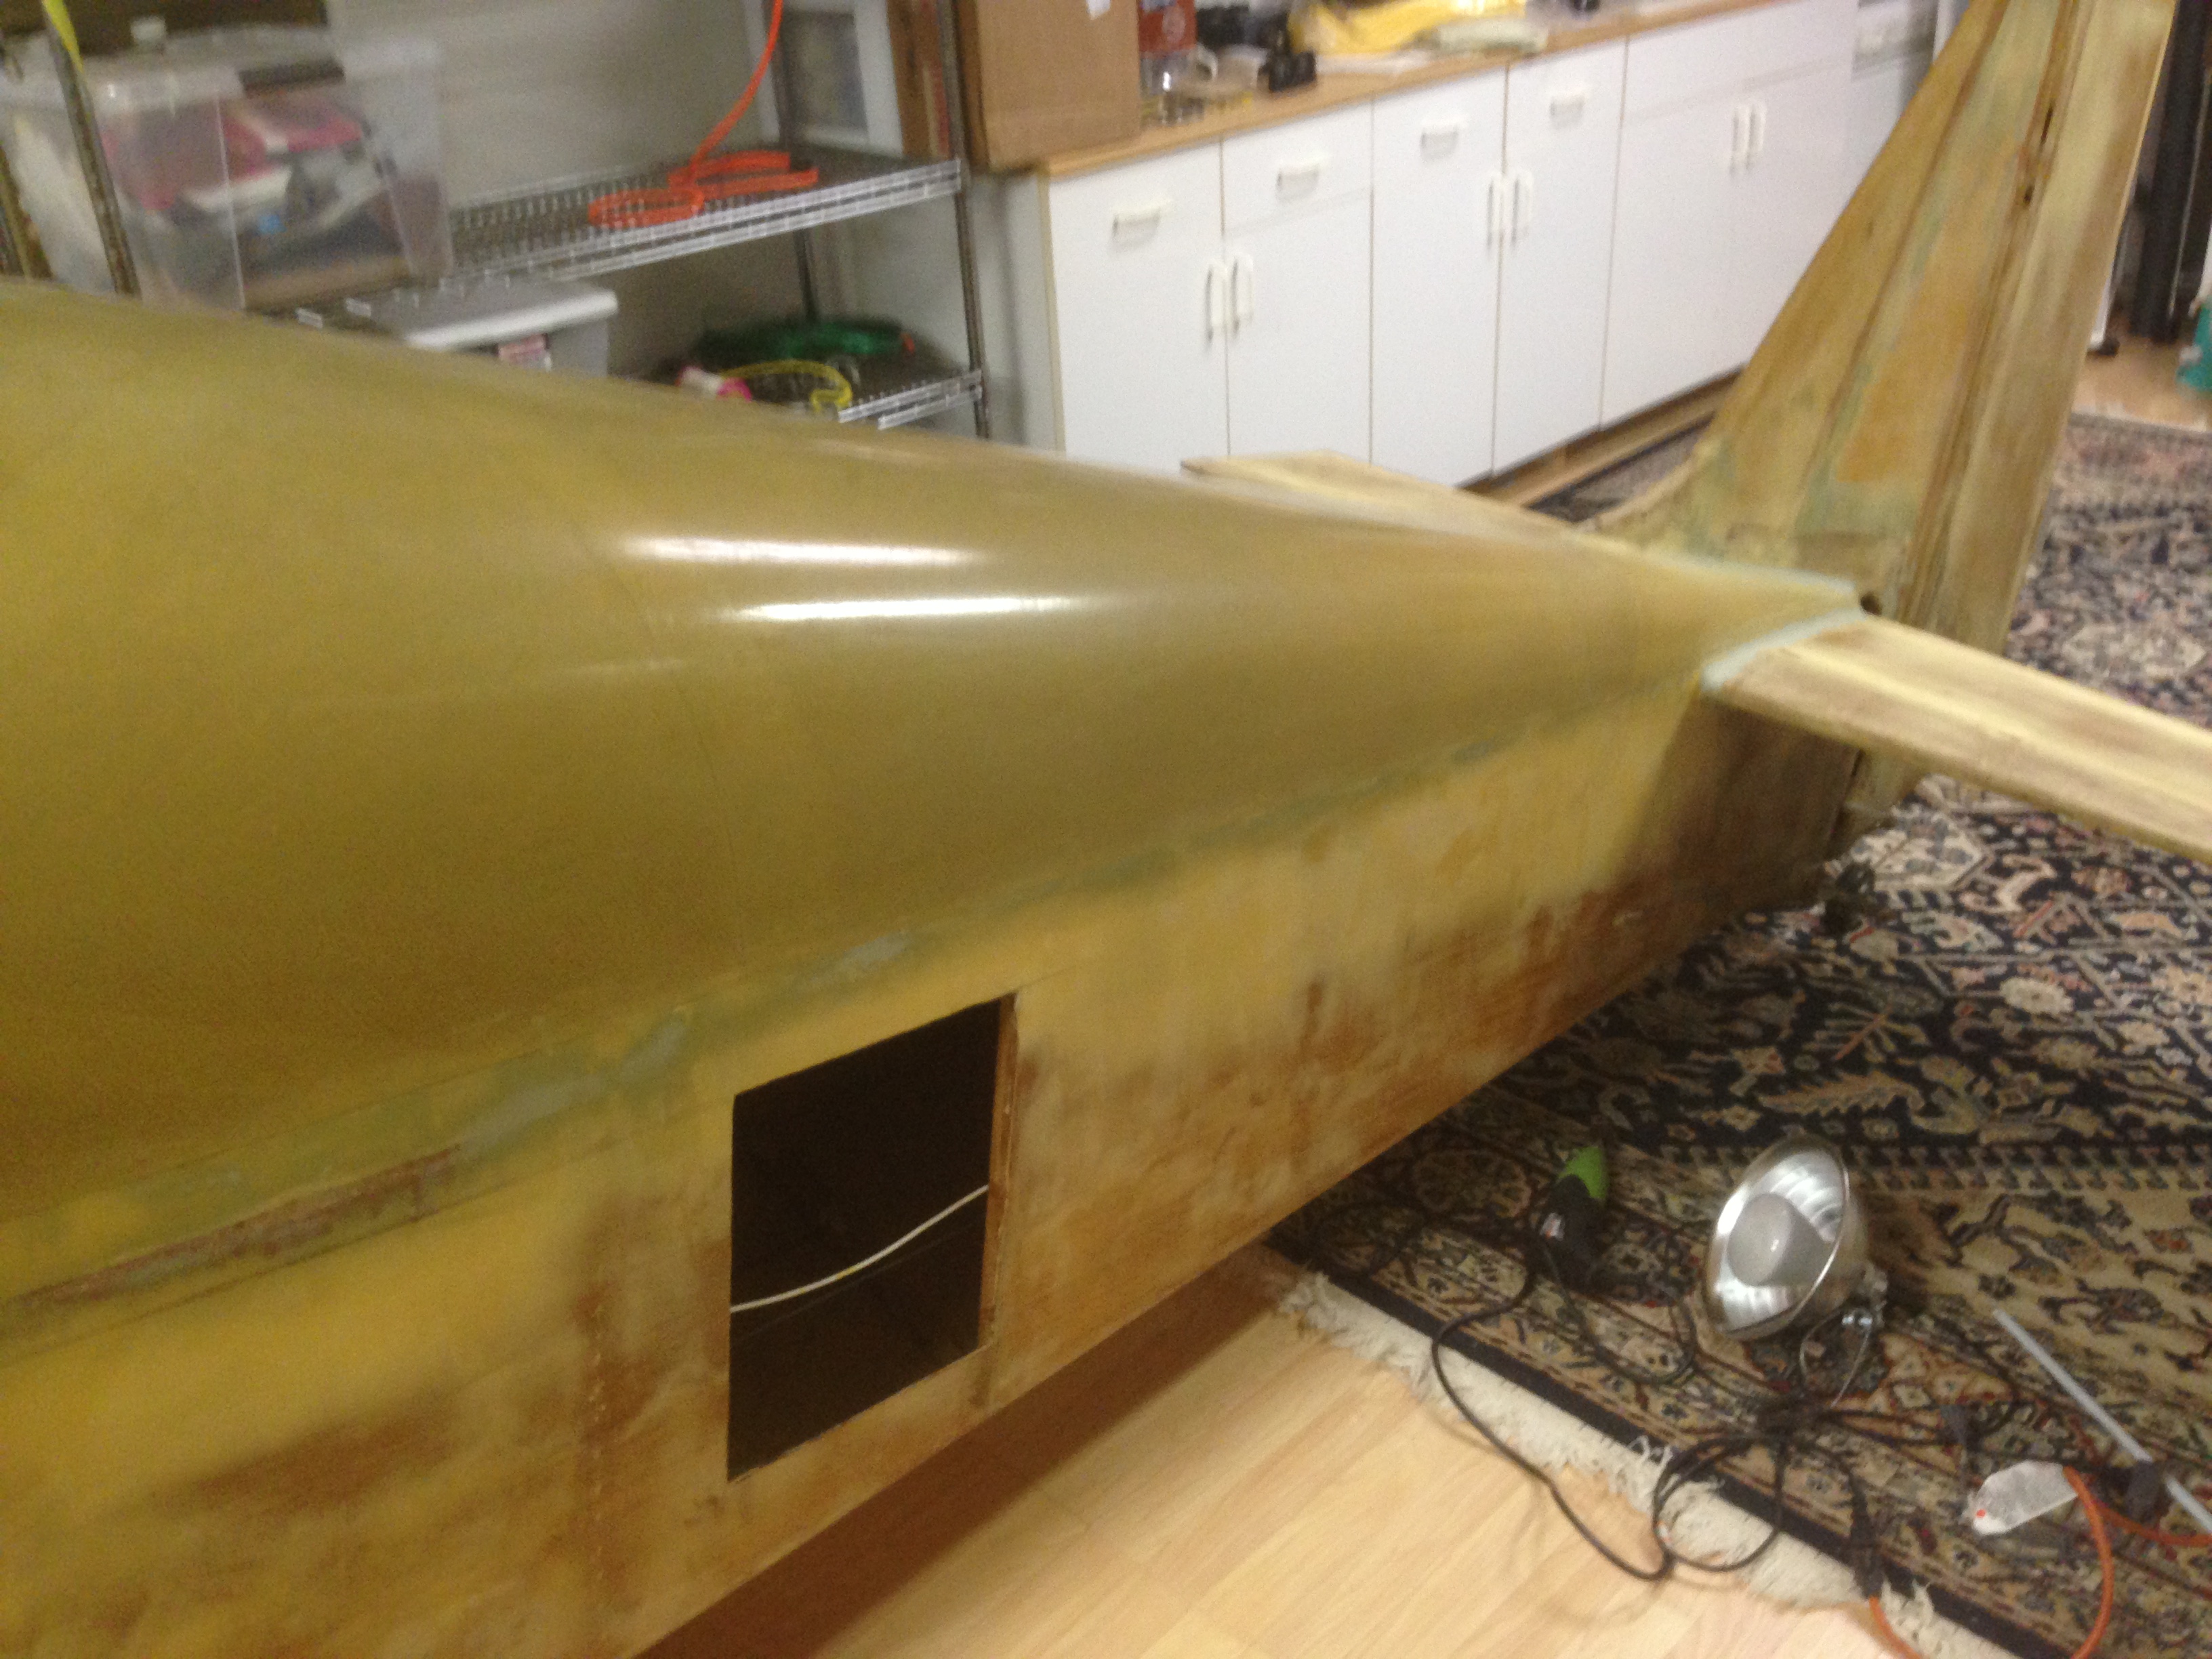
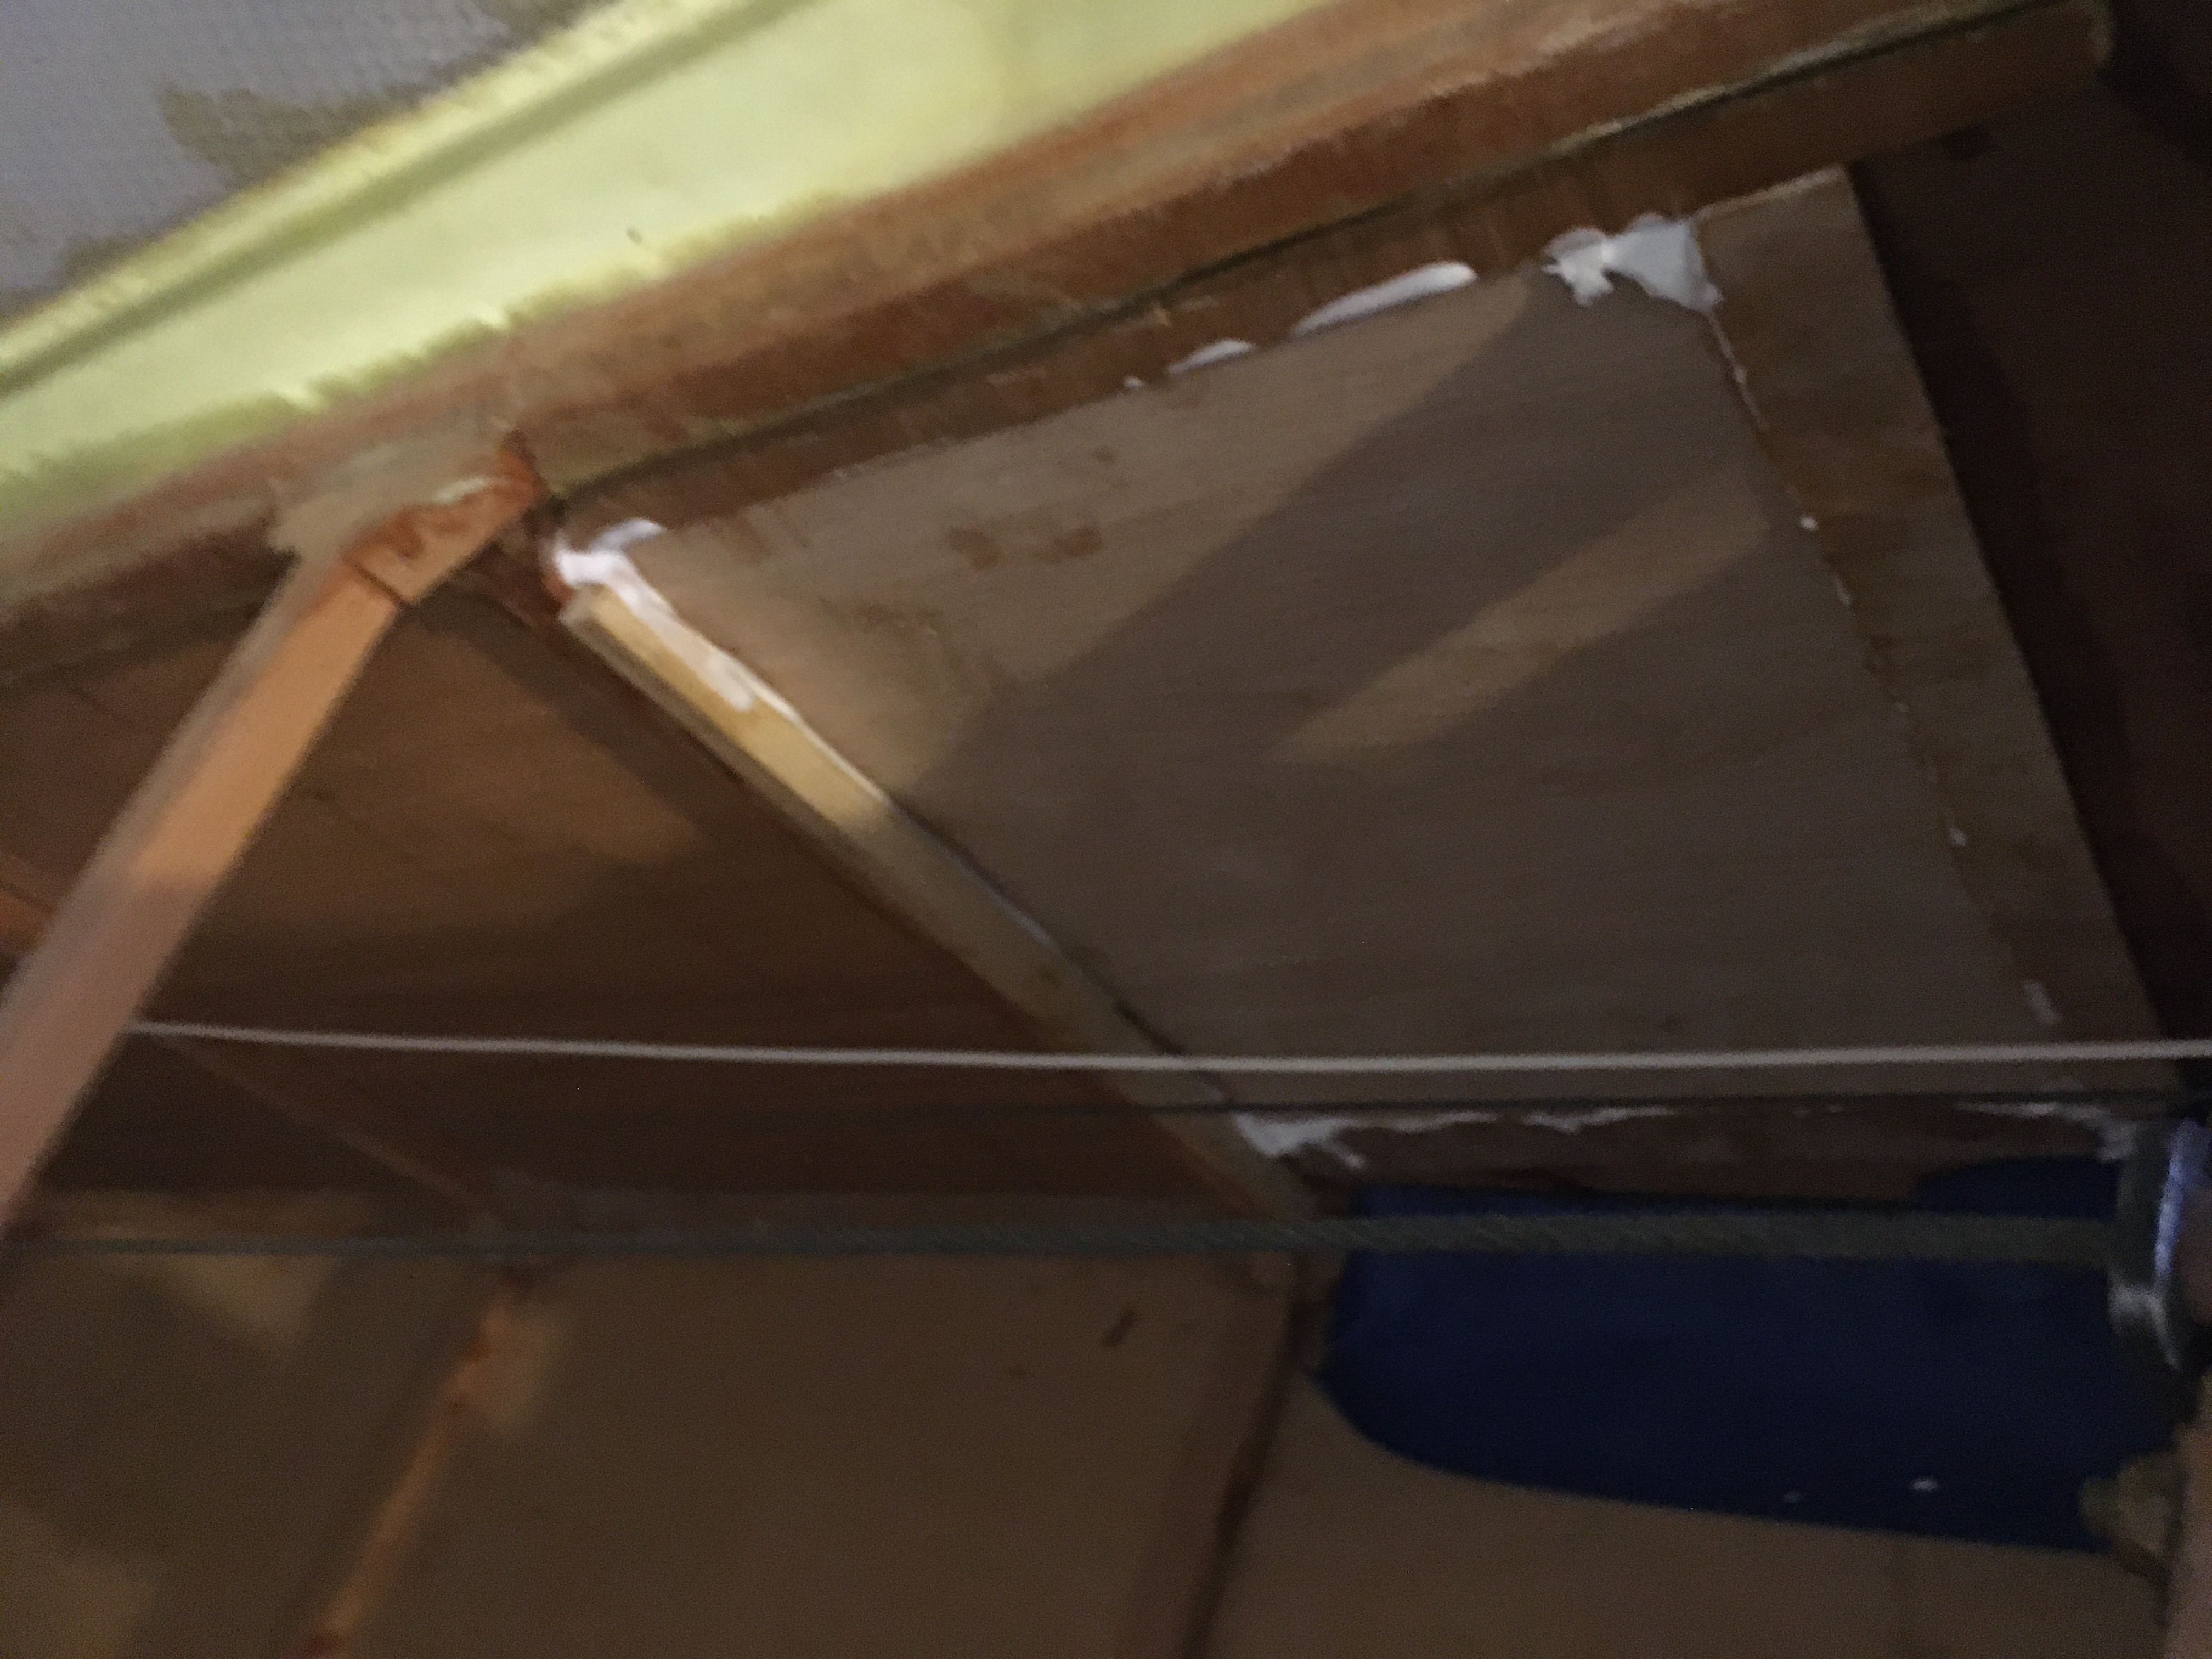
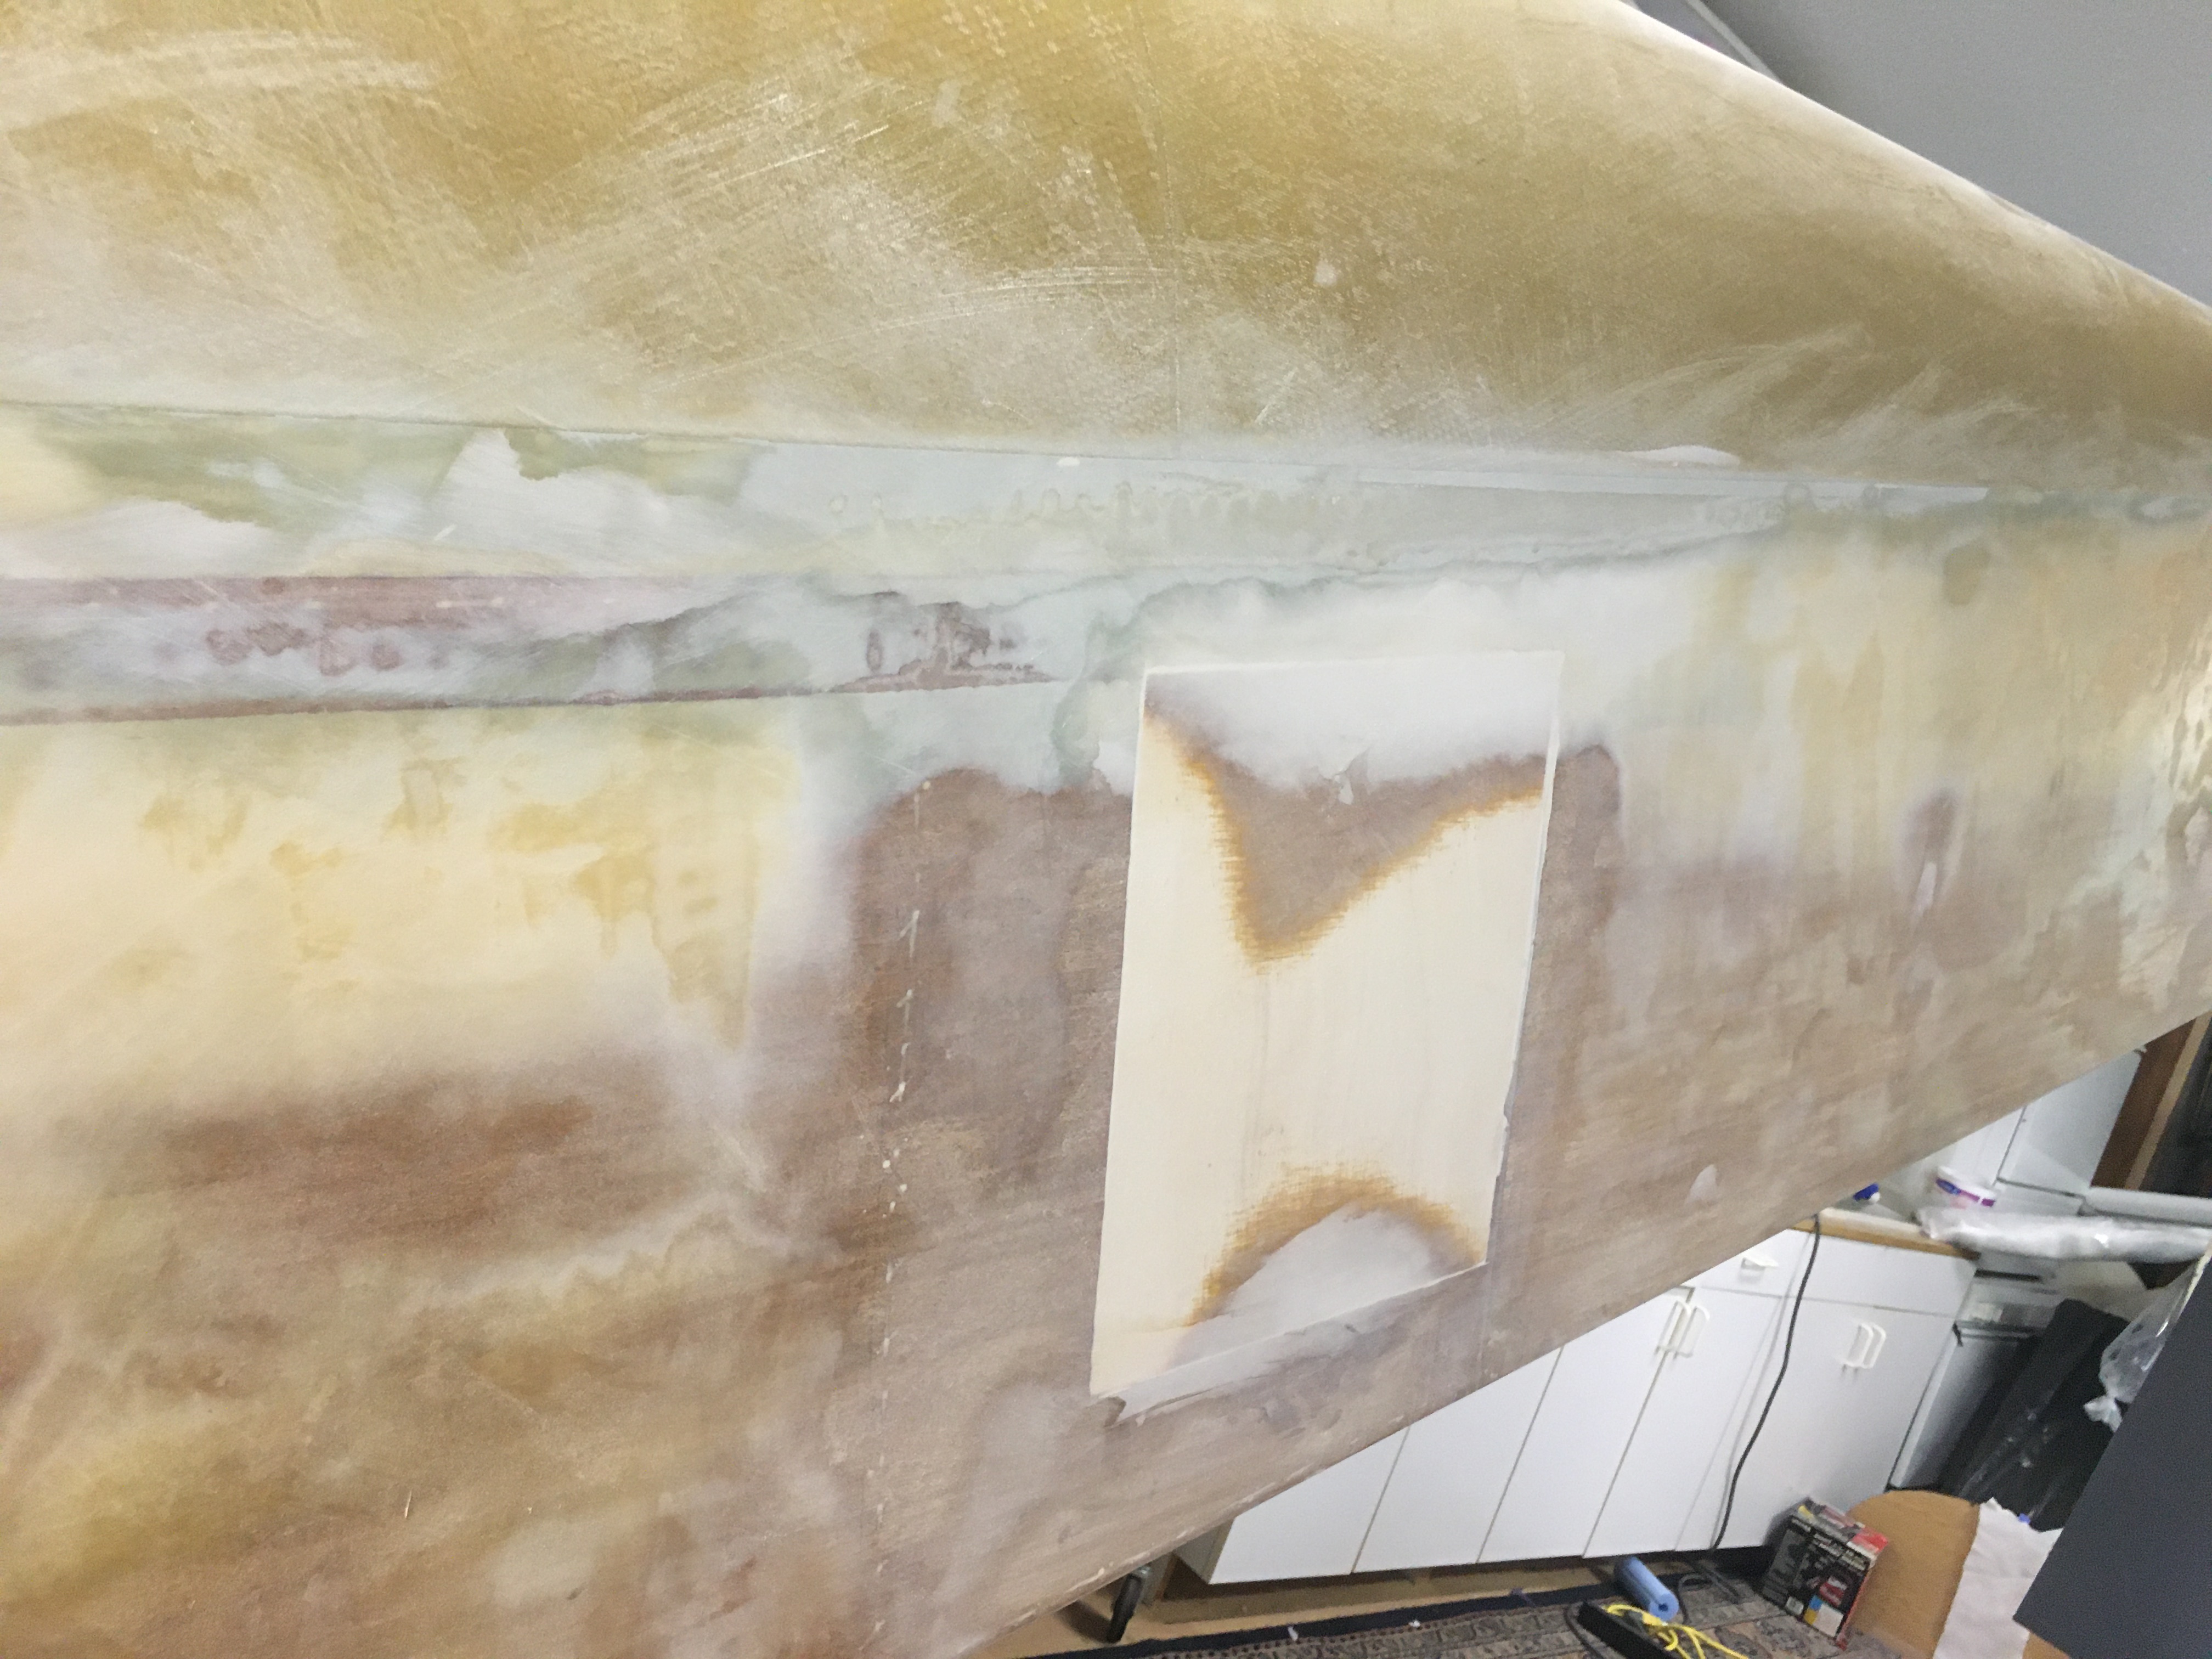
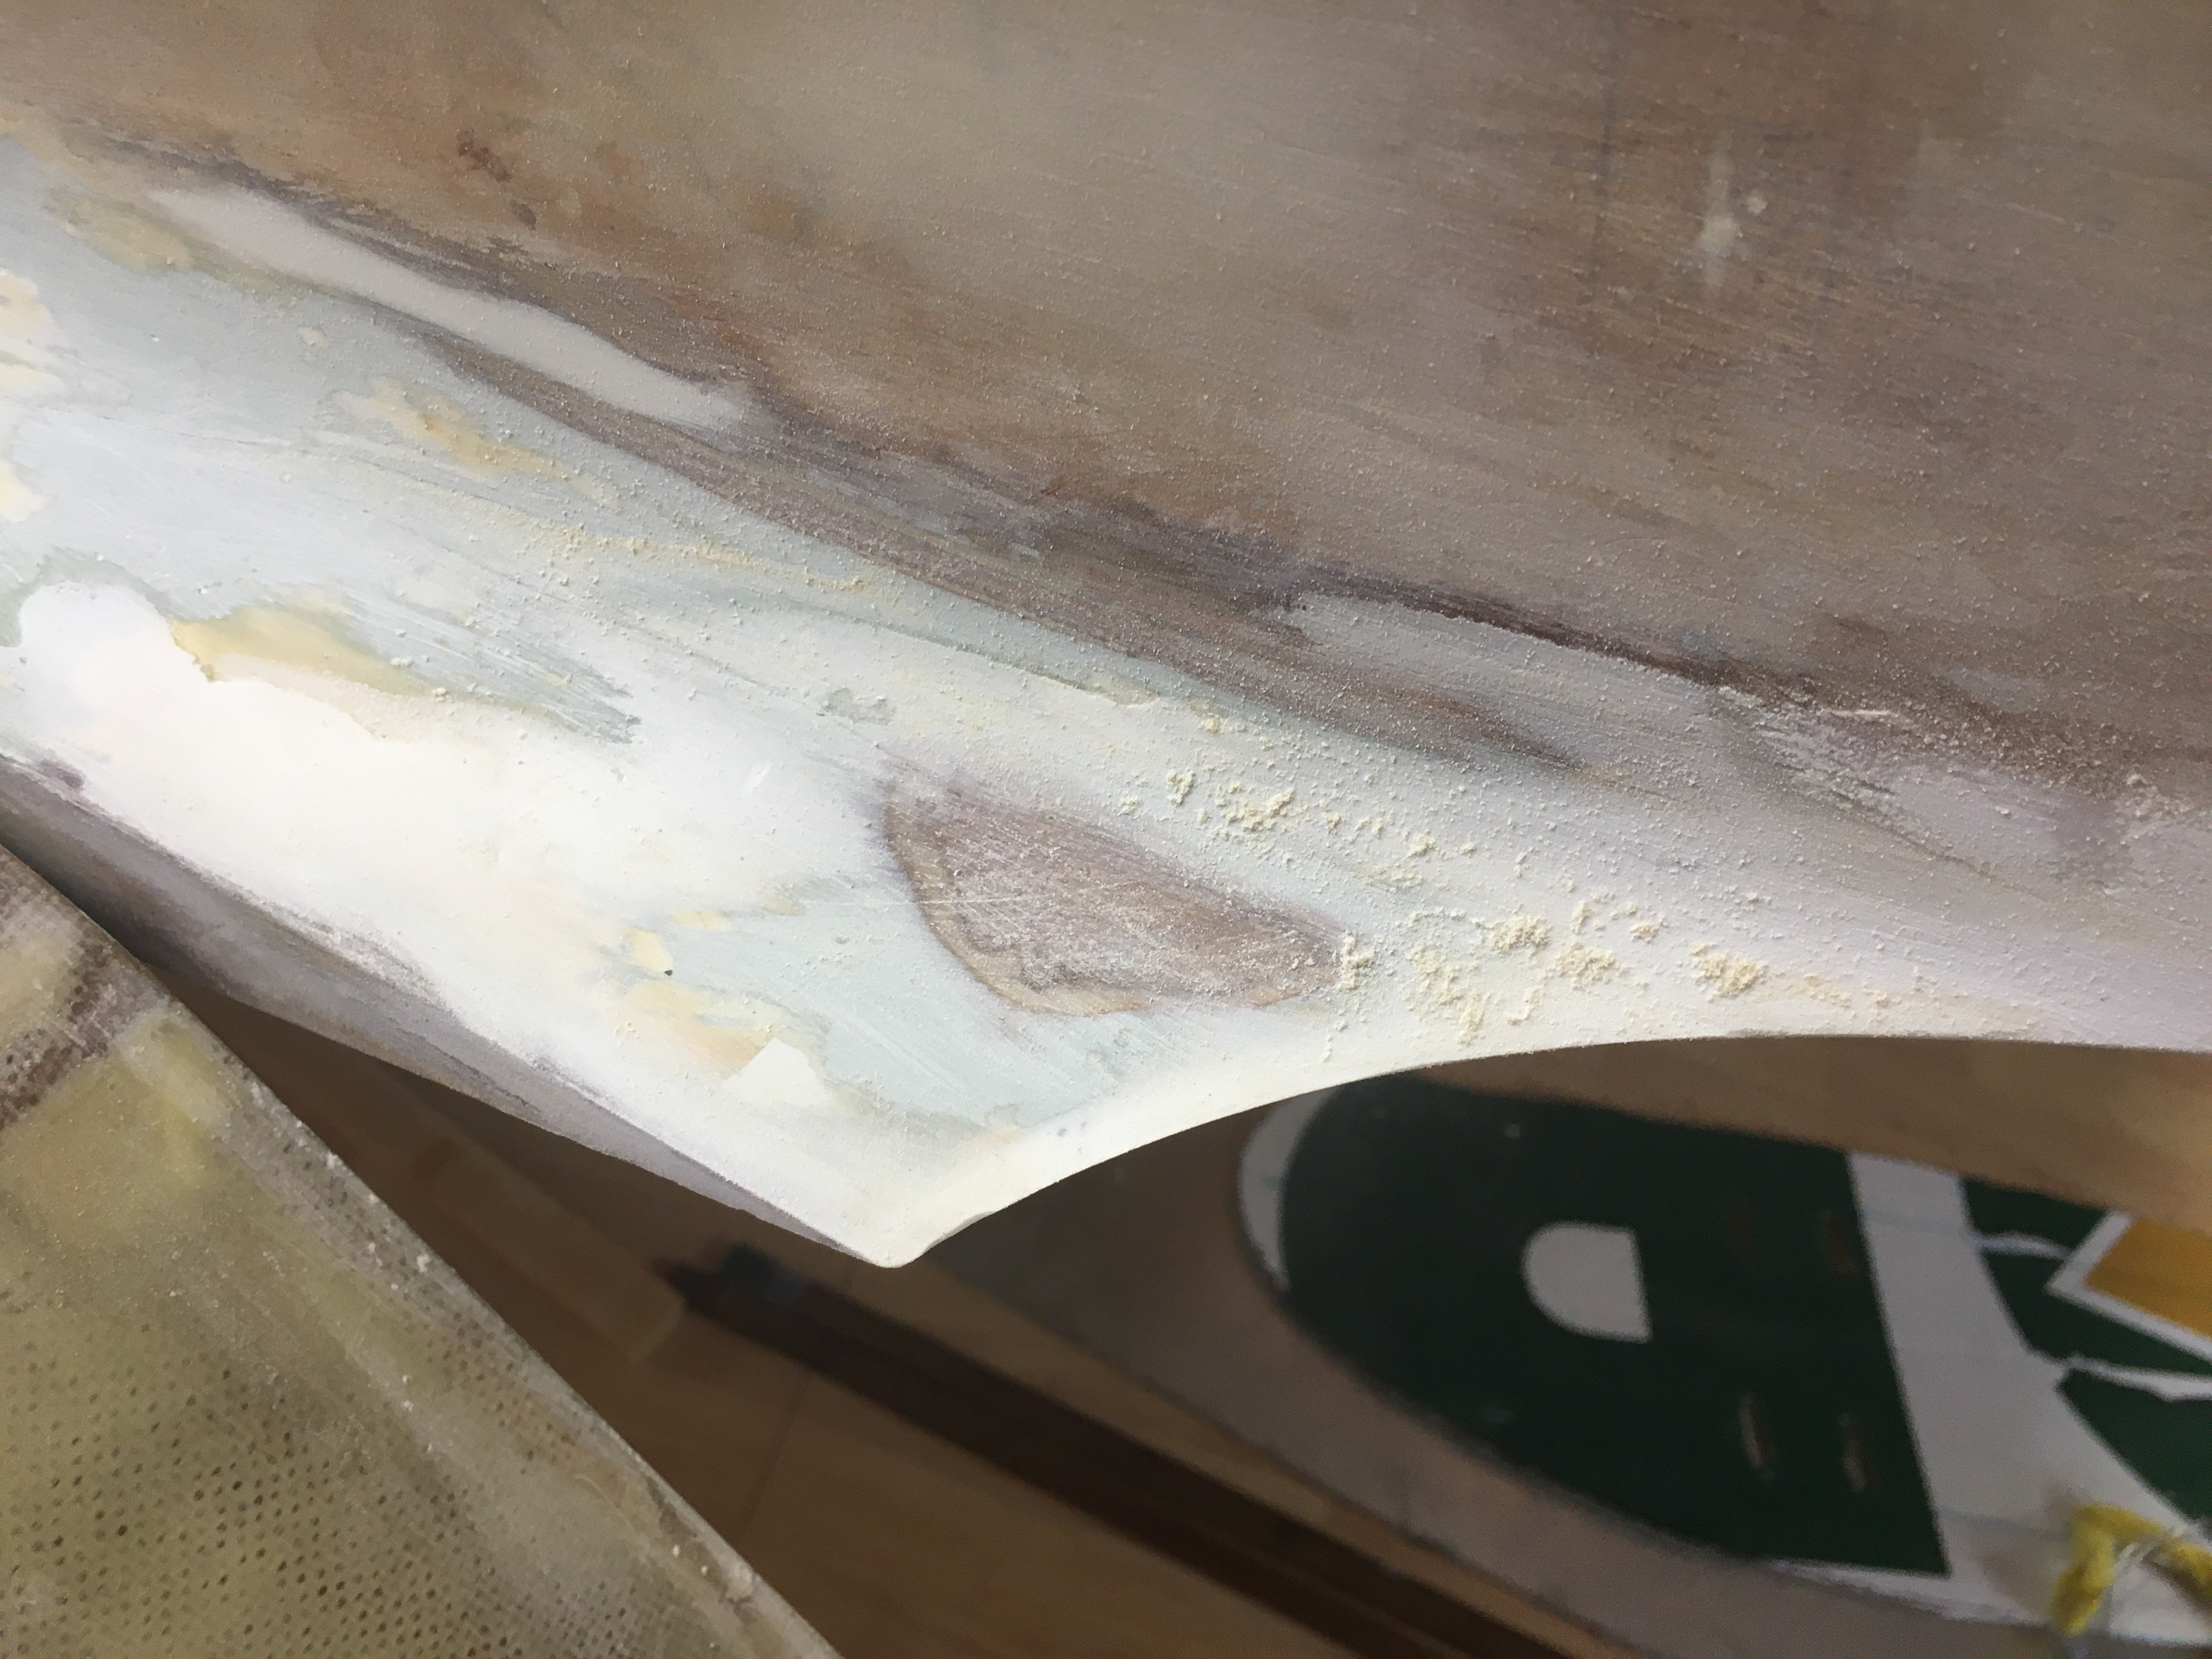
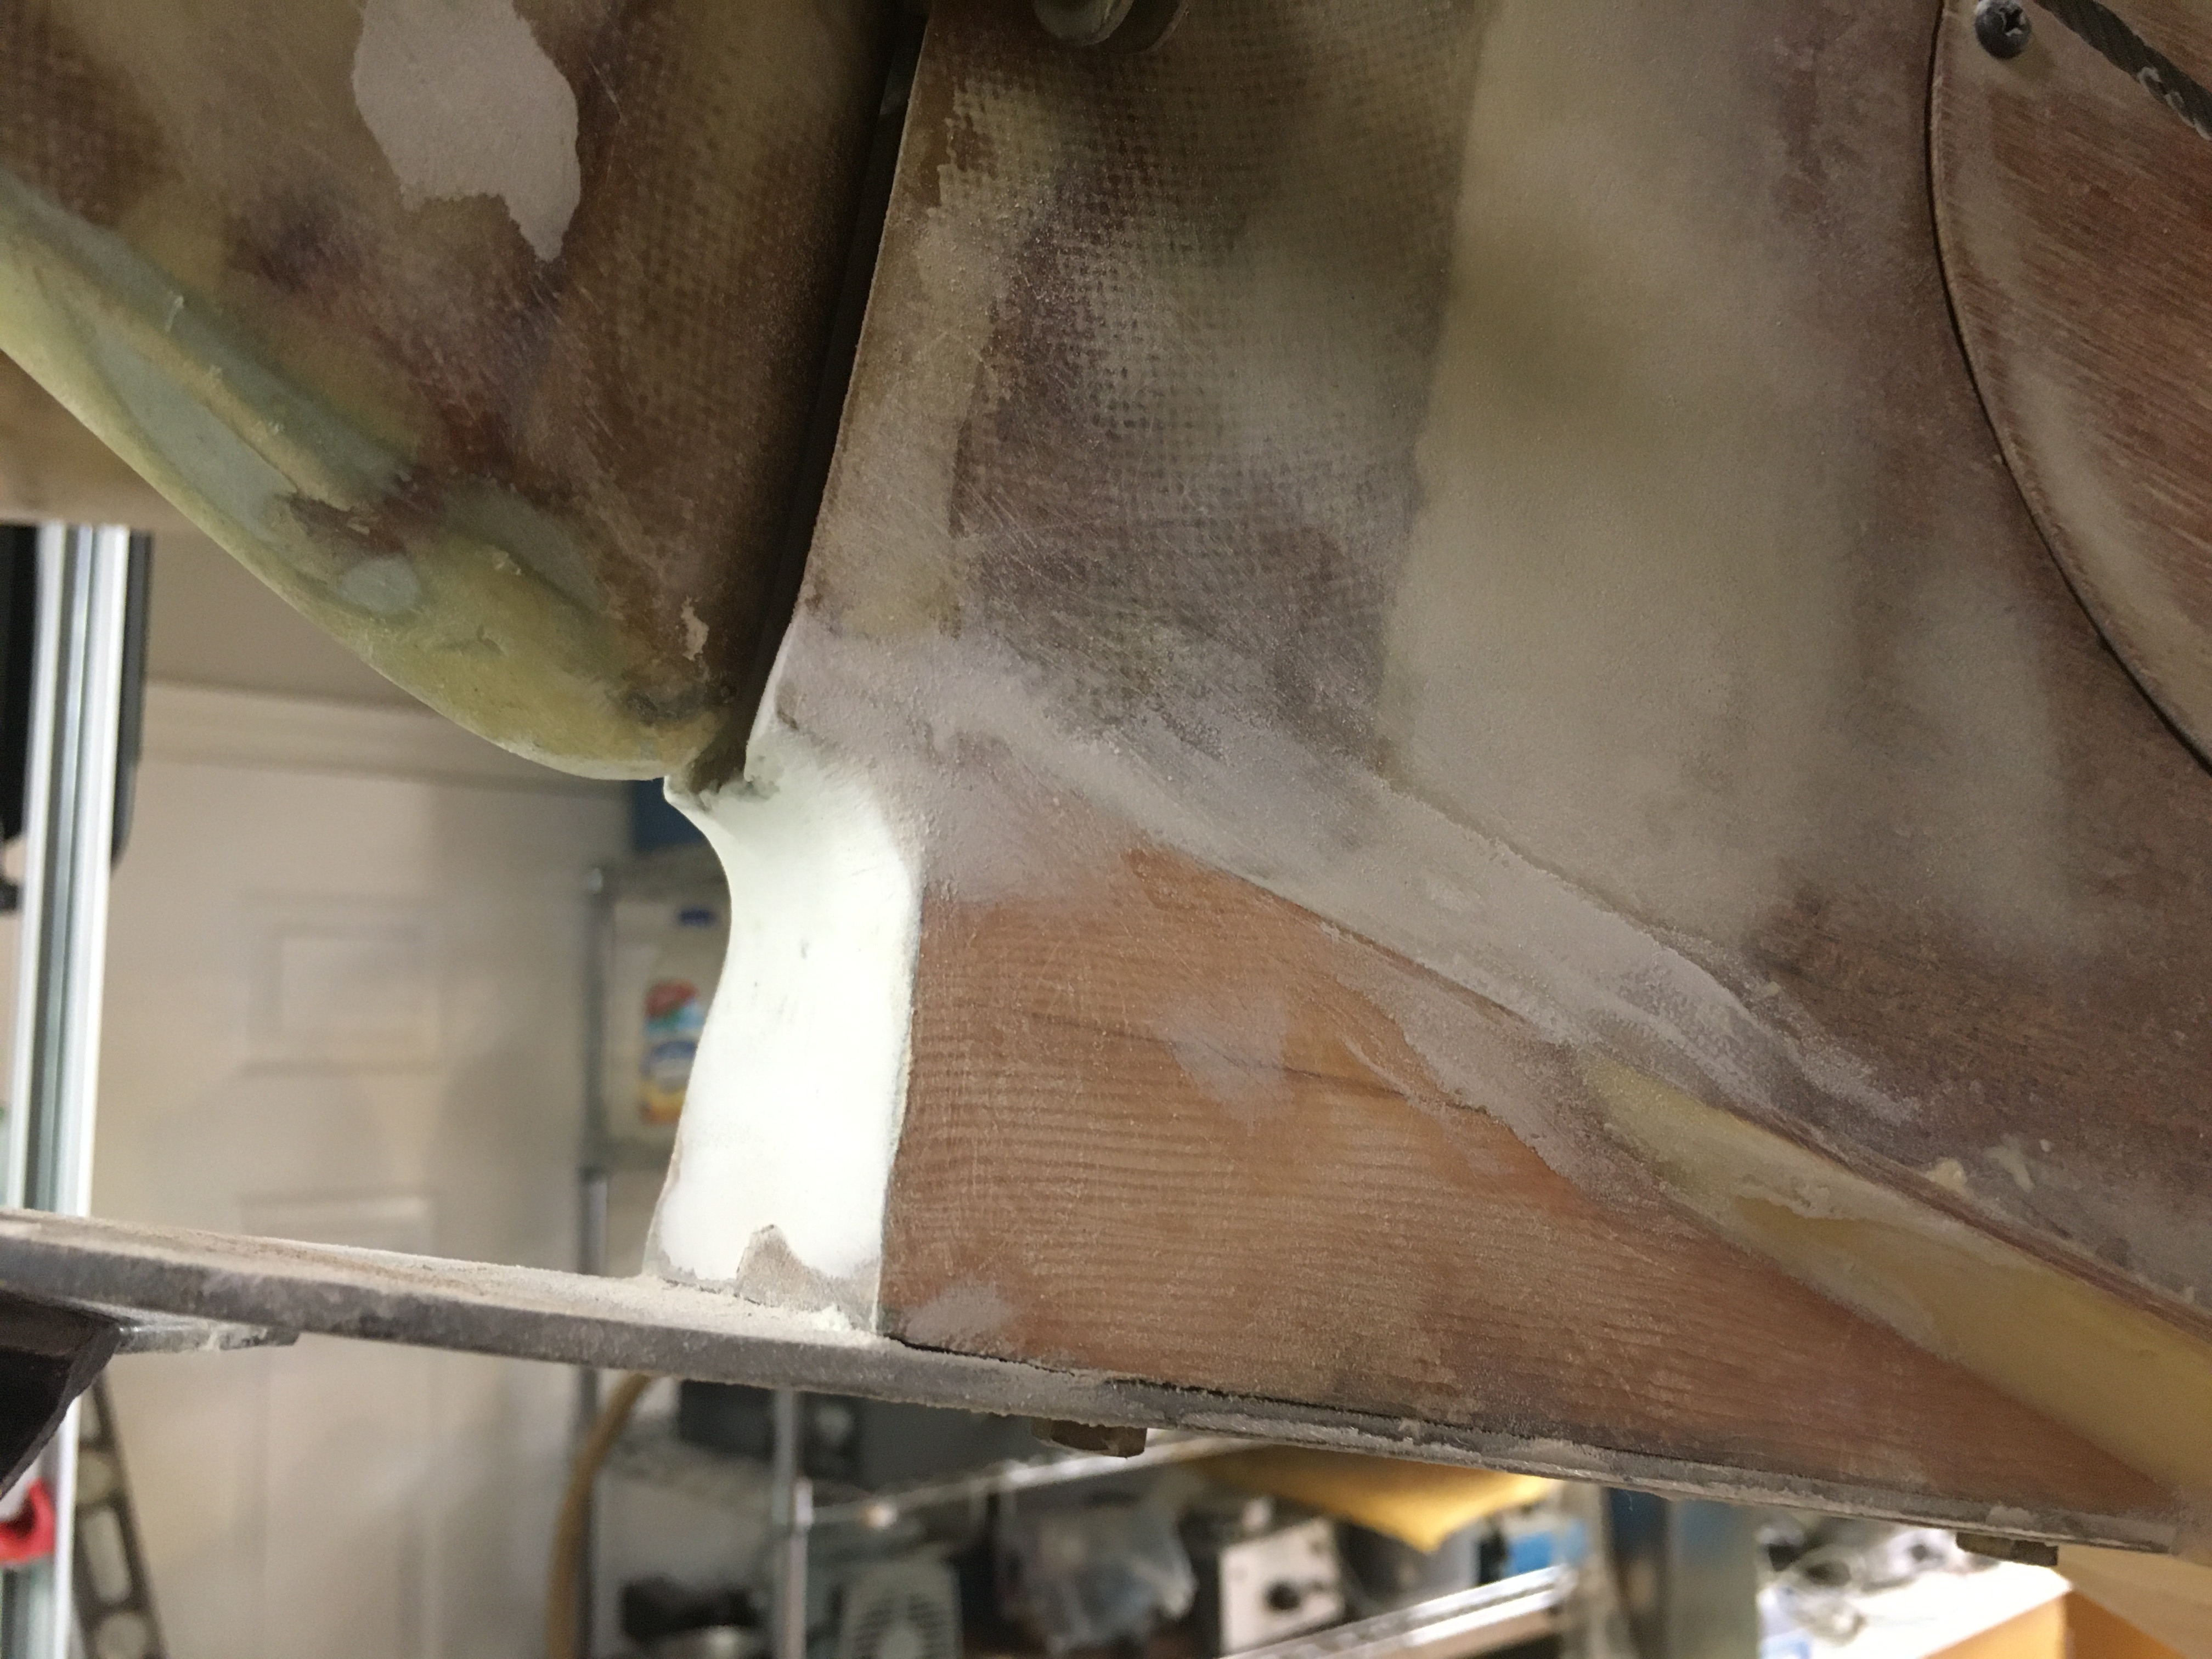
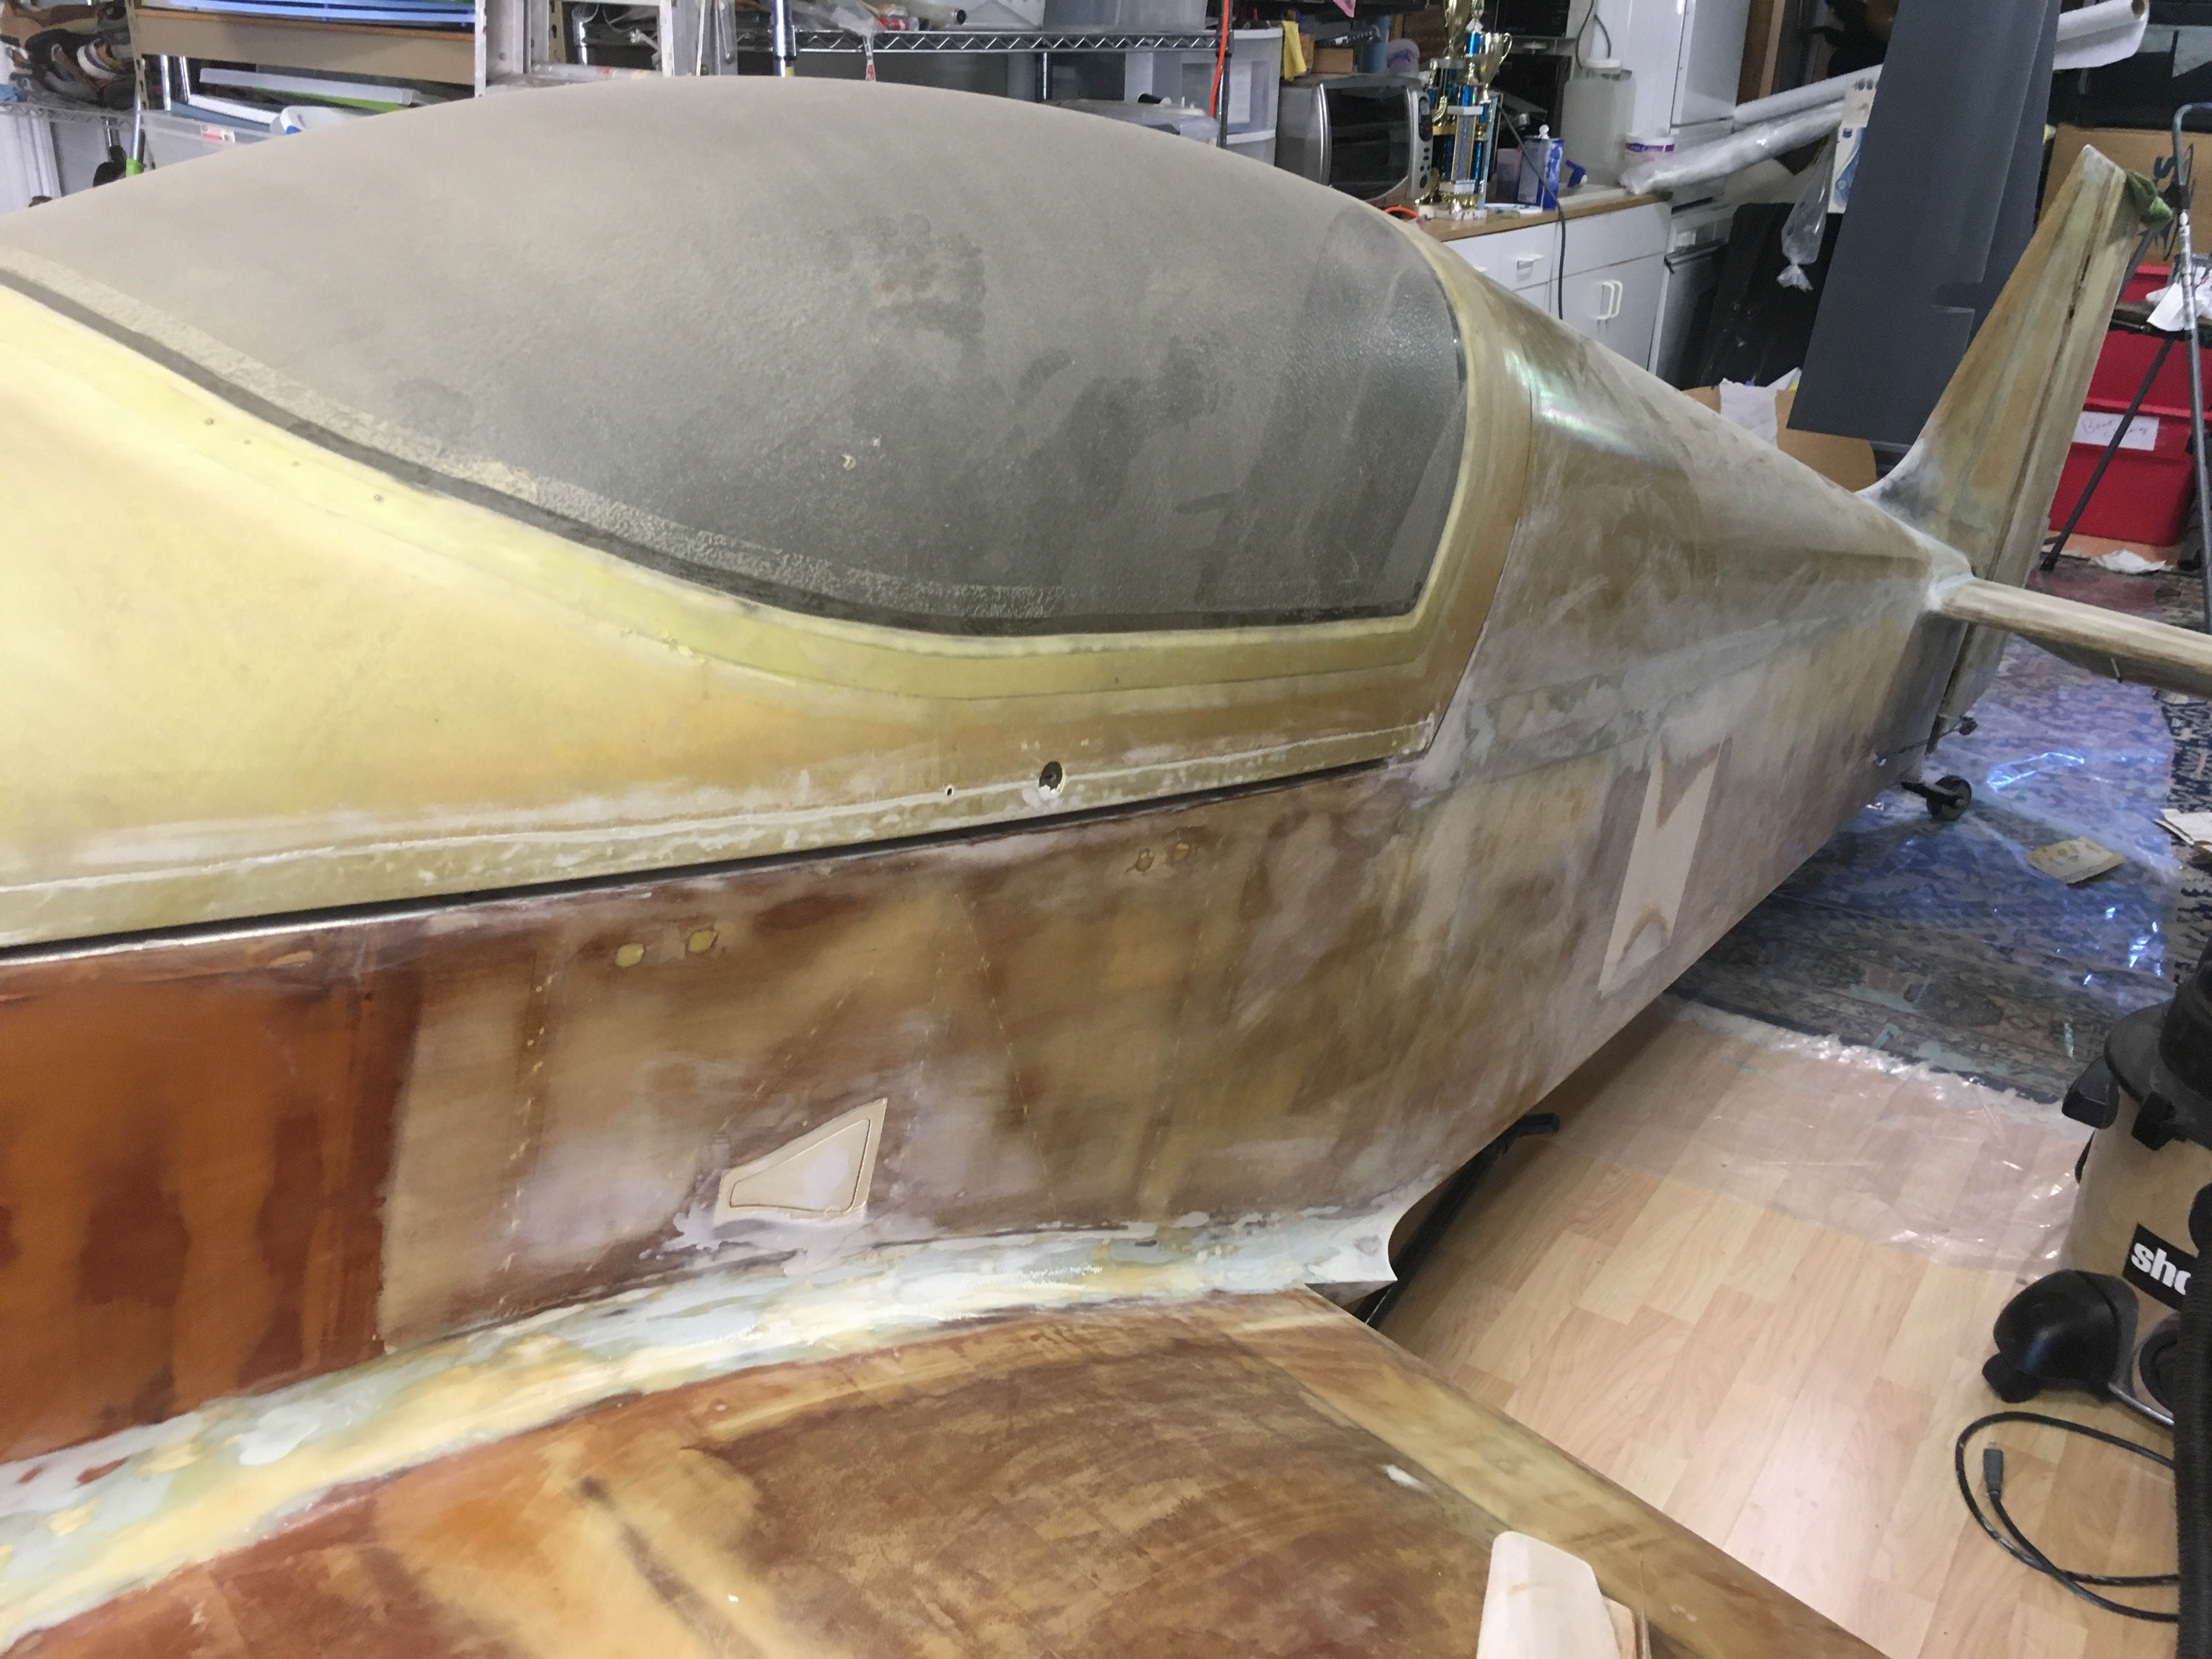
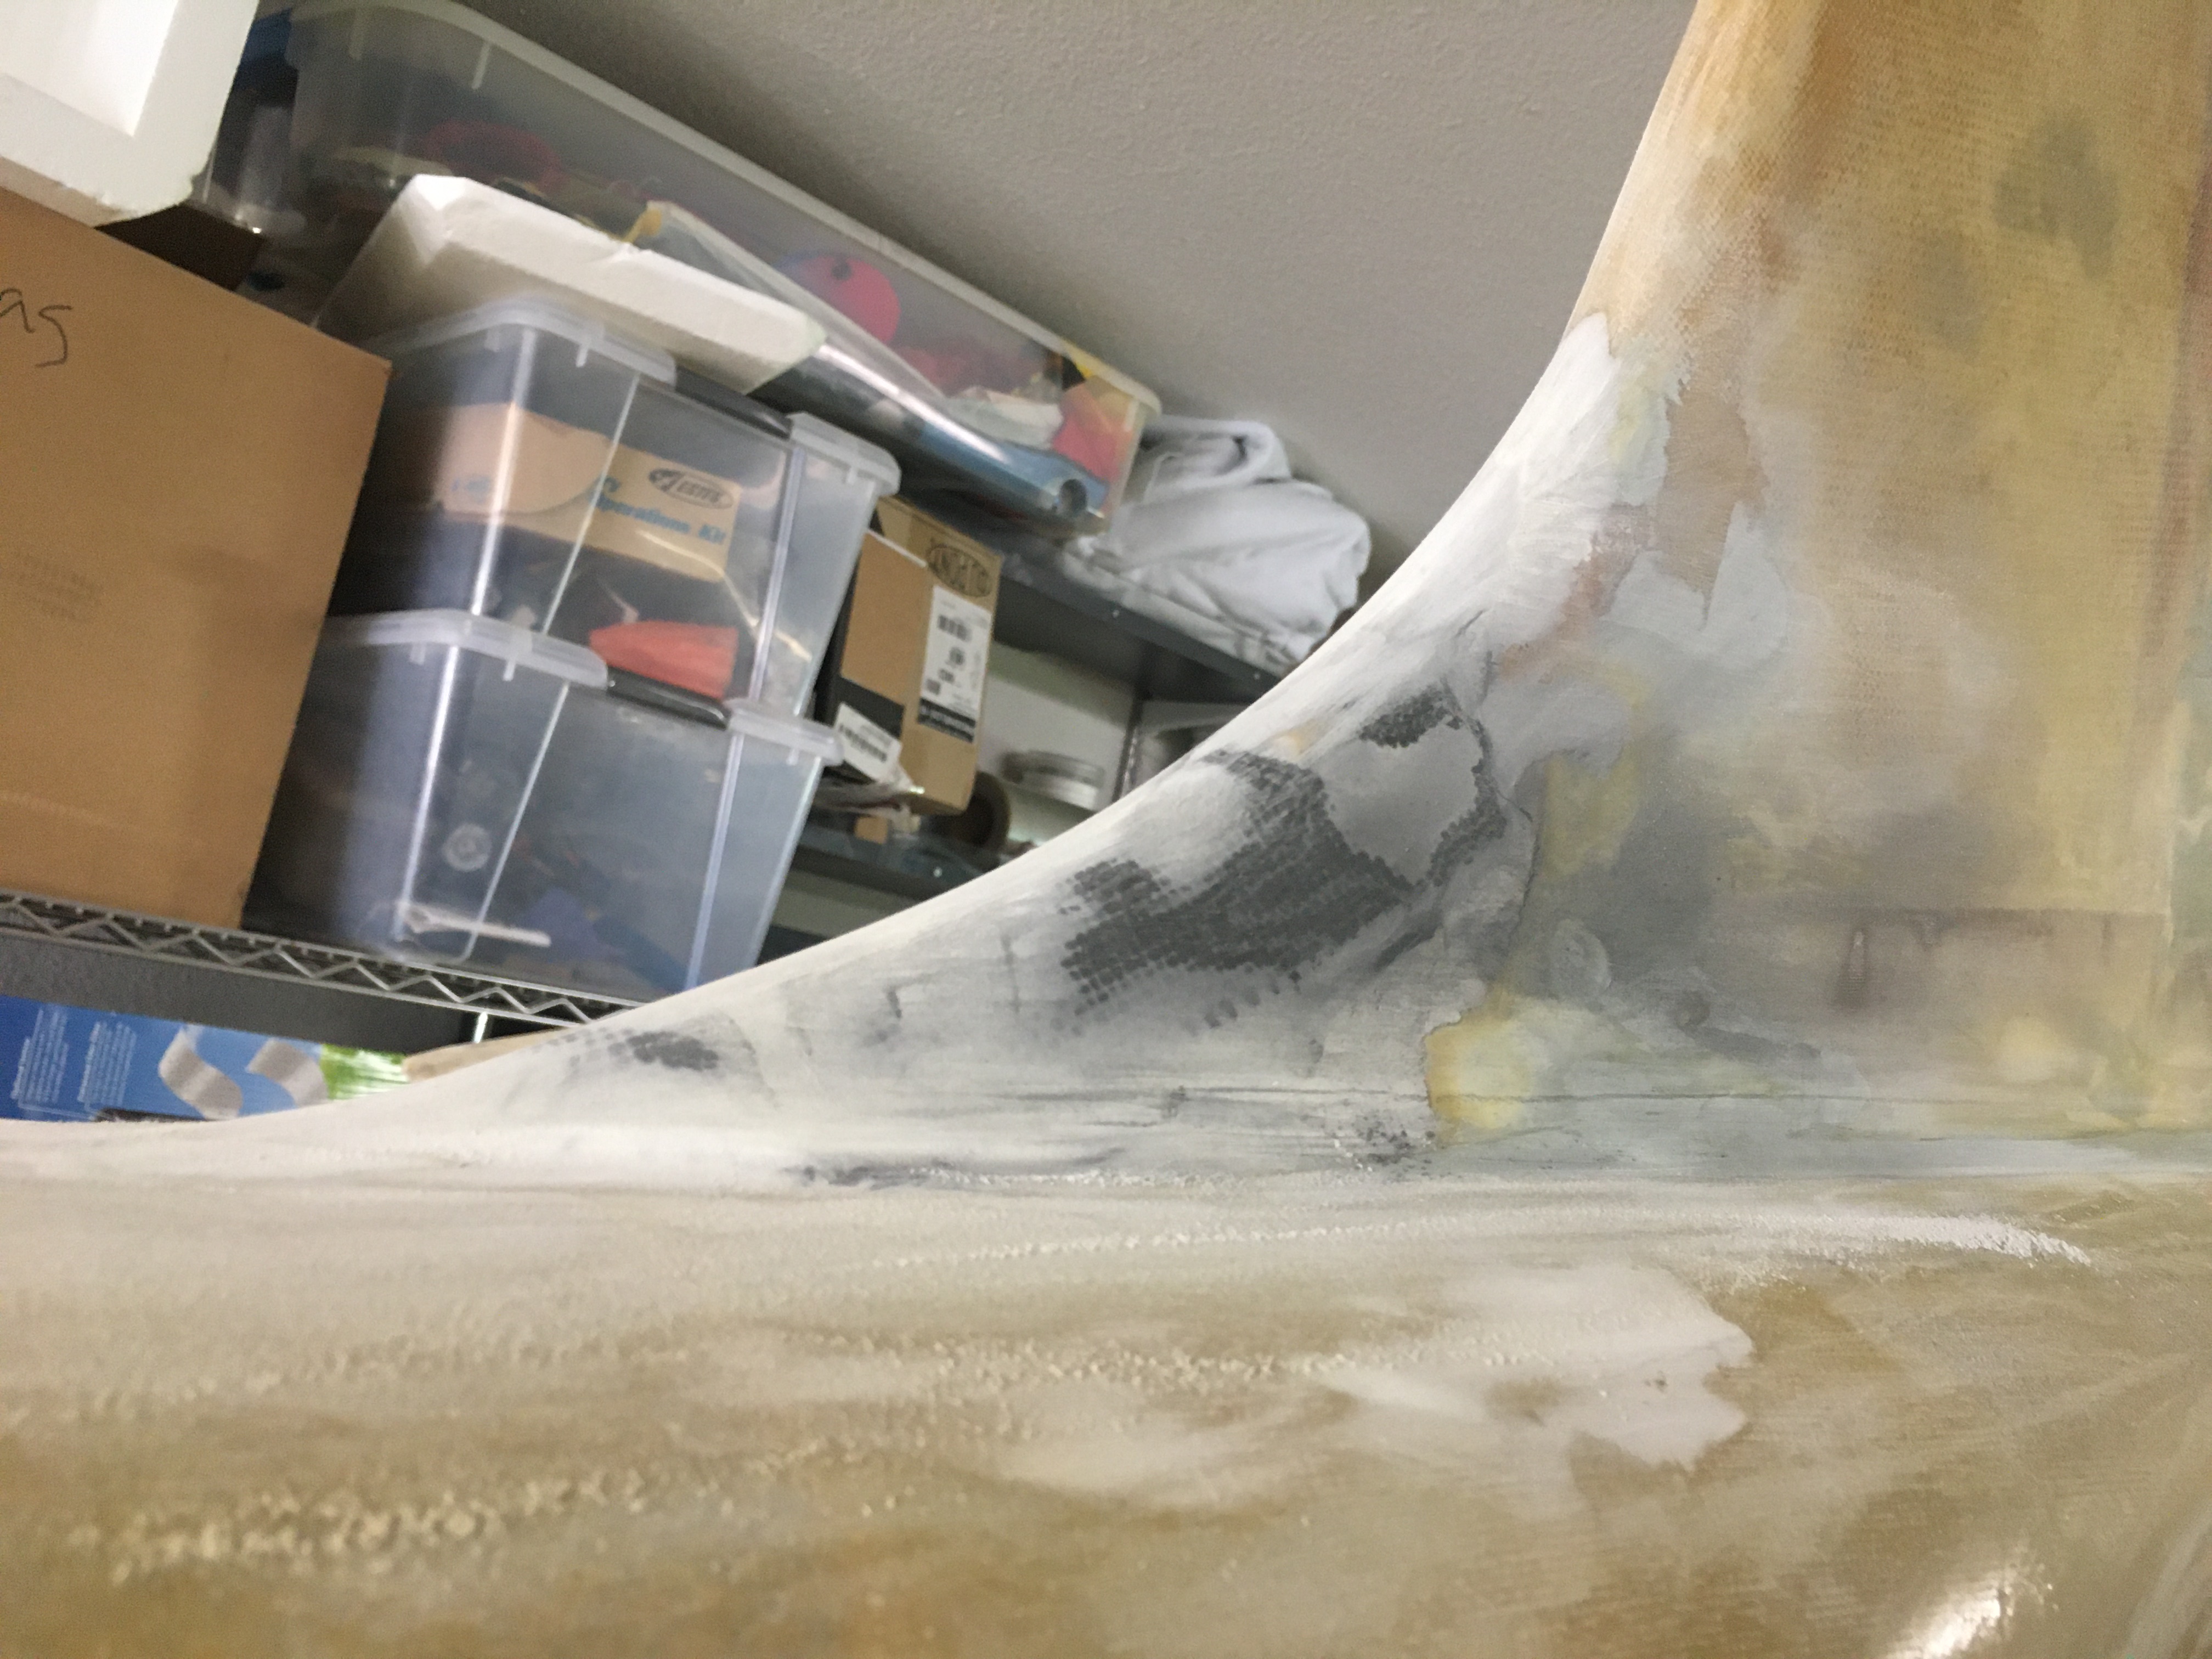
Progress!!
The airplane is really starting to come together - even though I spend almost as much time taking it apart as I do building it.
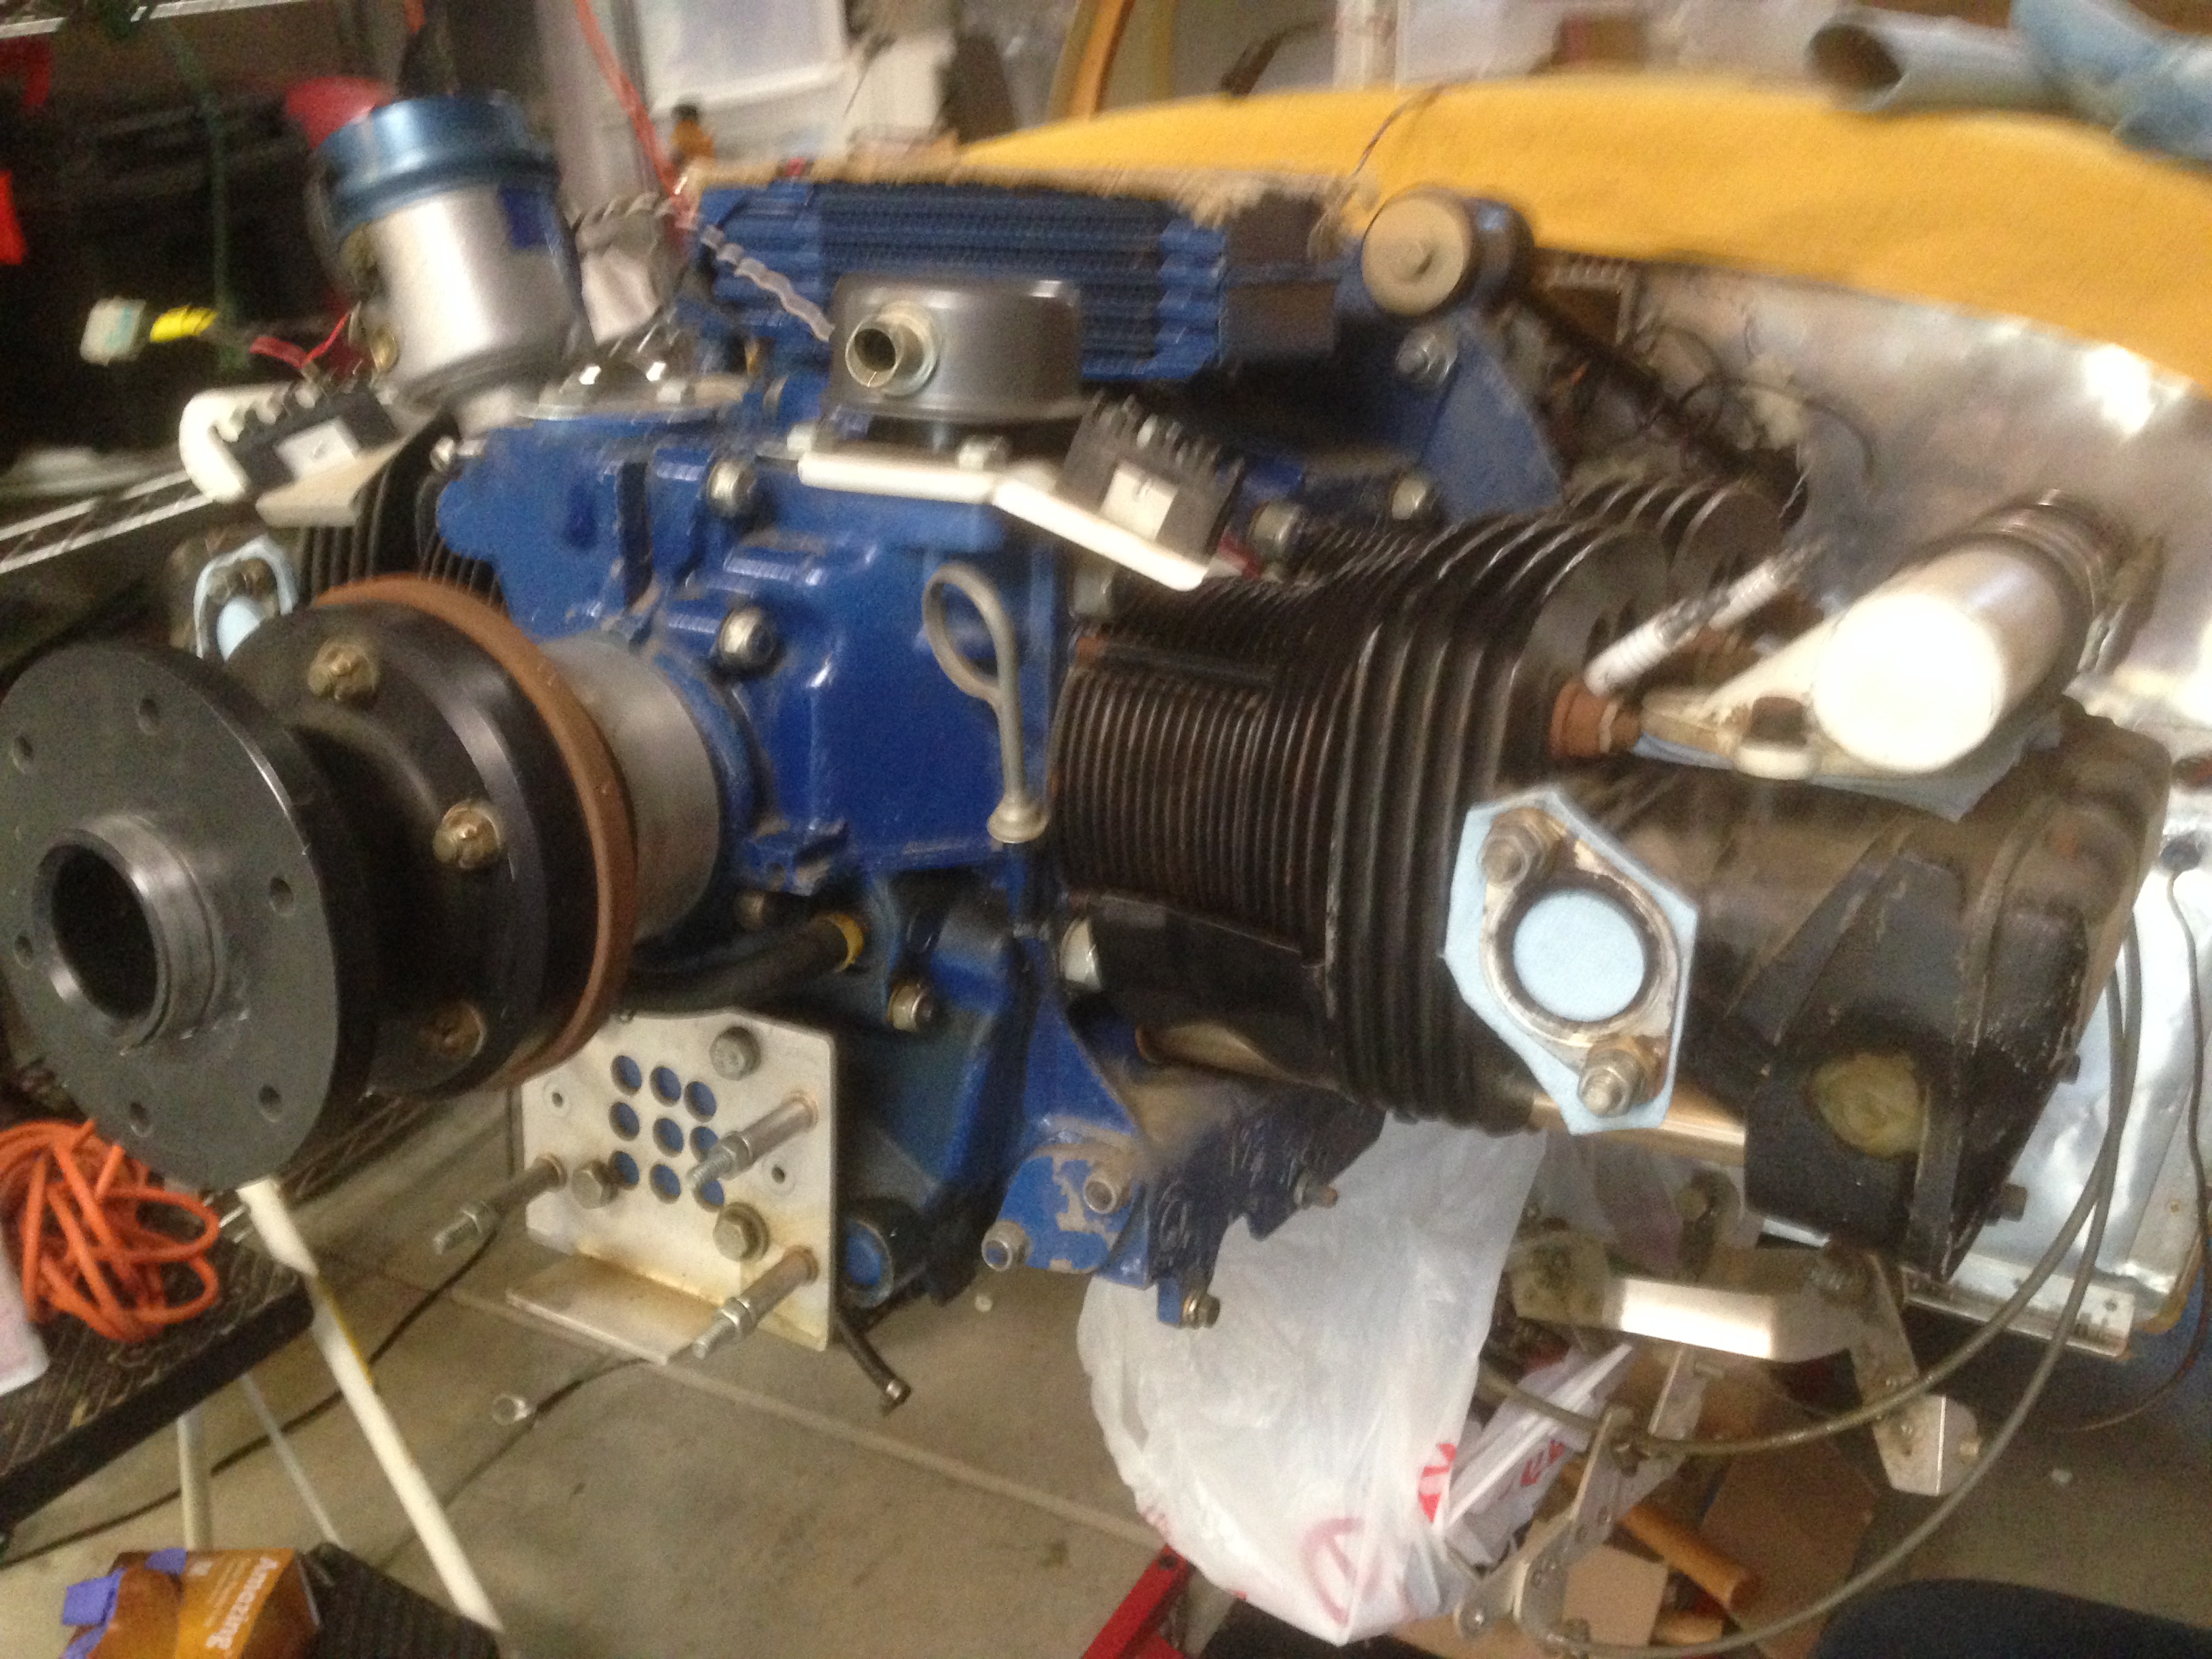
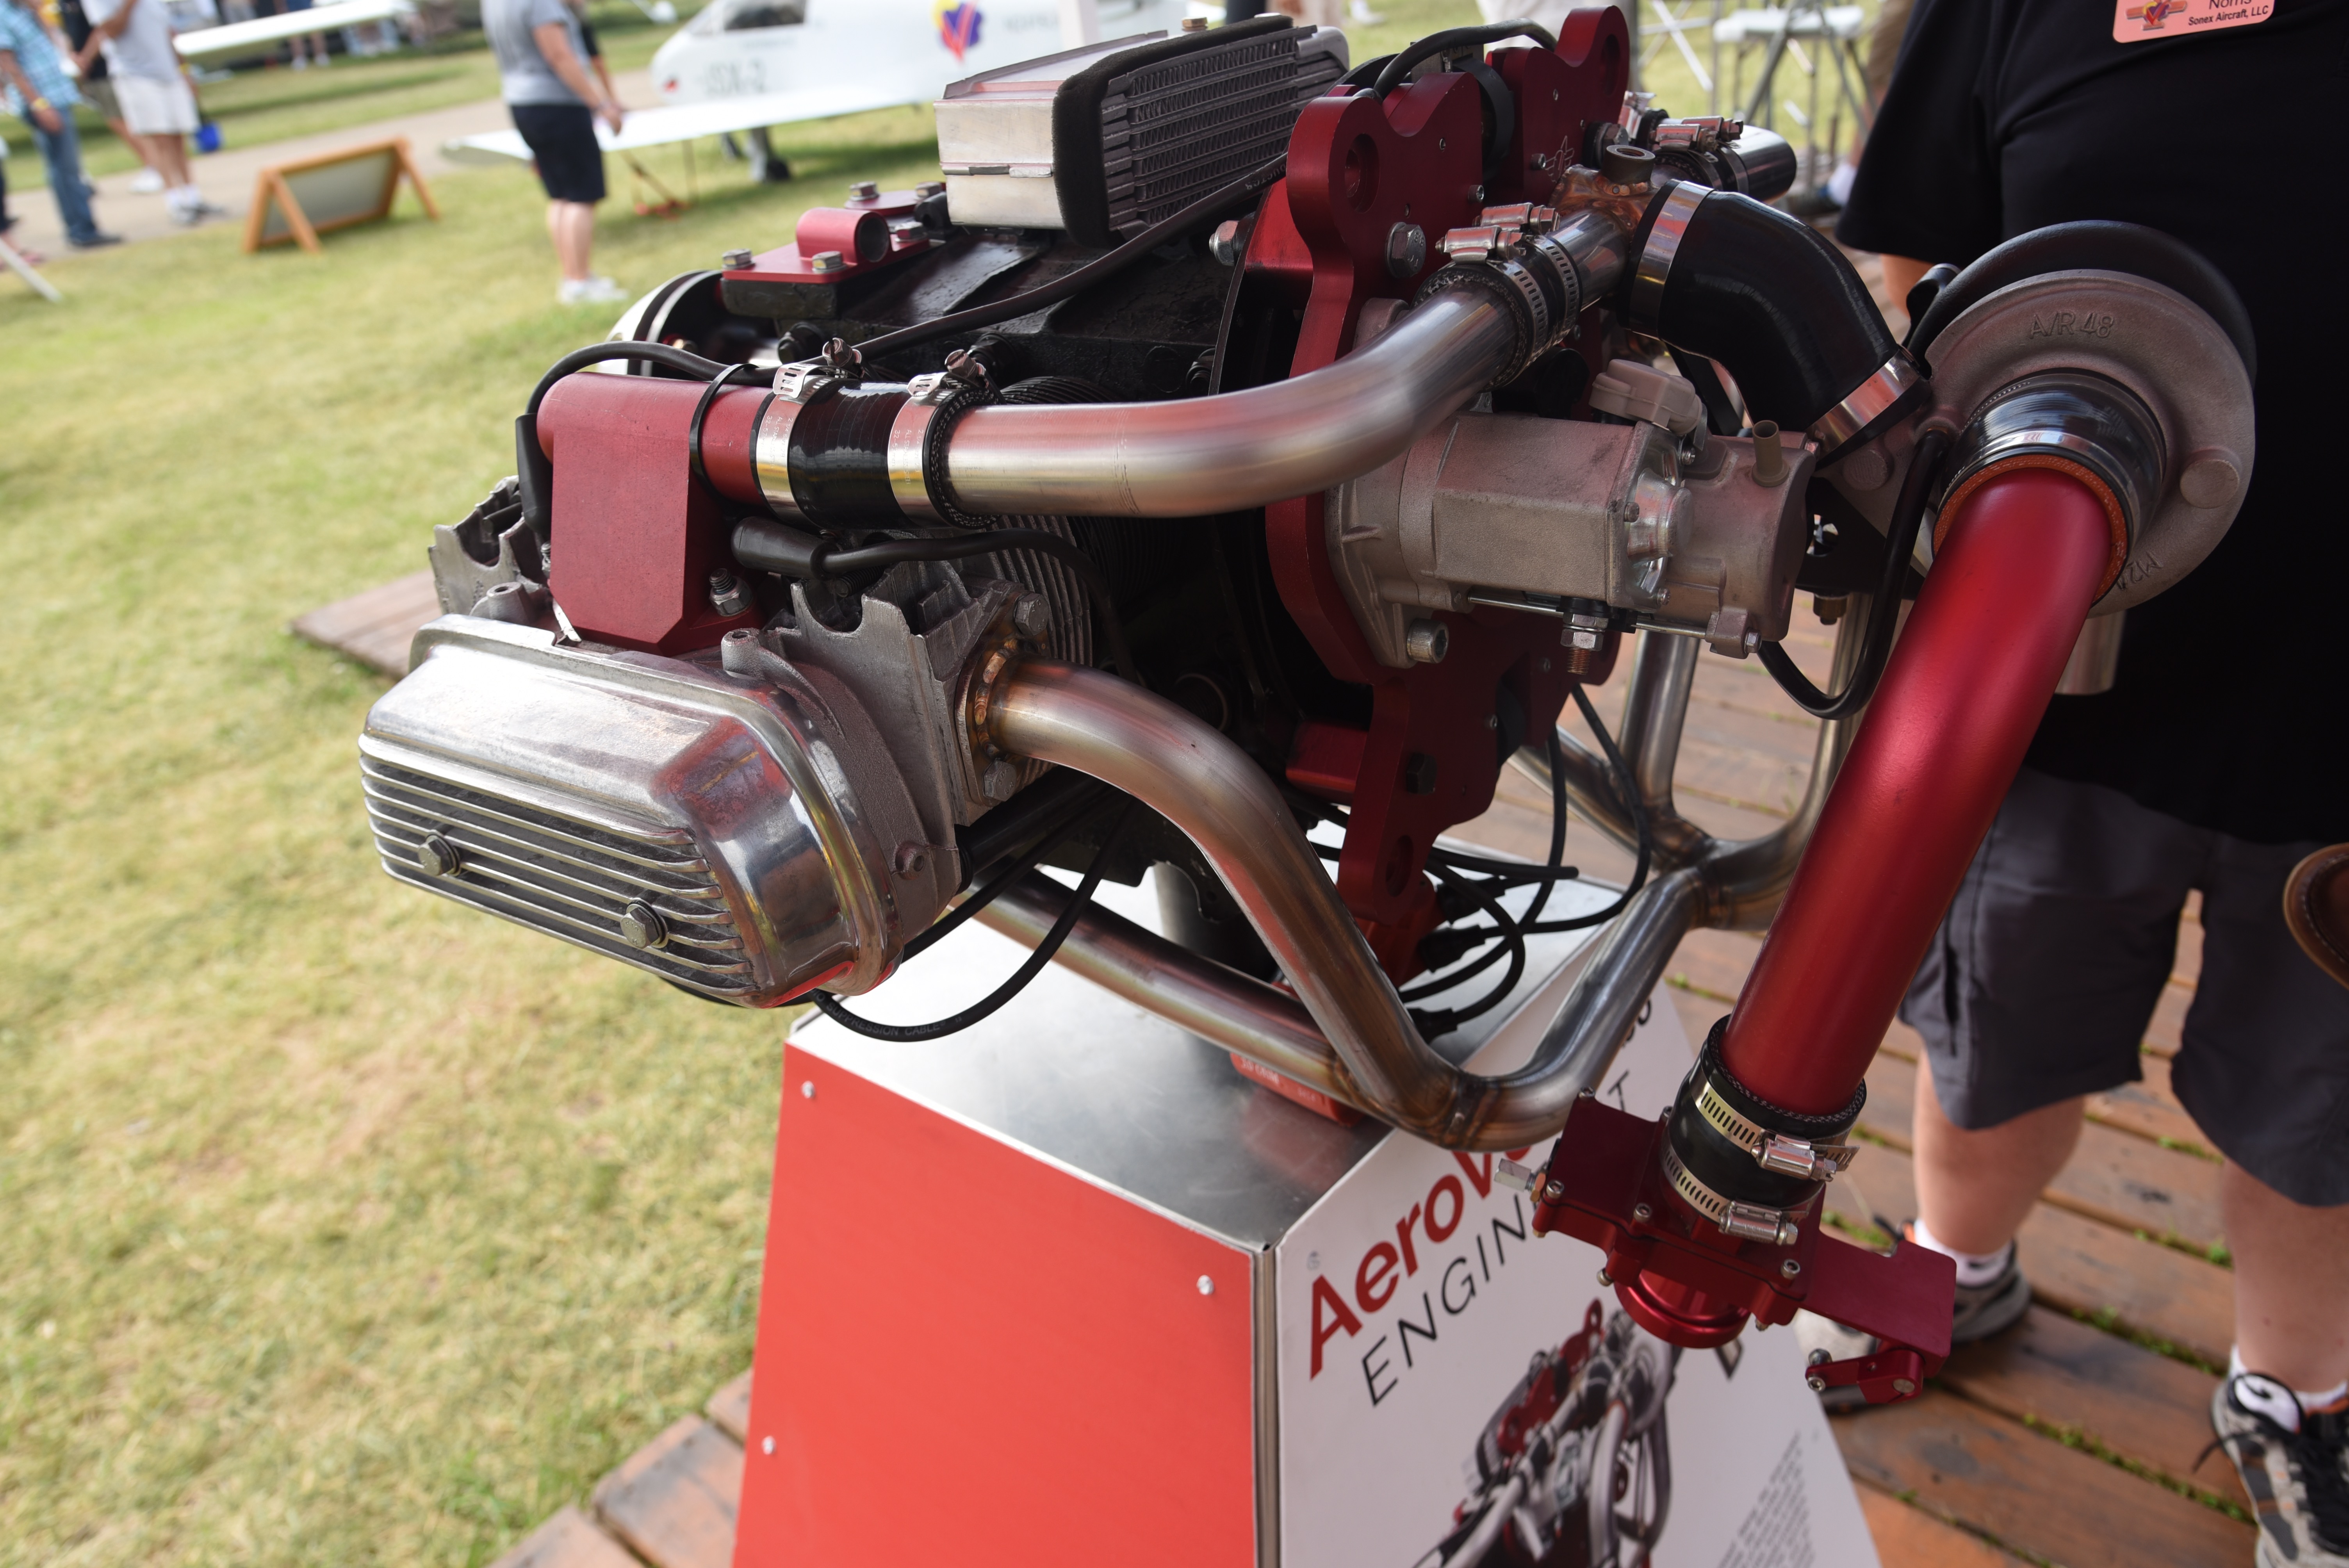
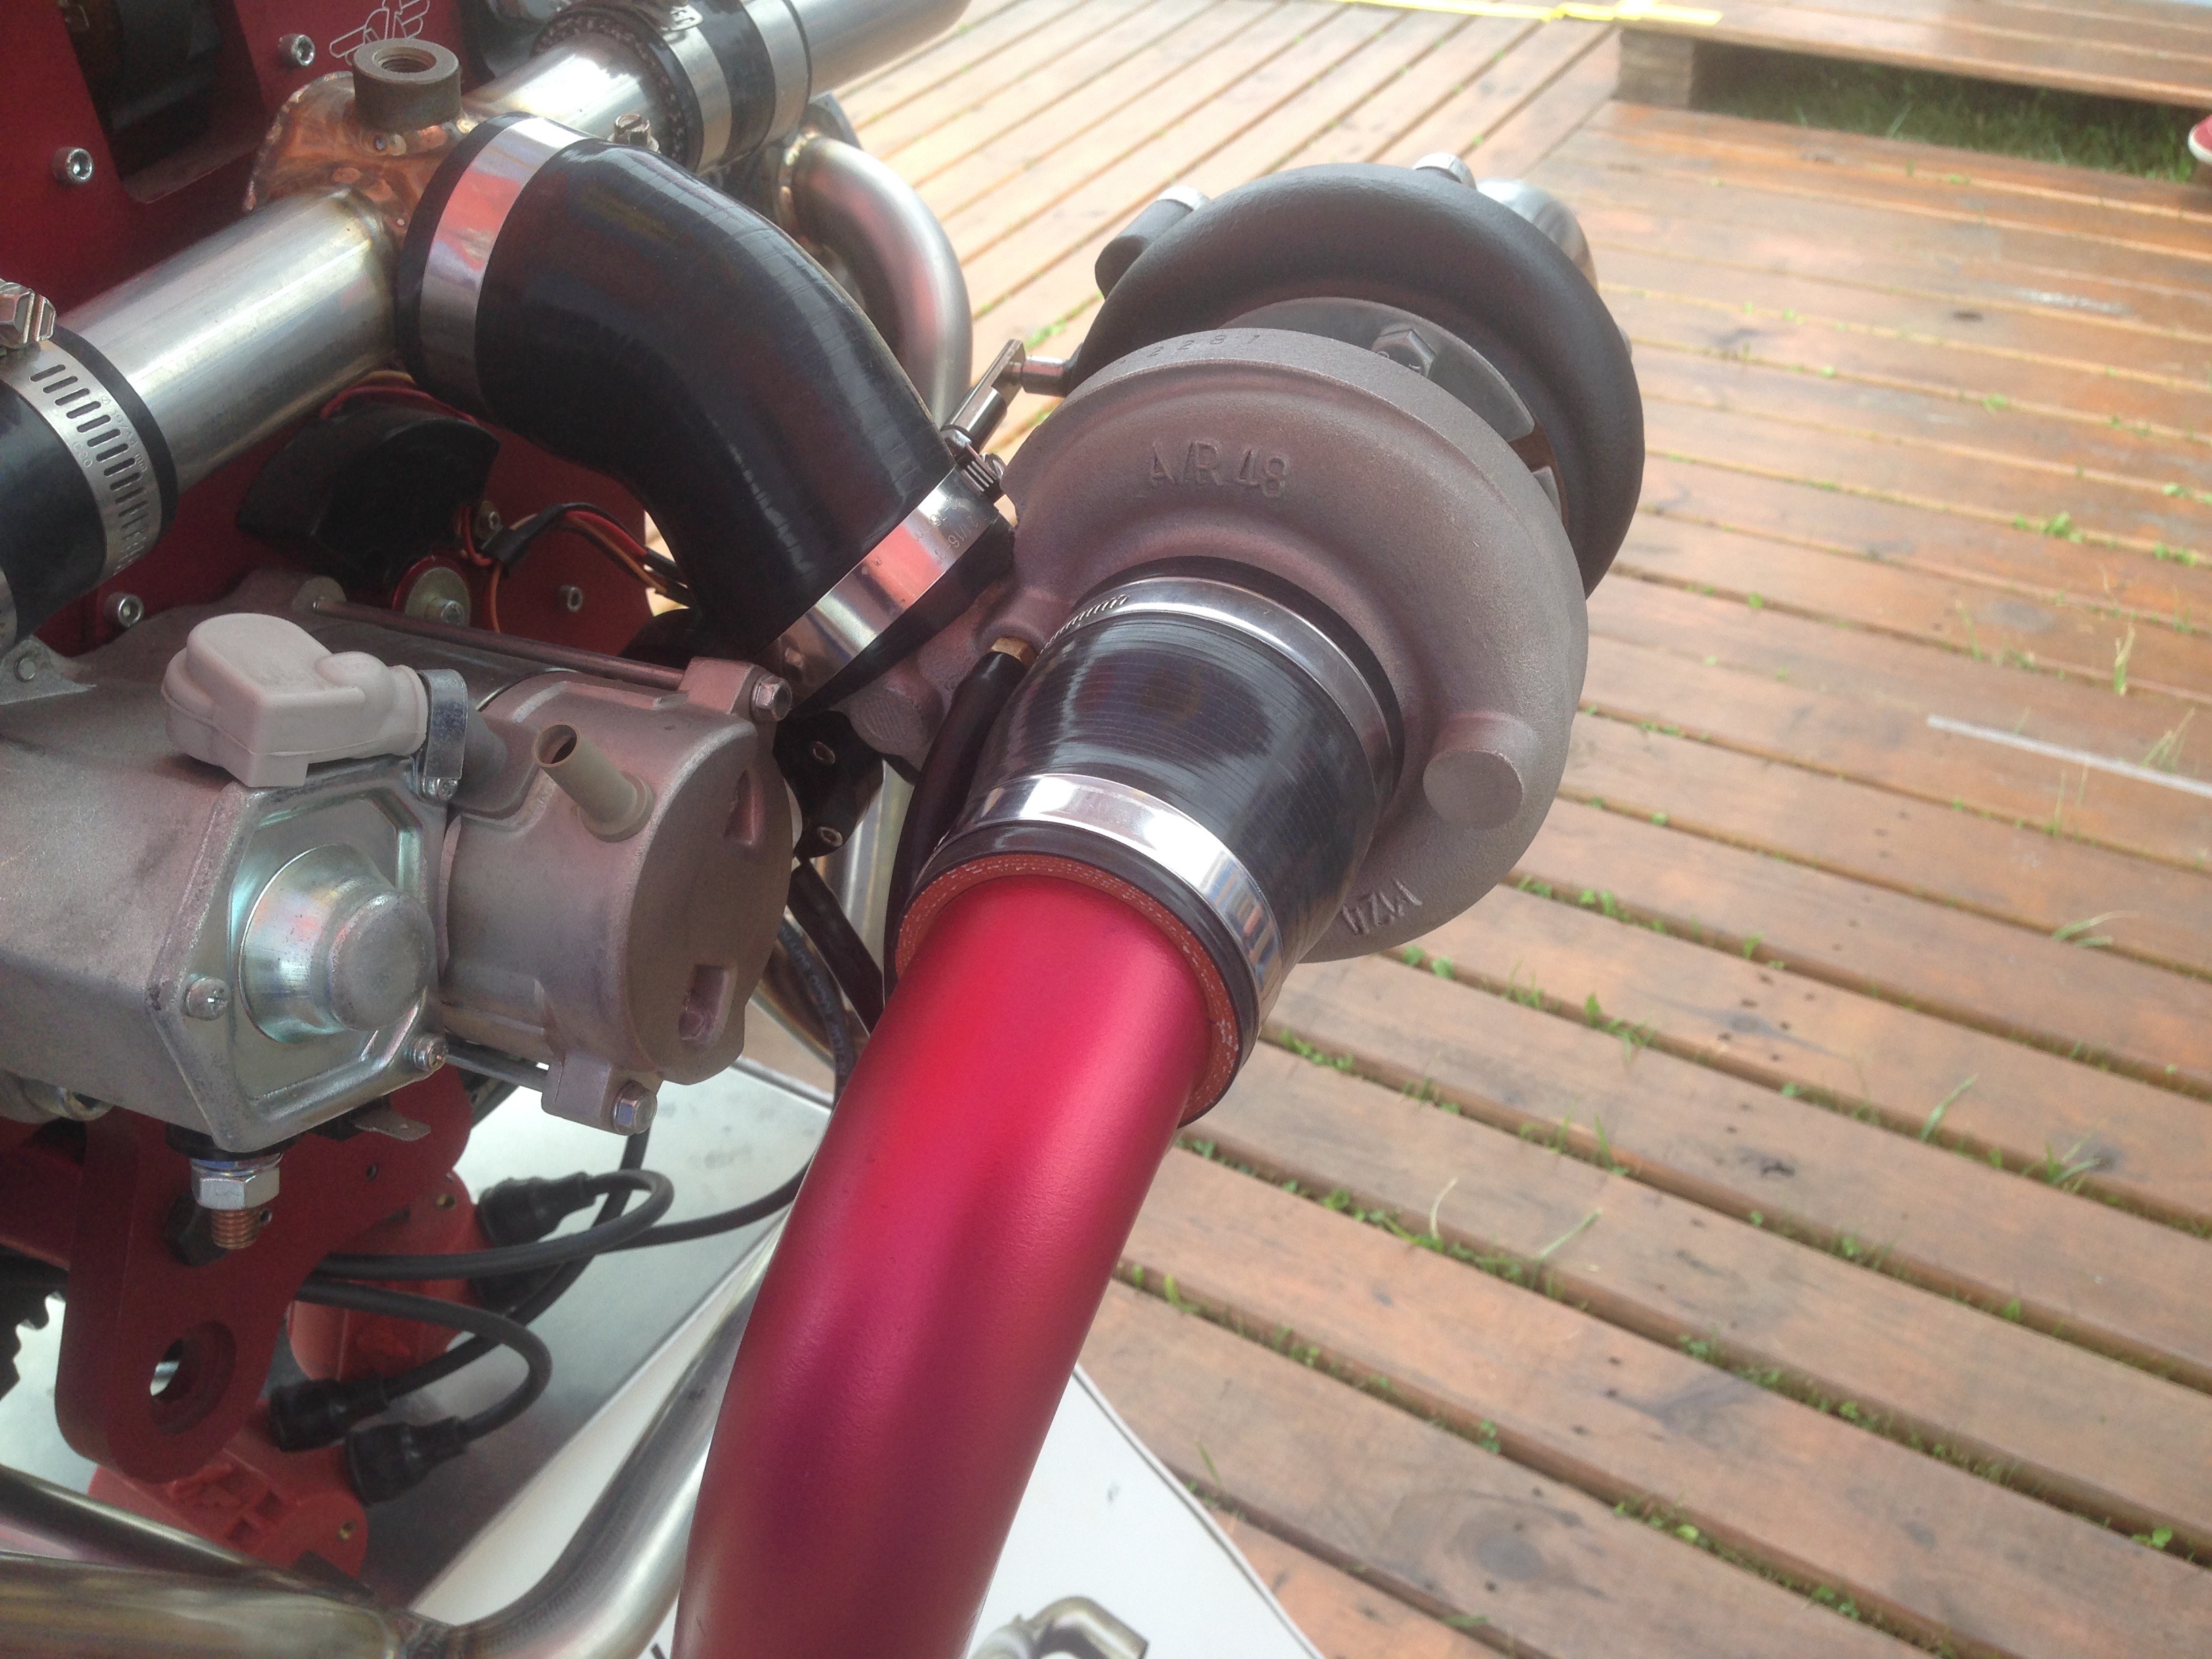
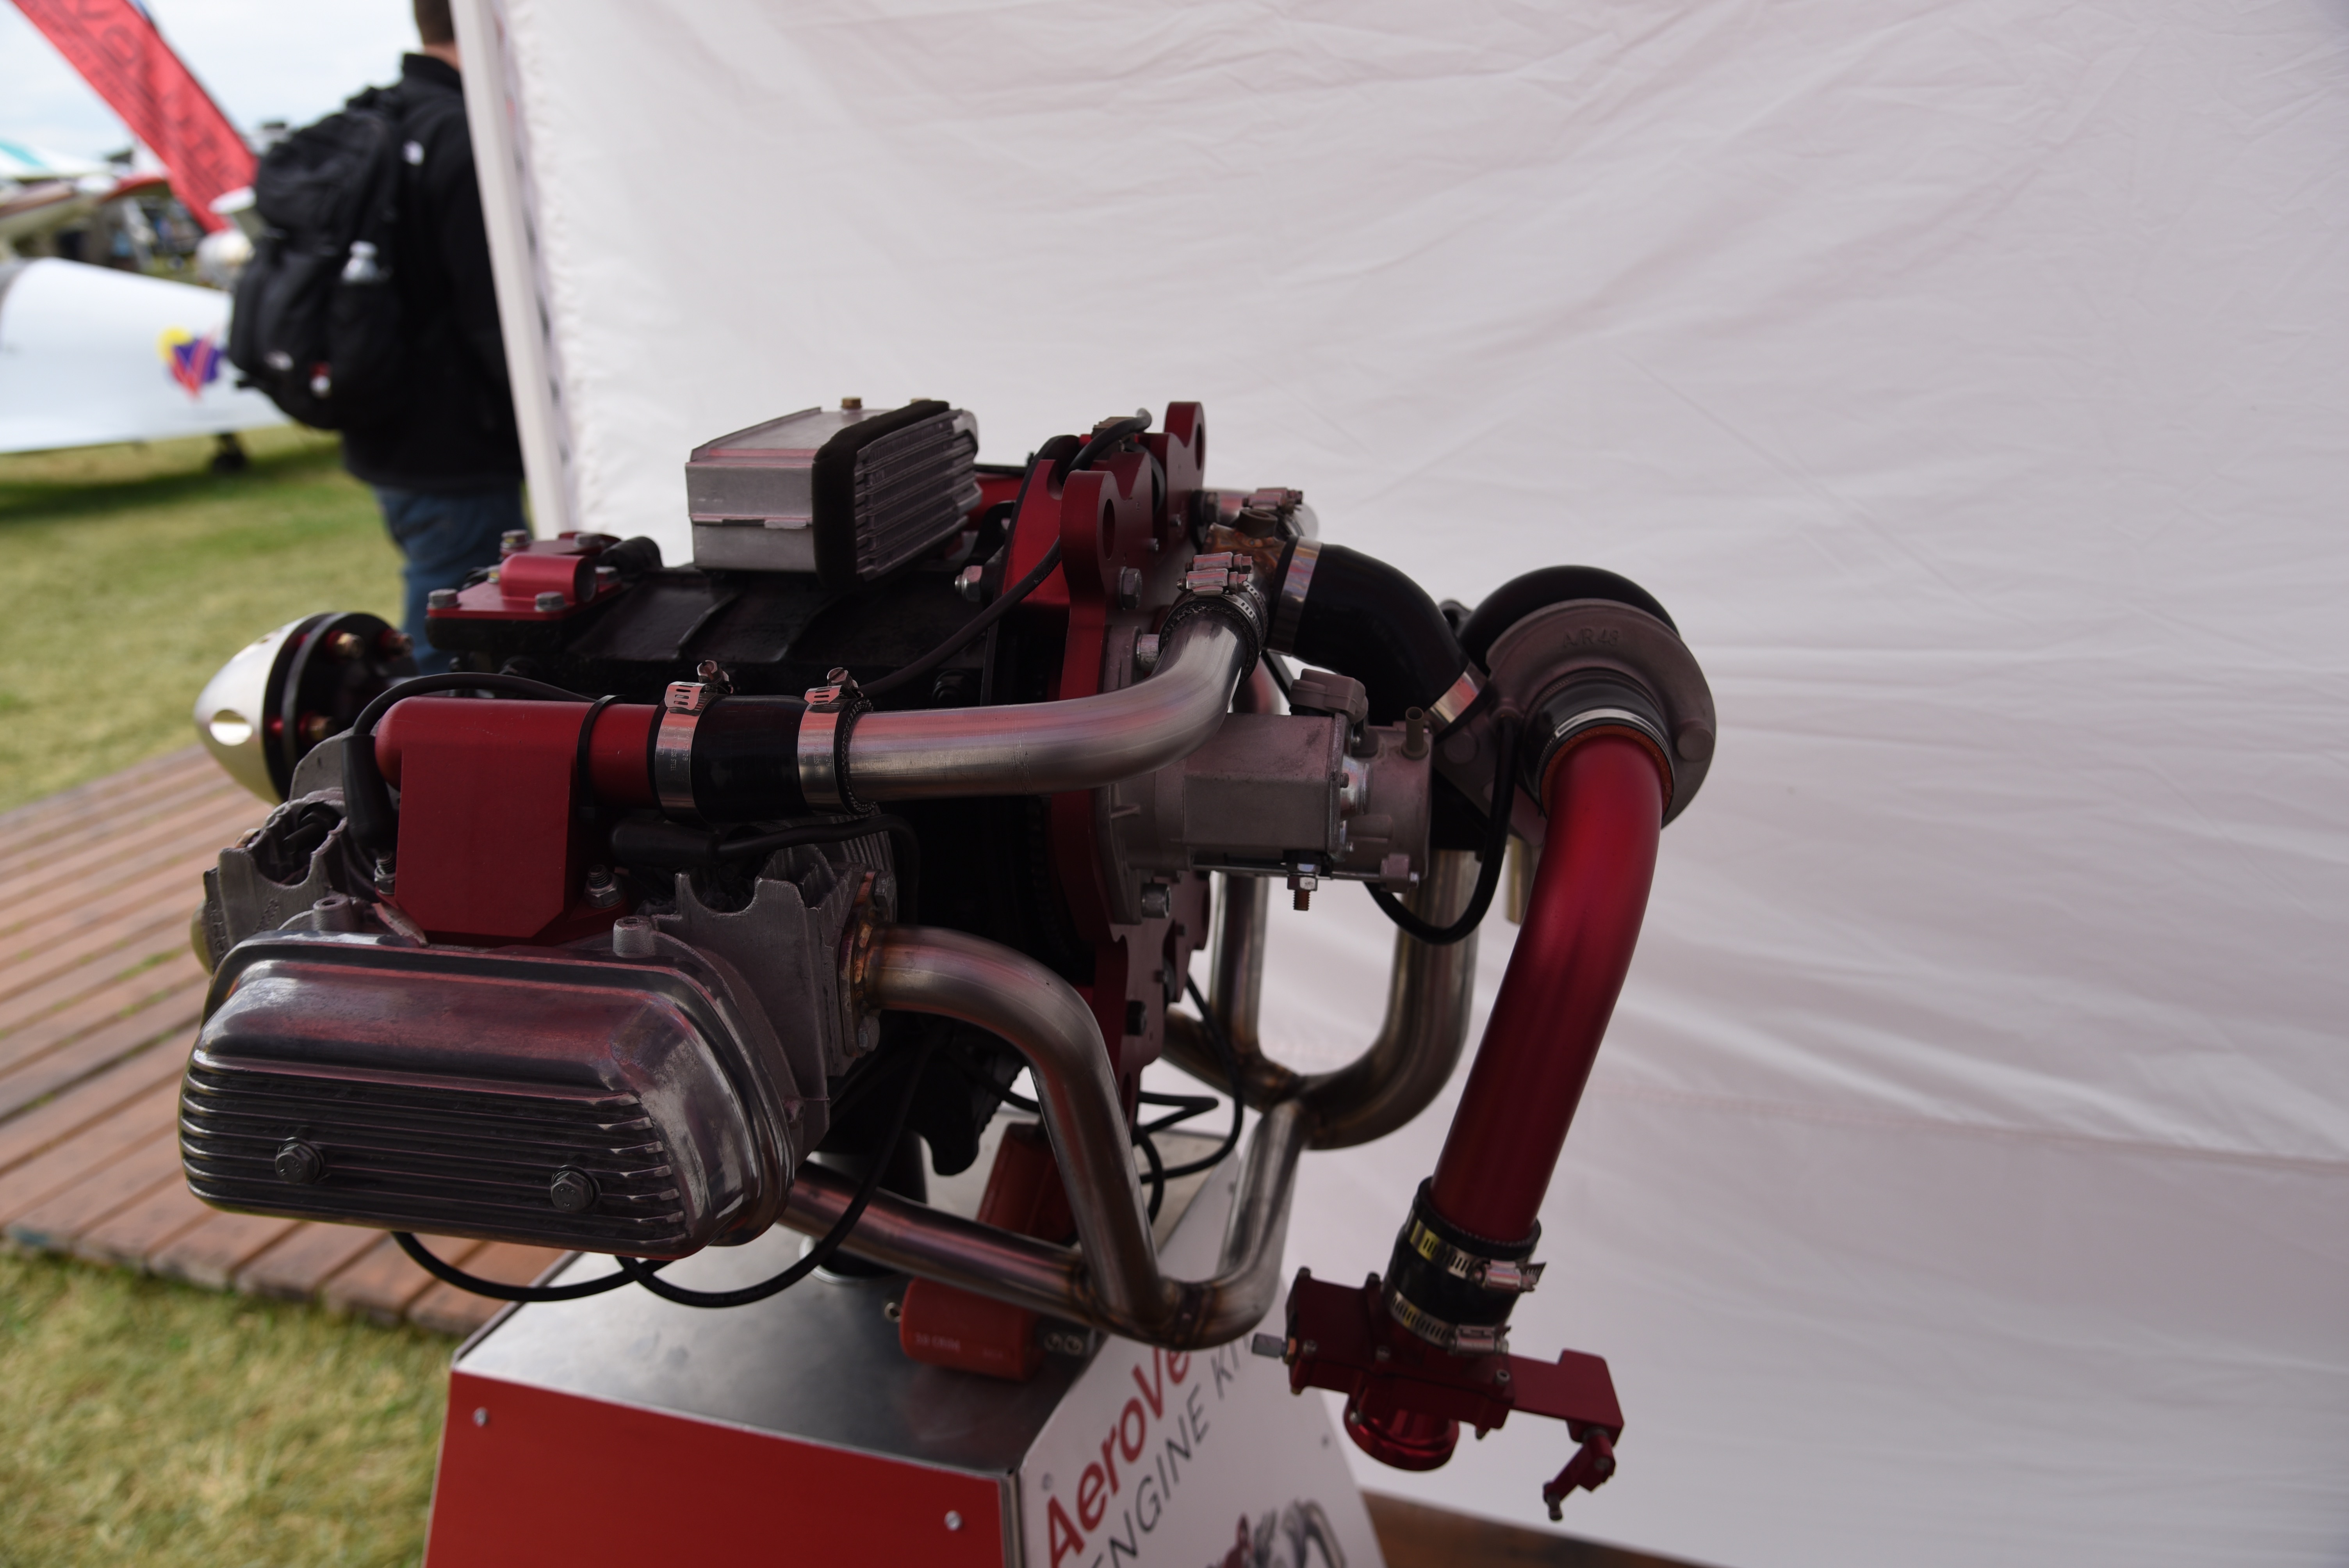
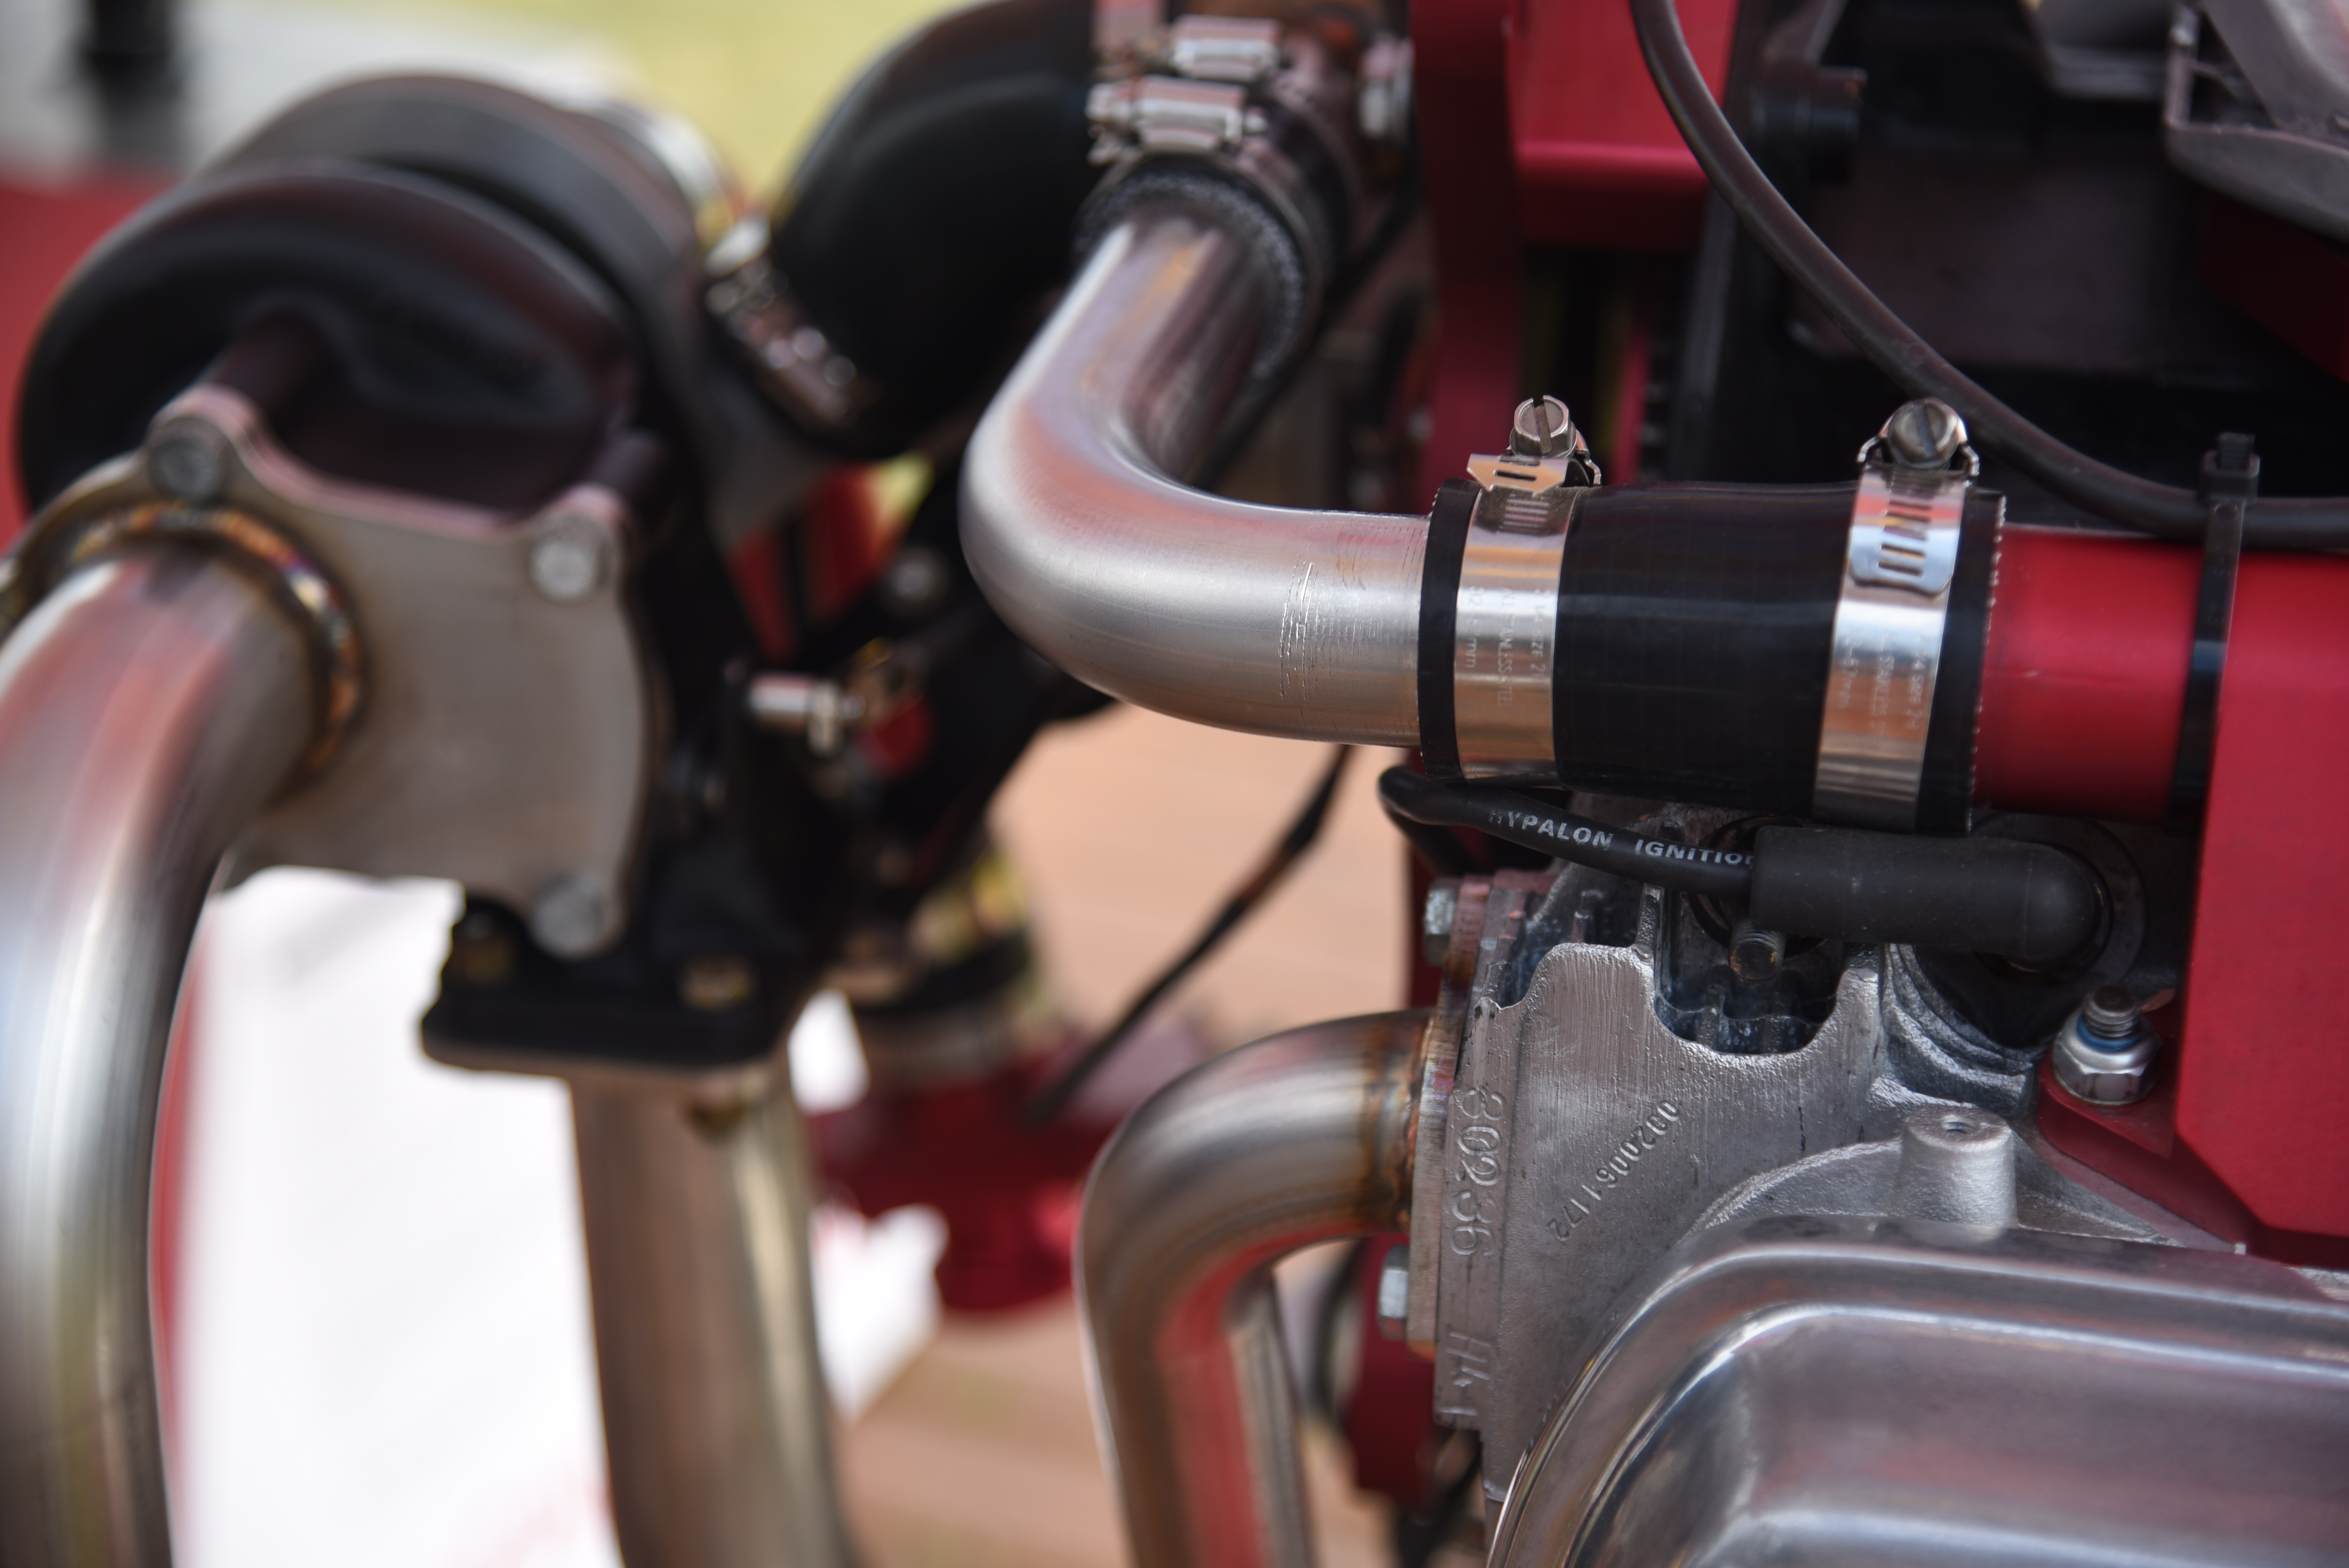
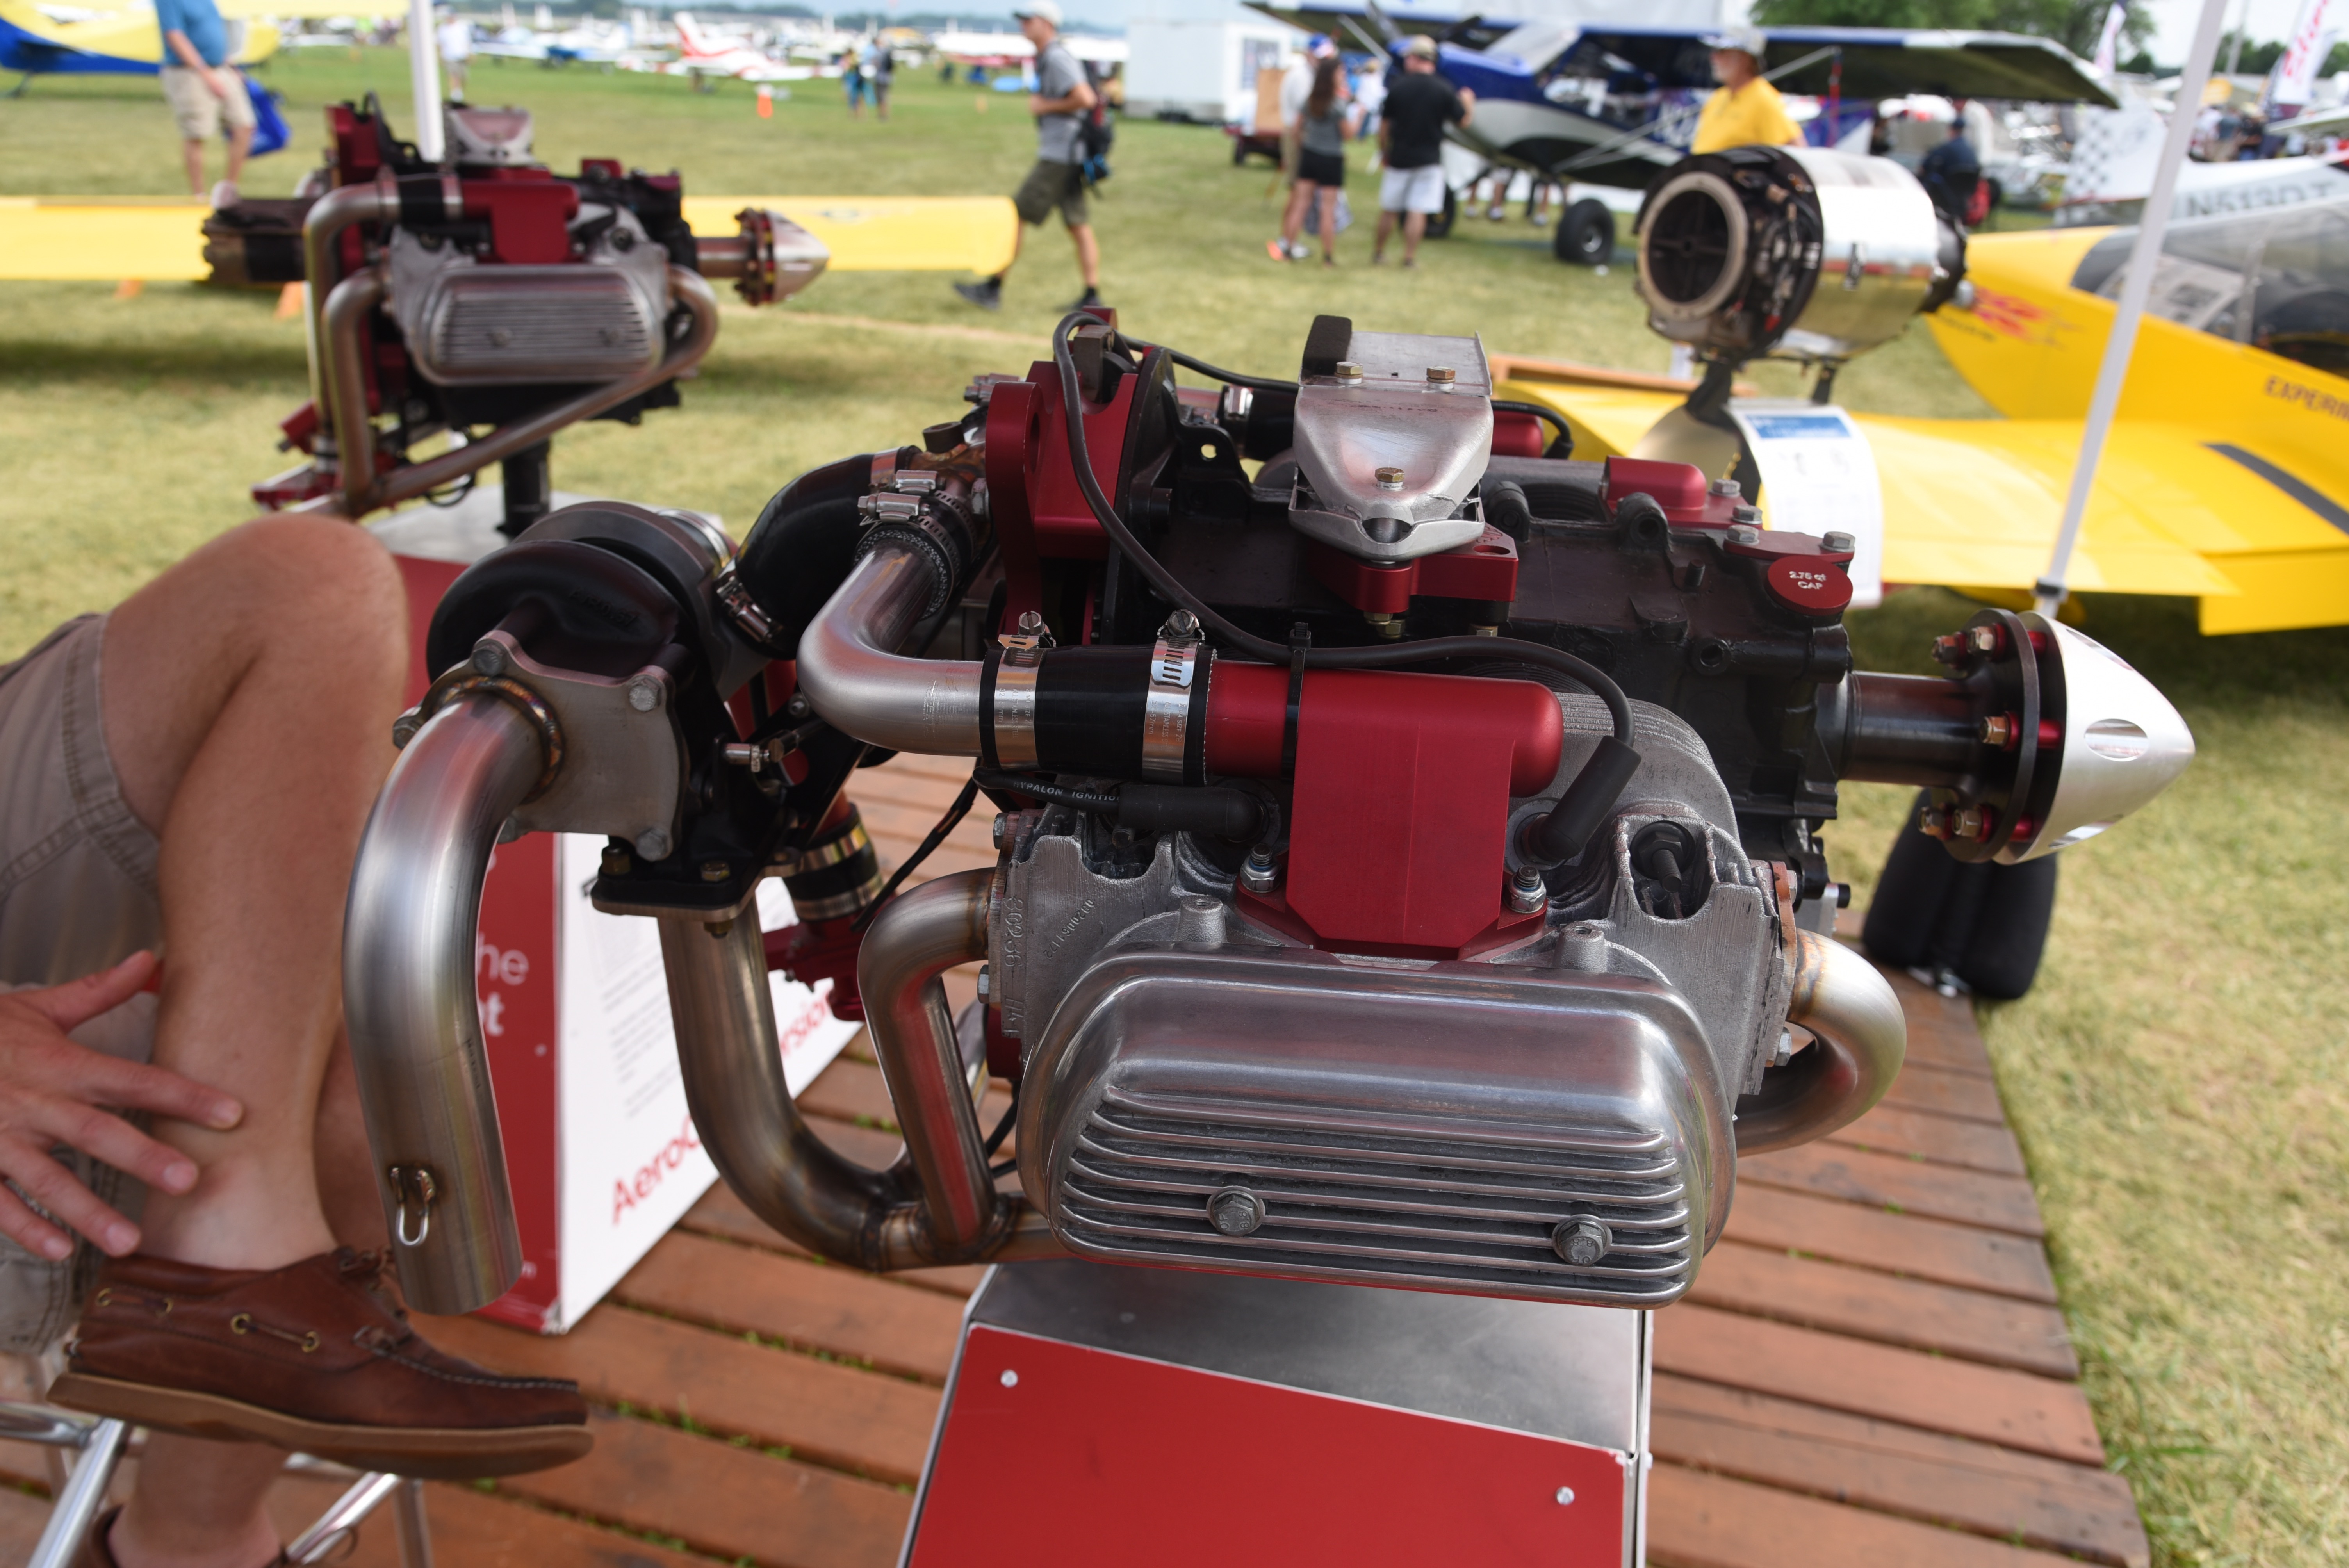
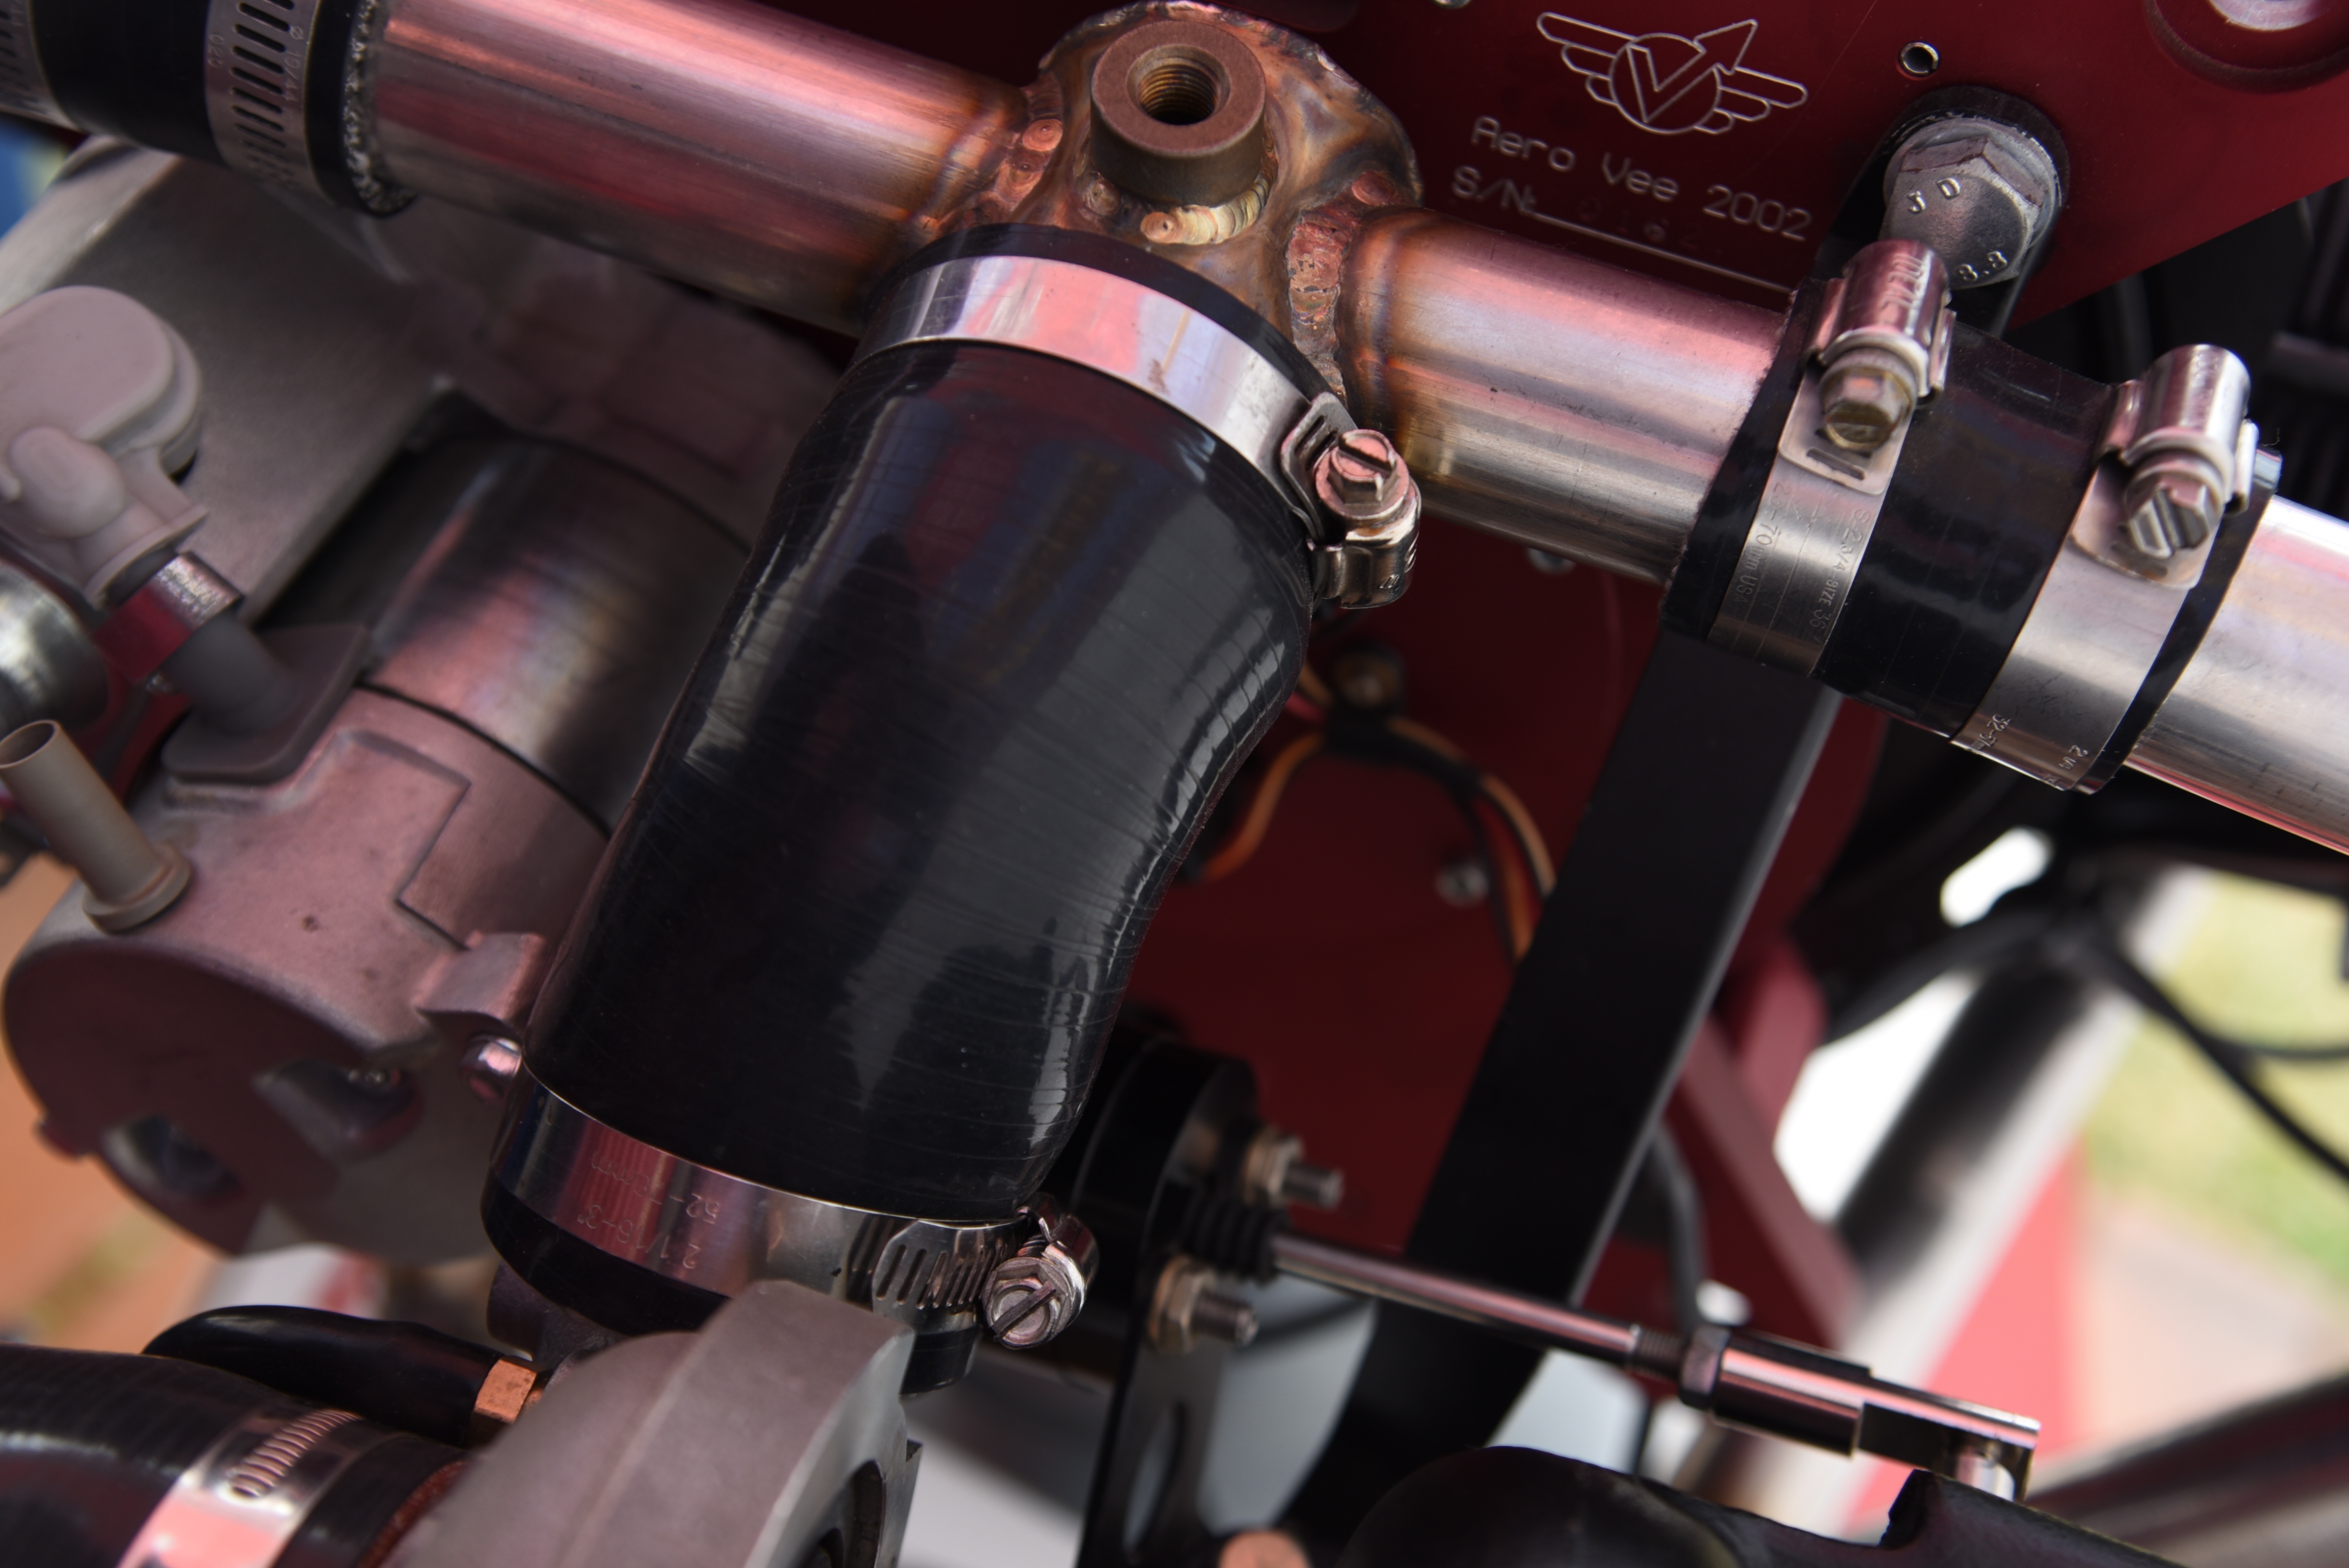
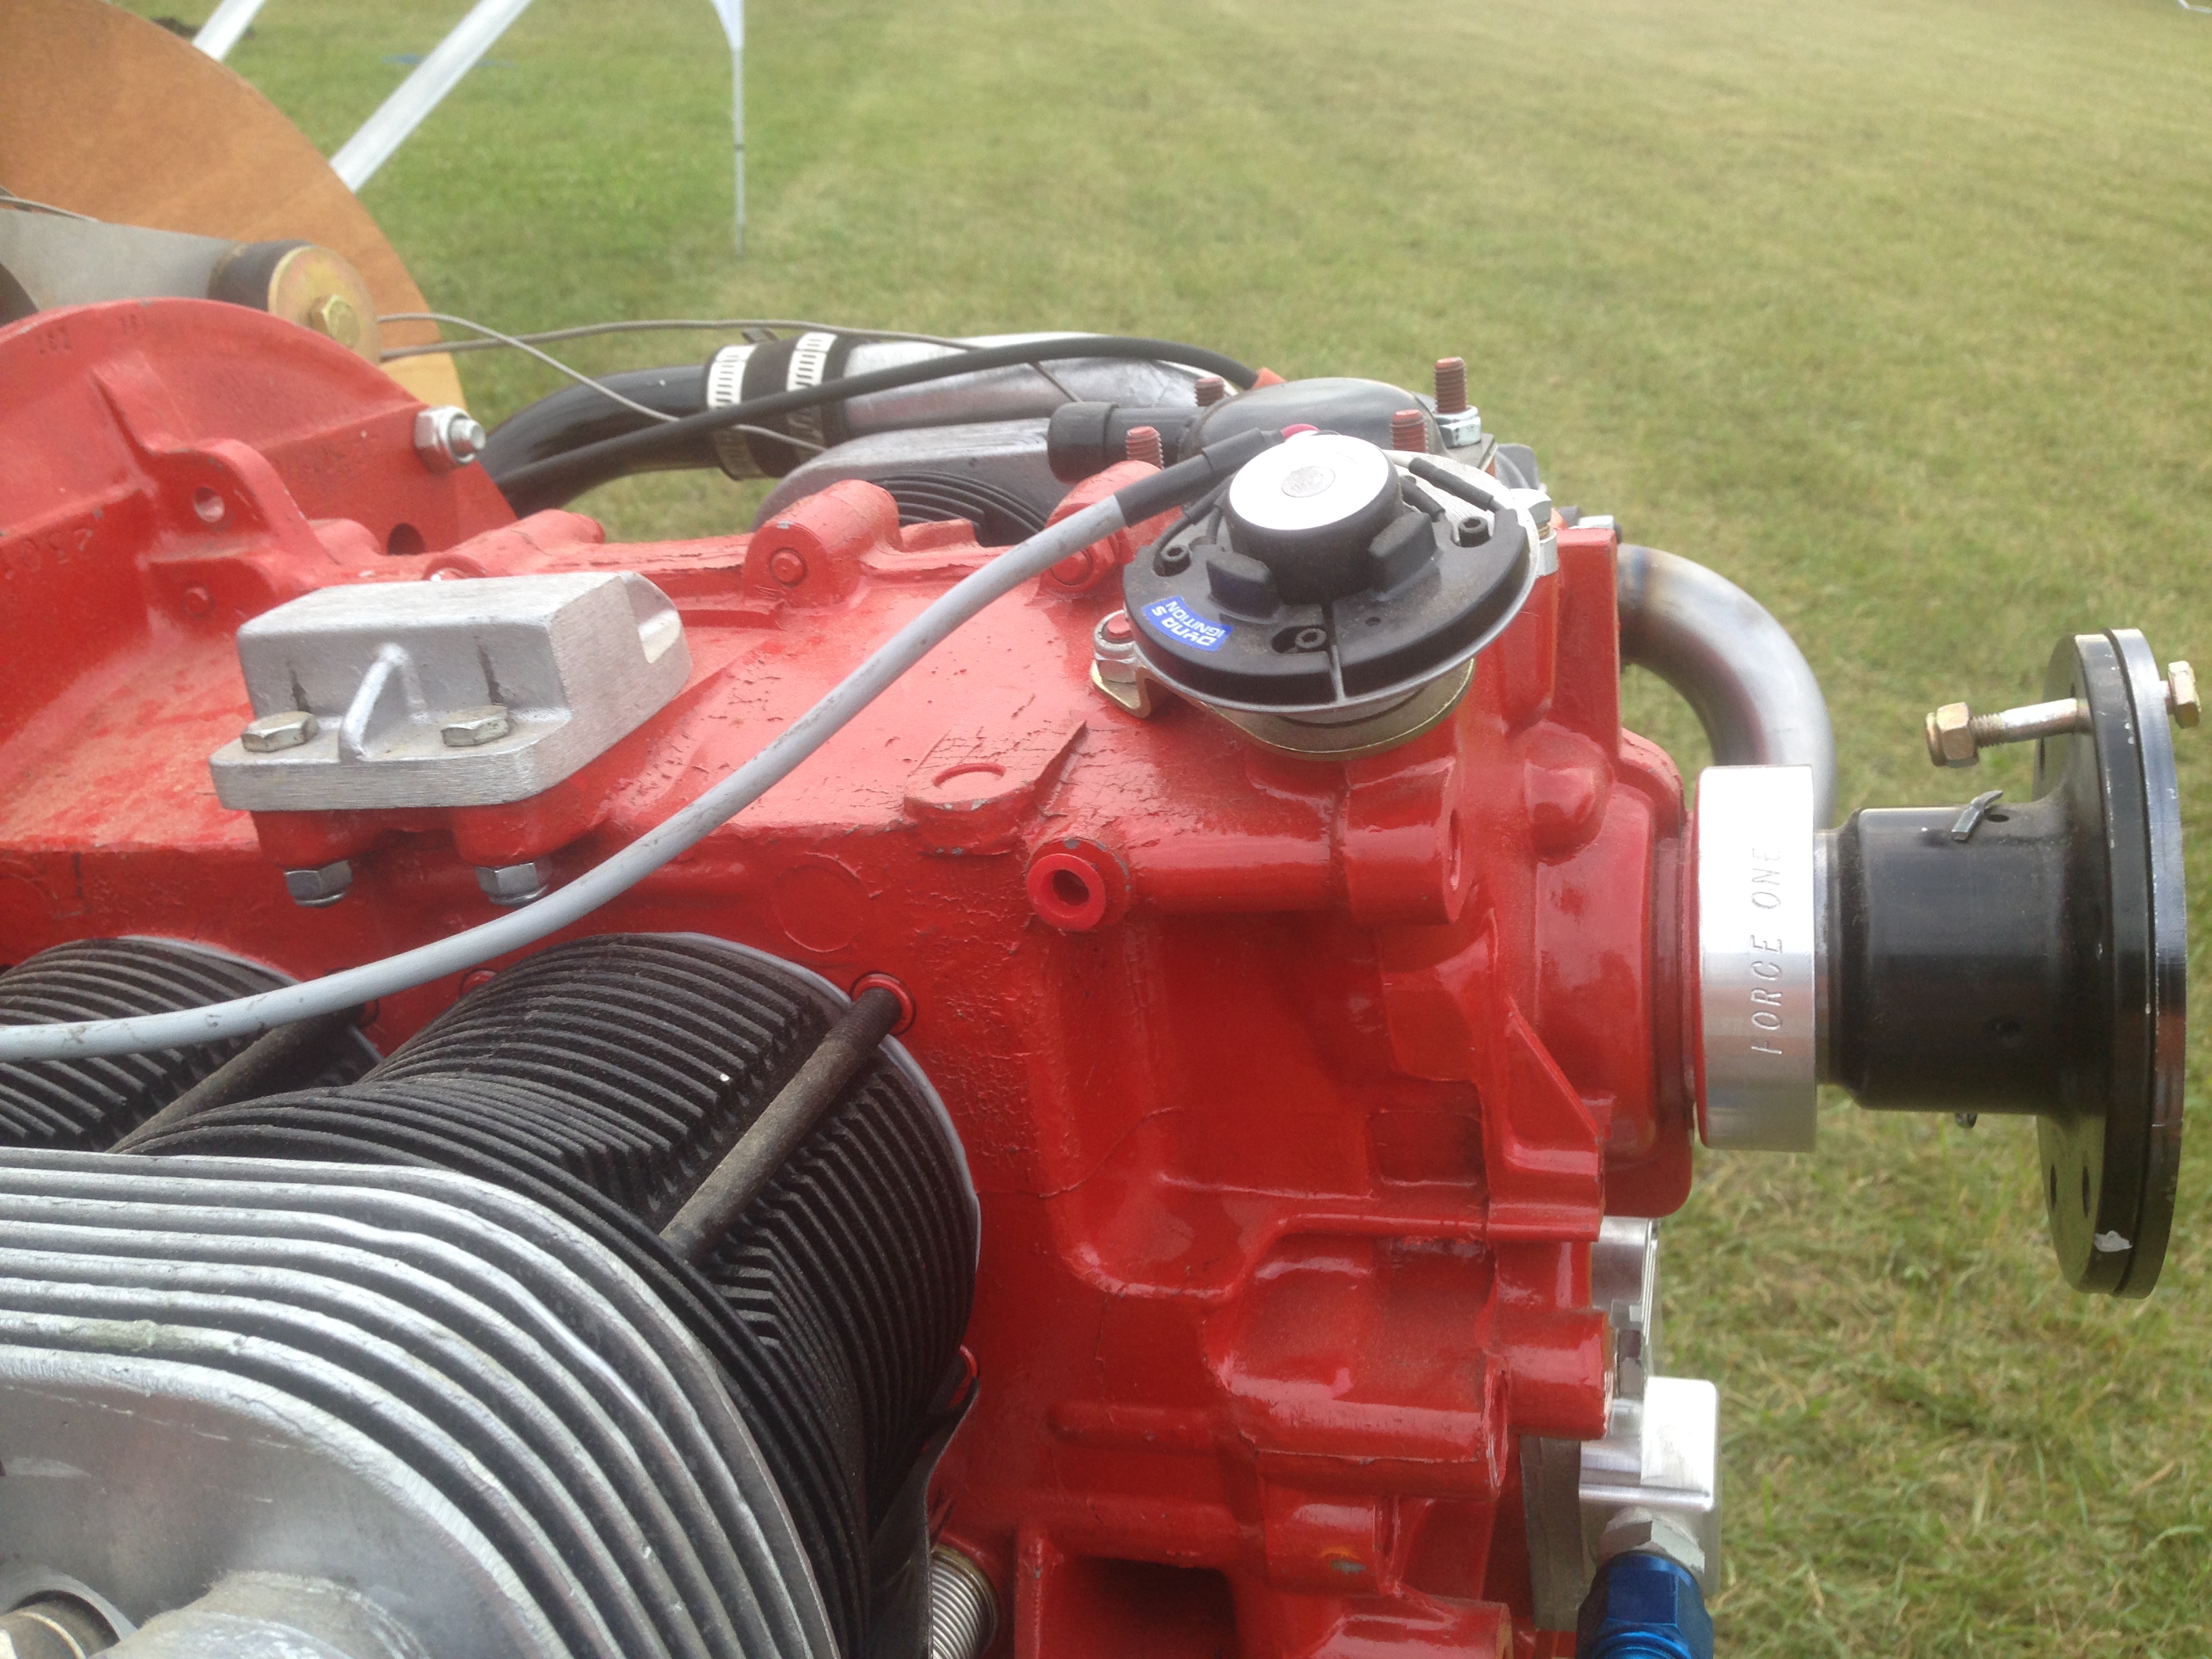
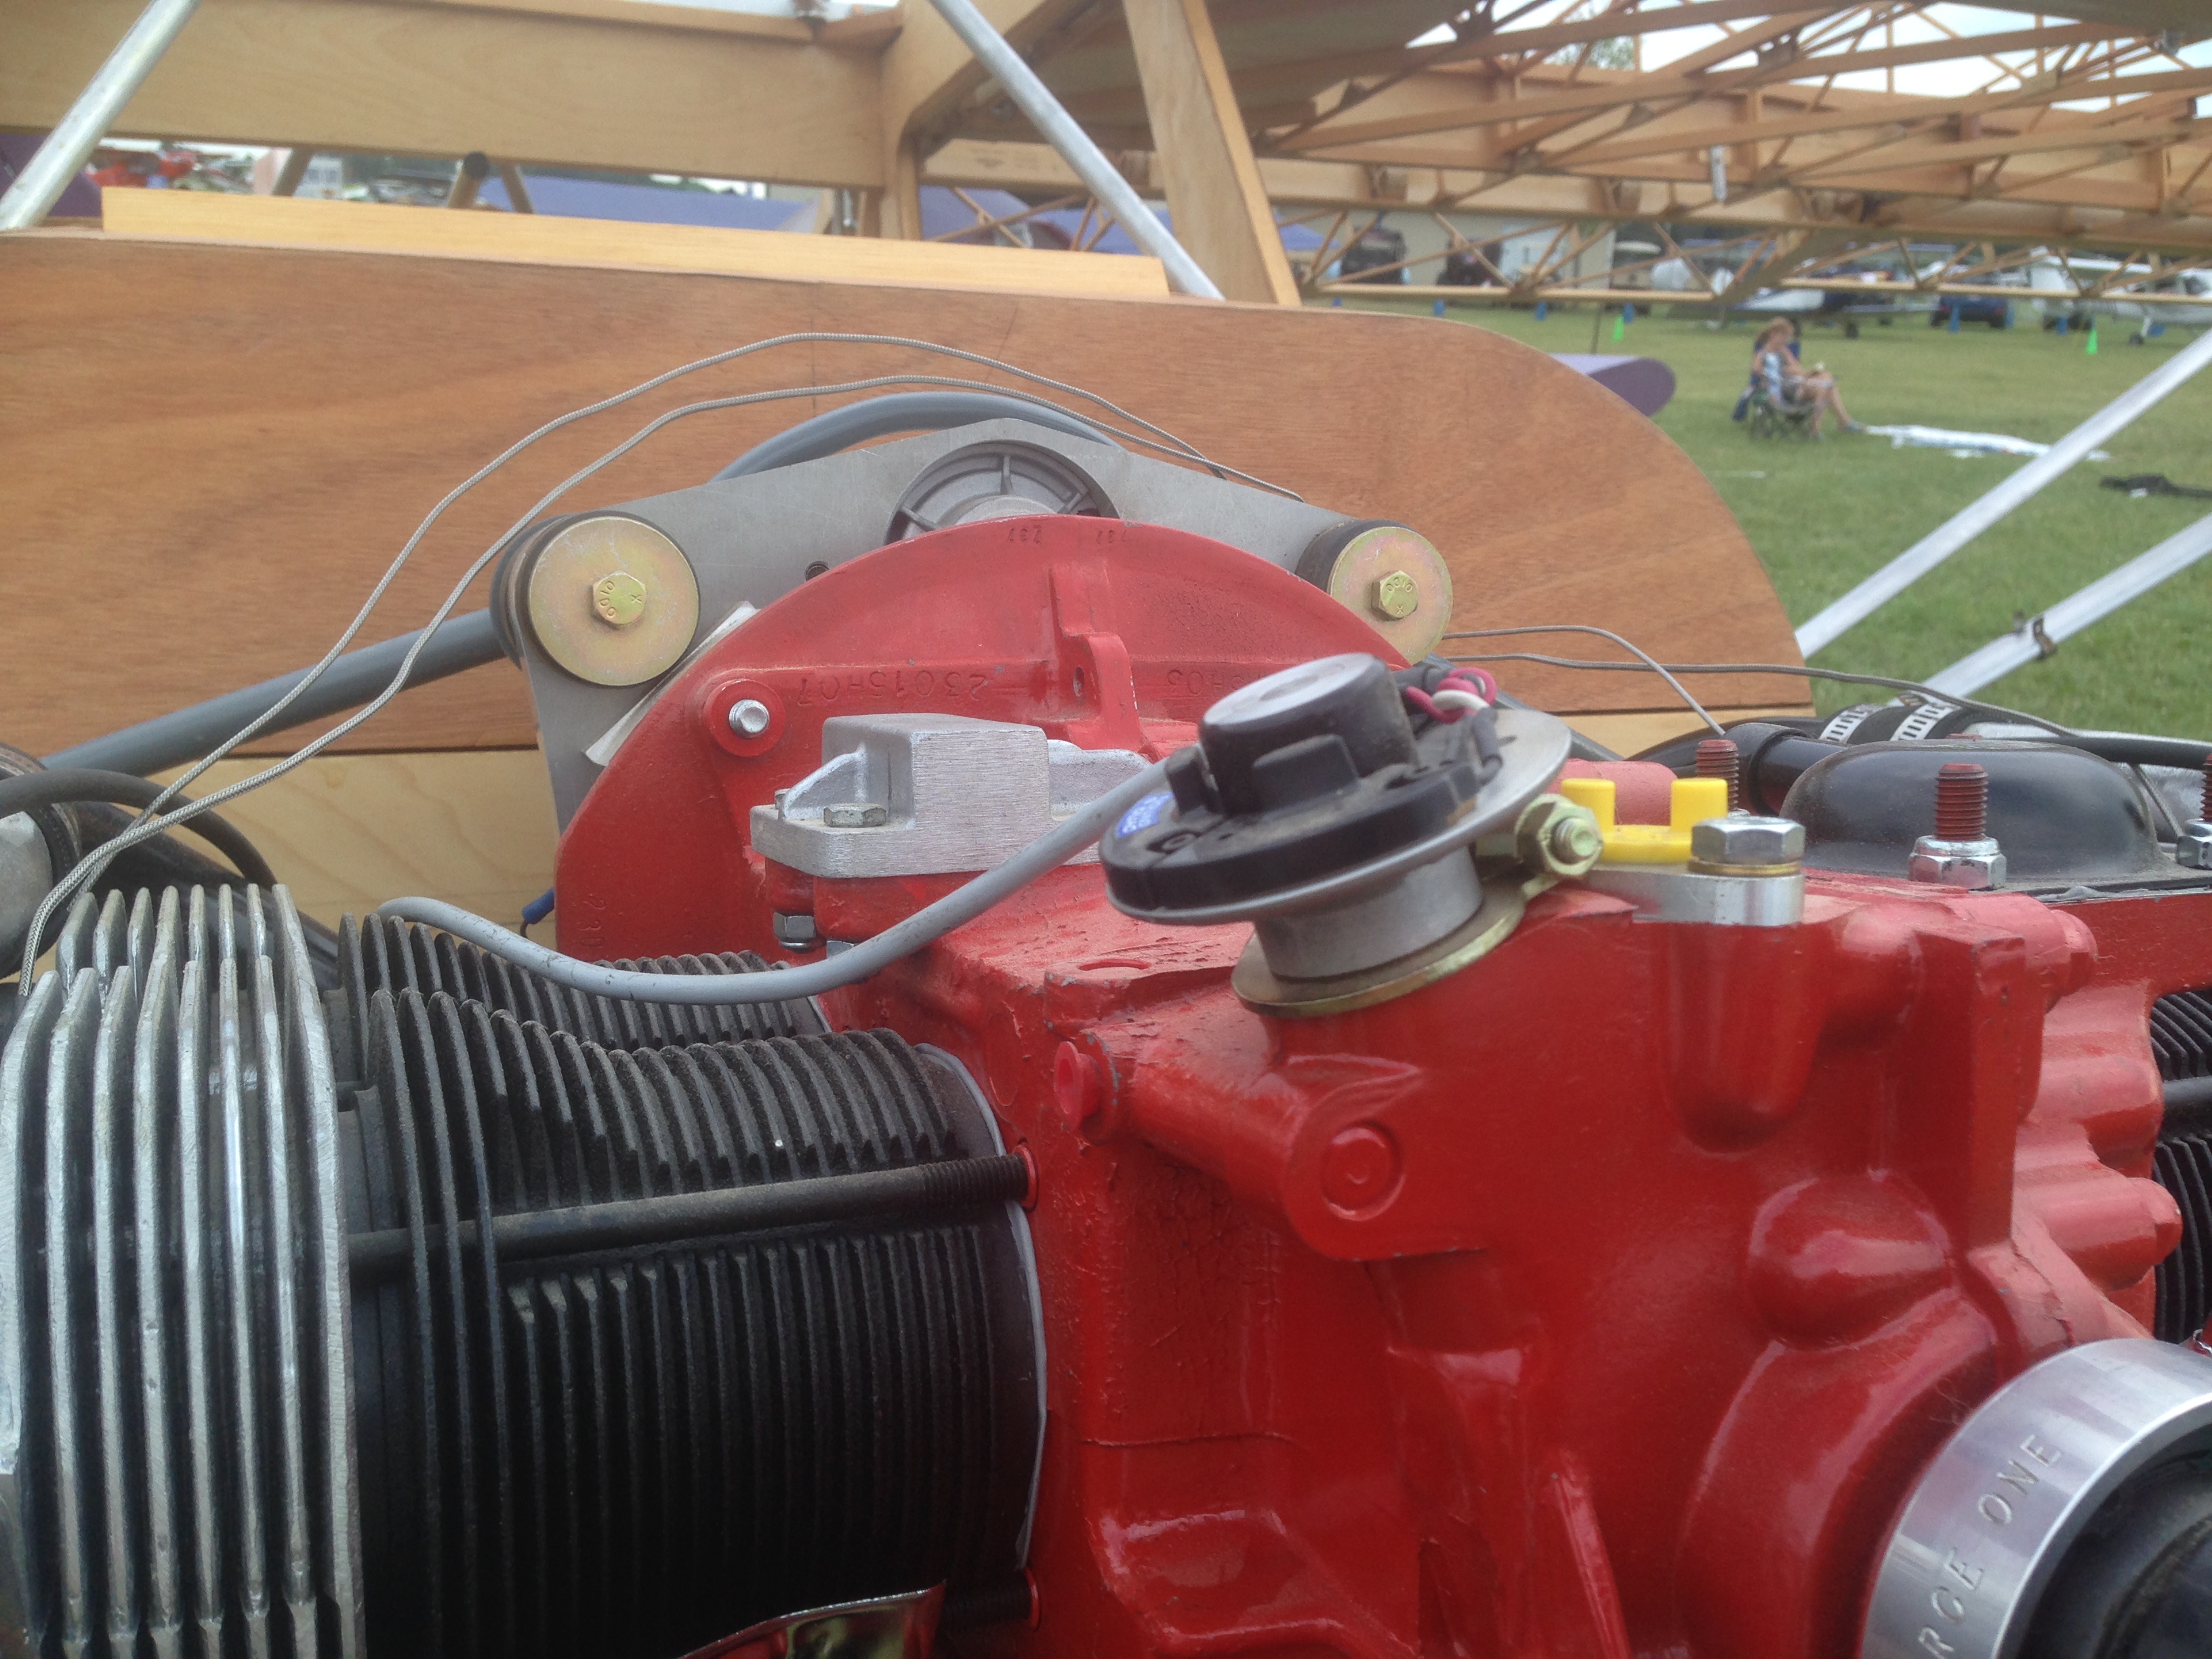
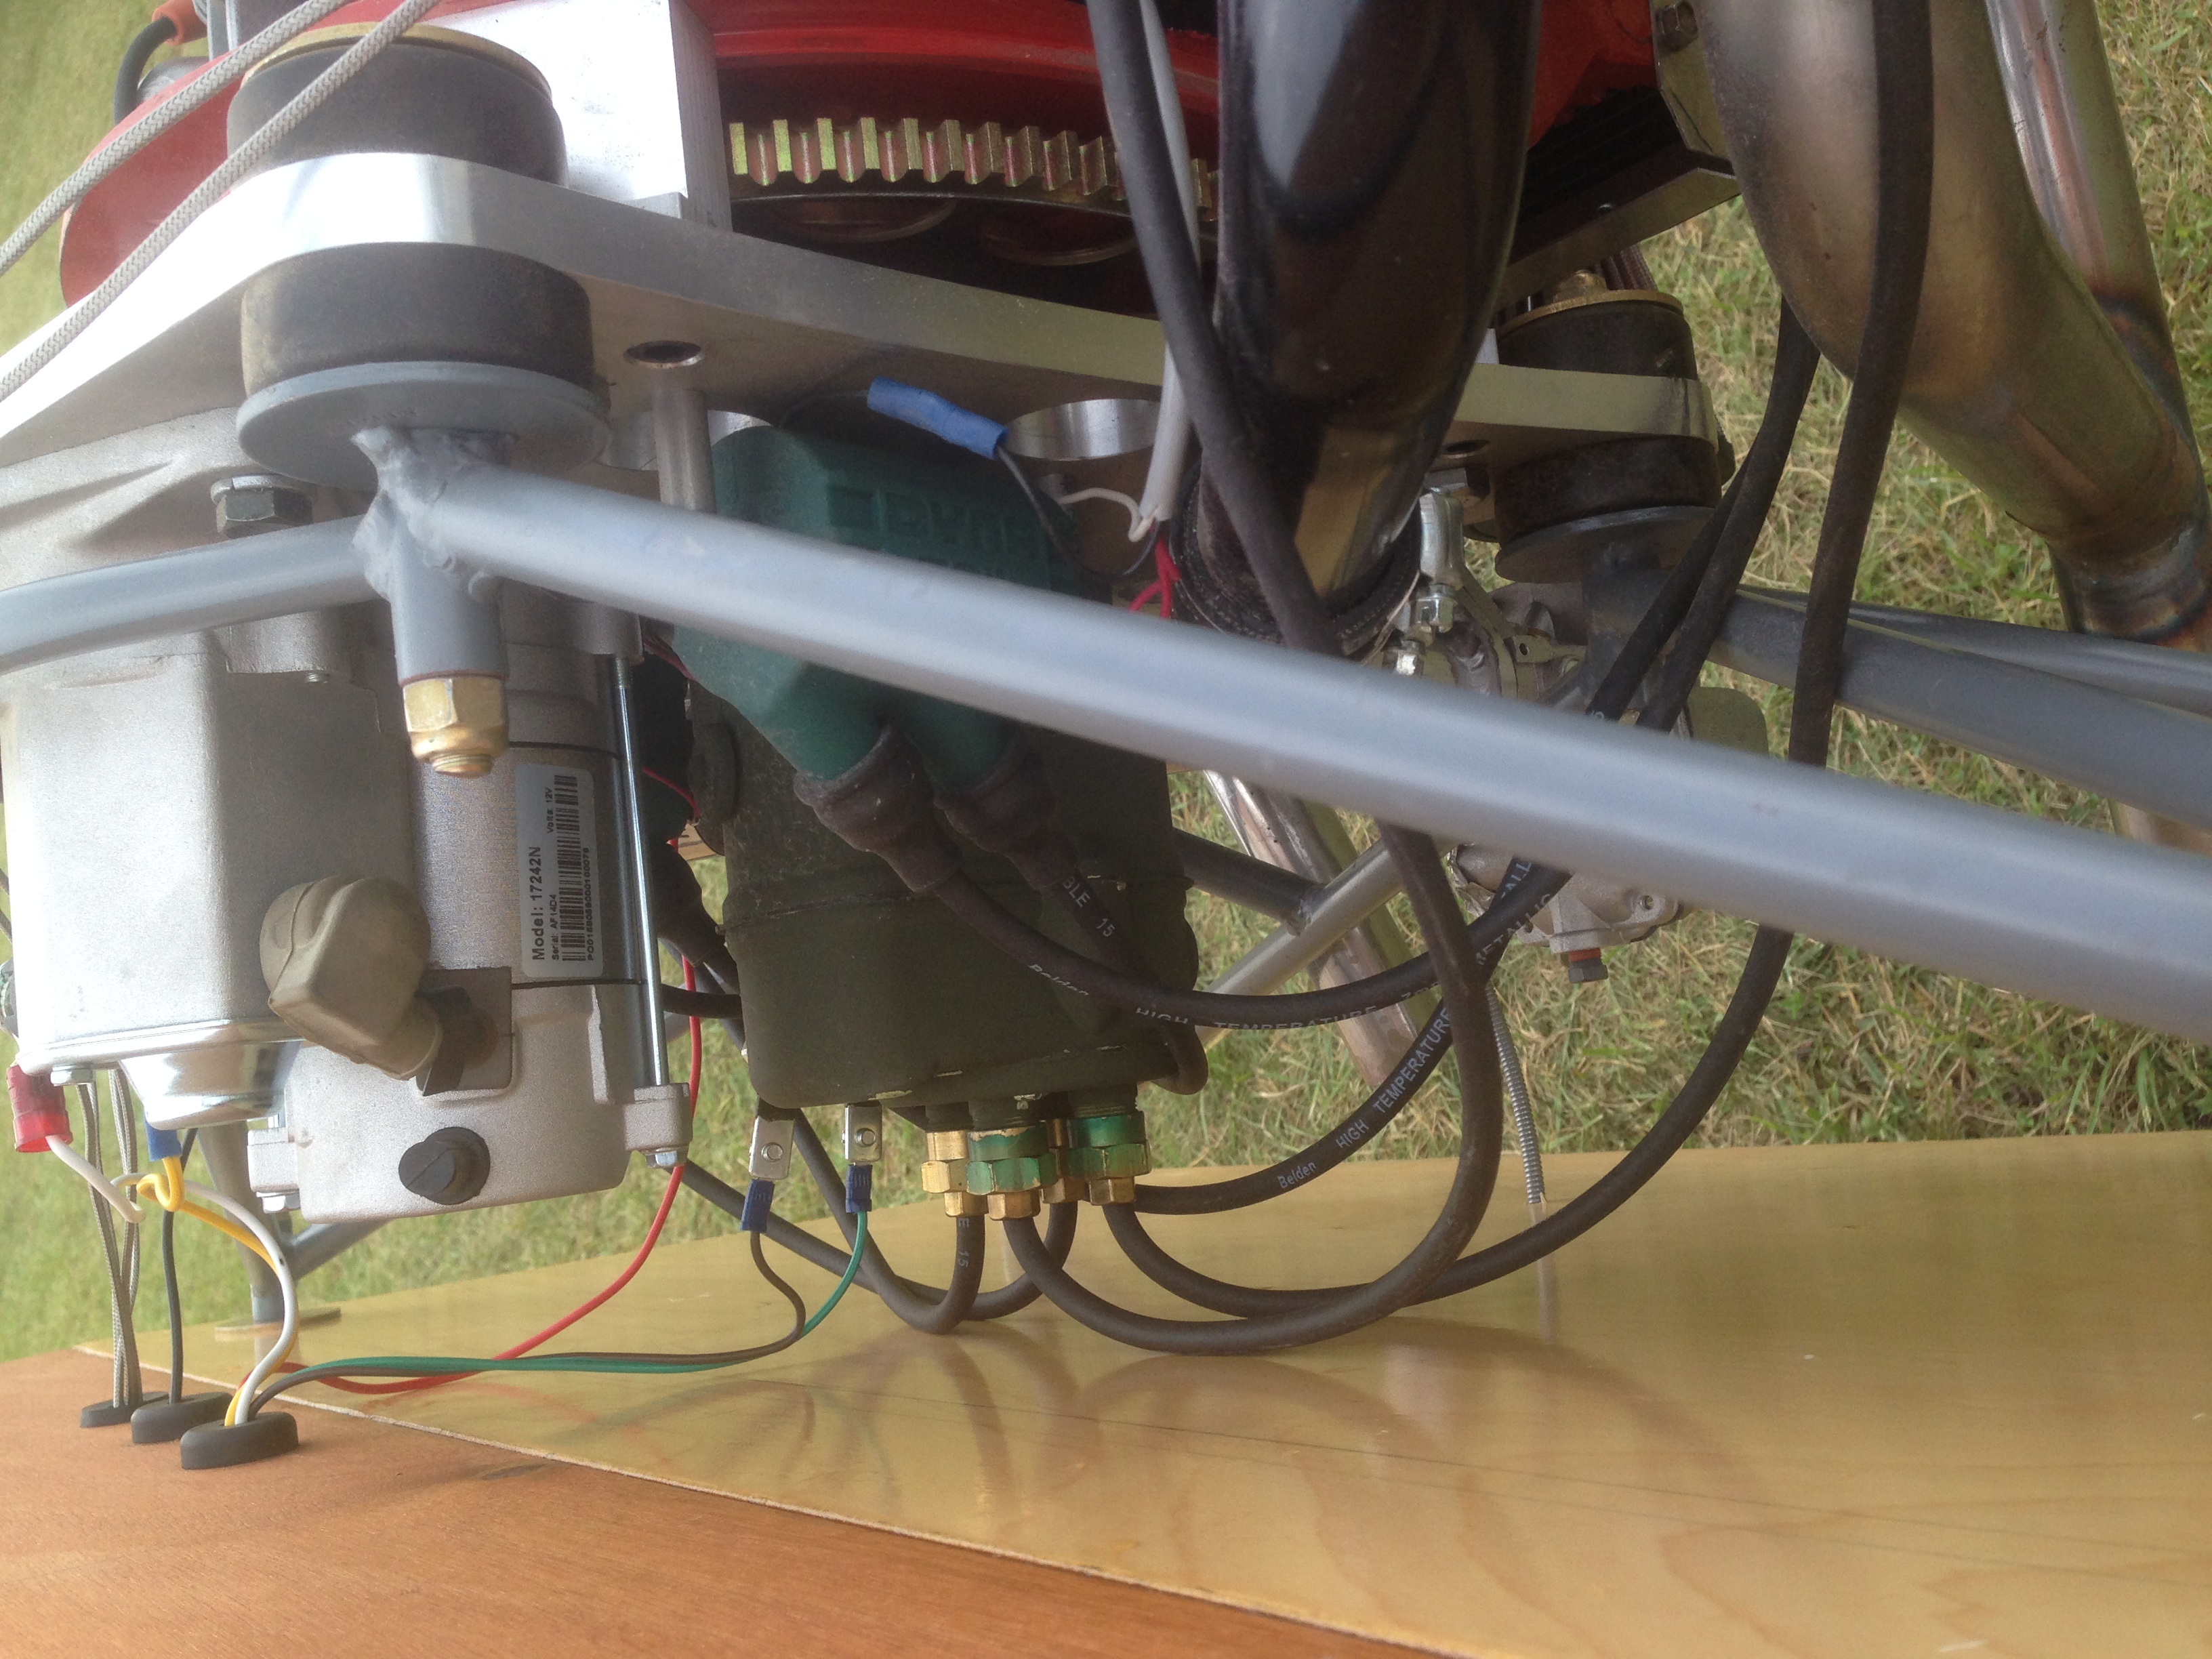
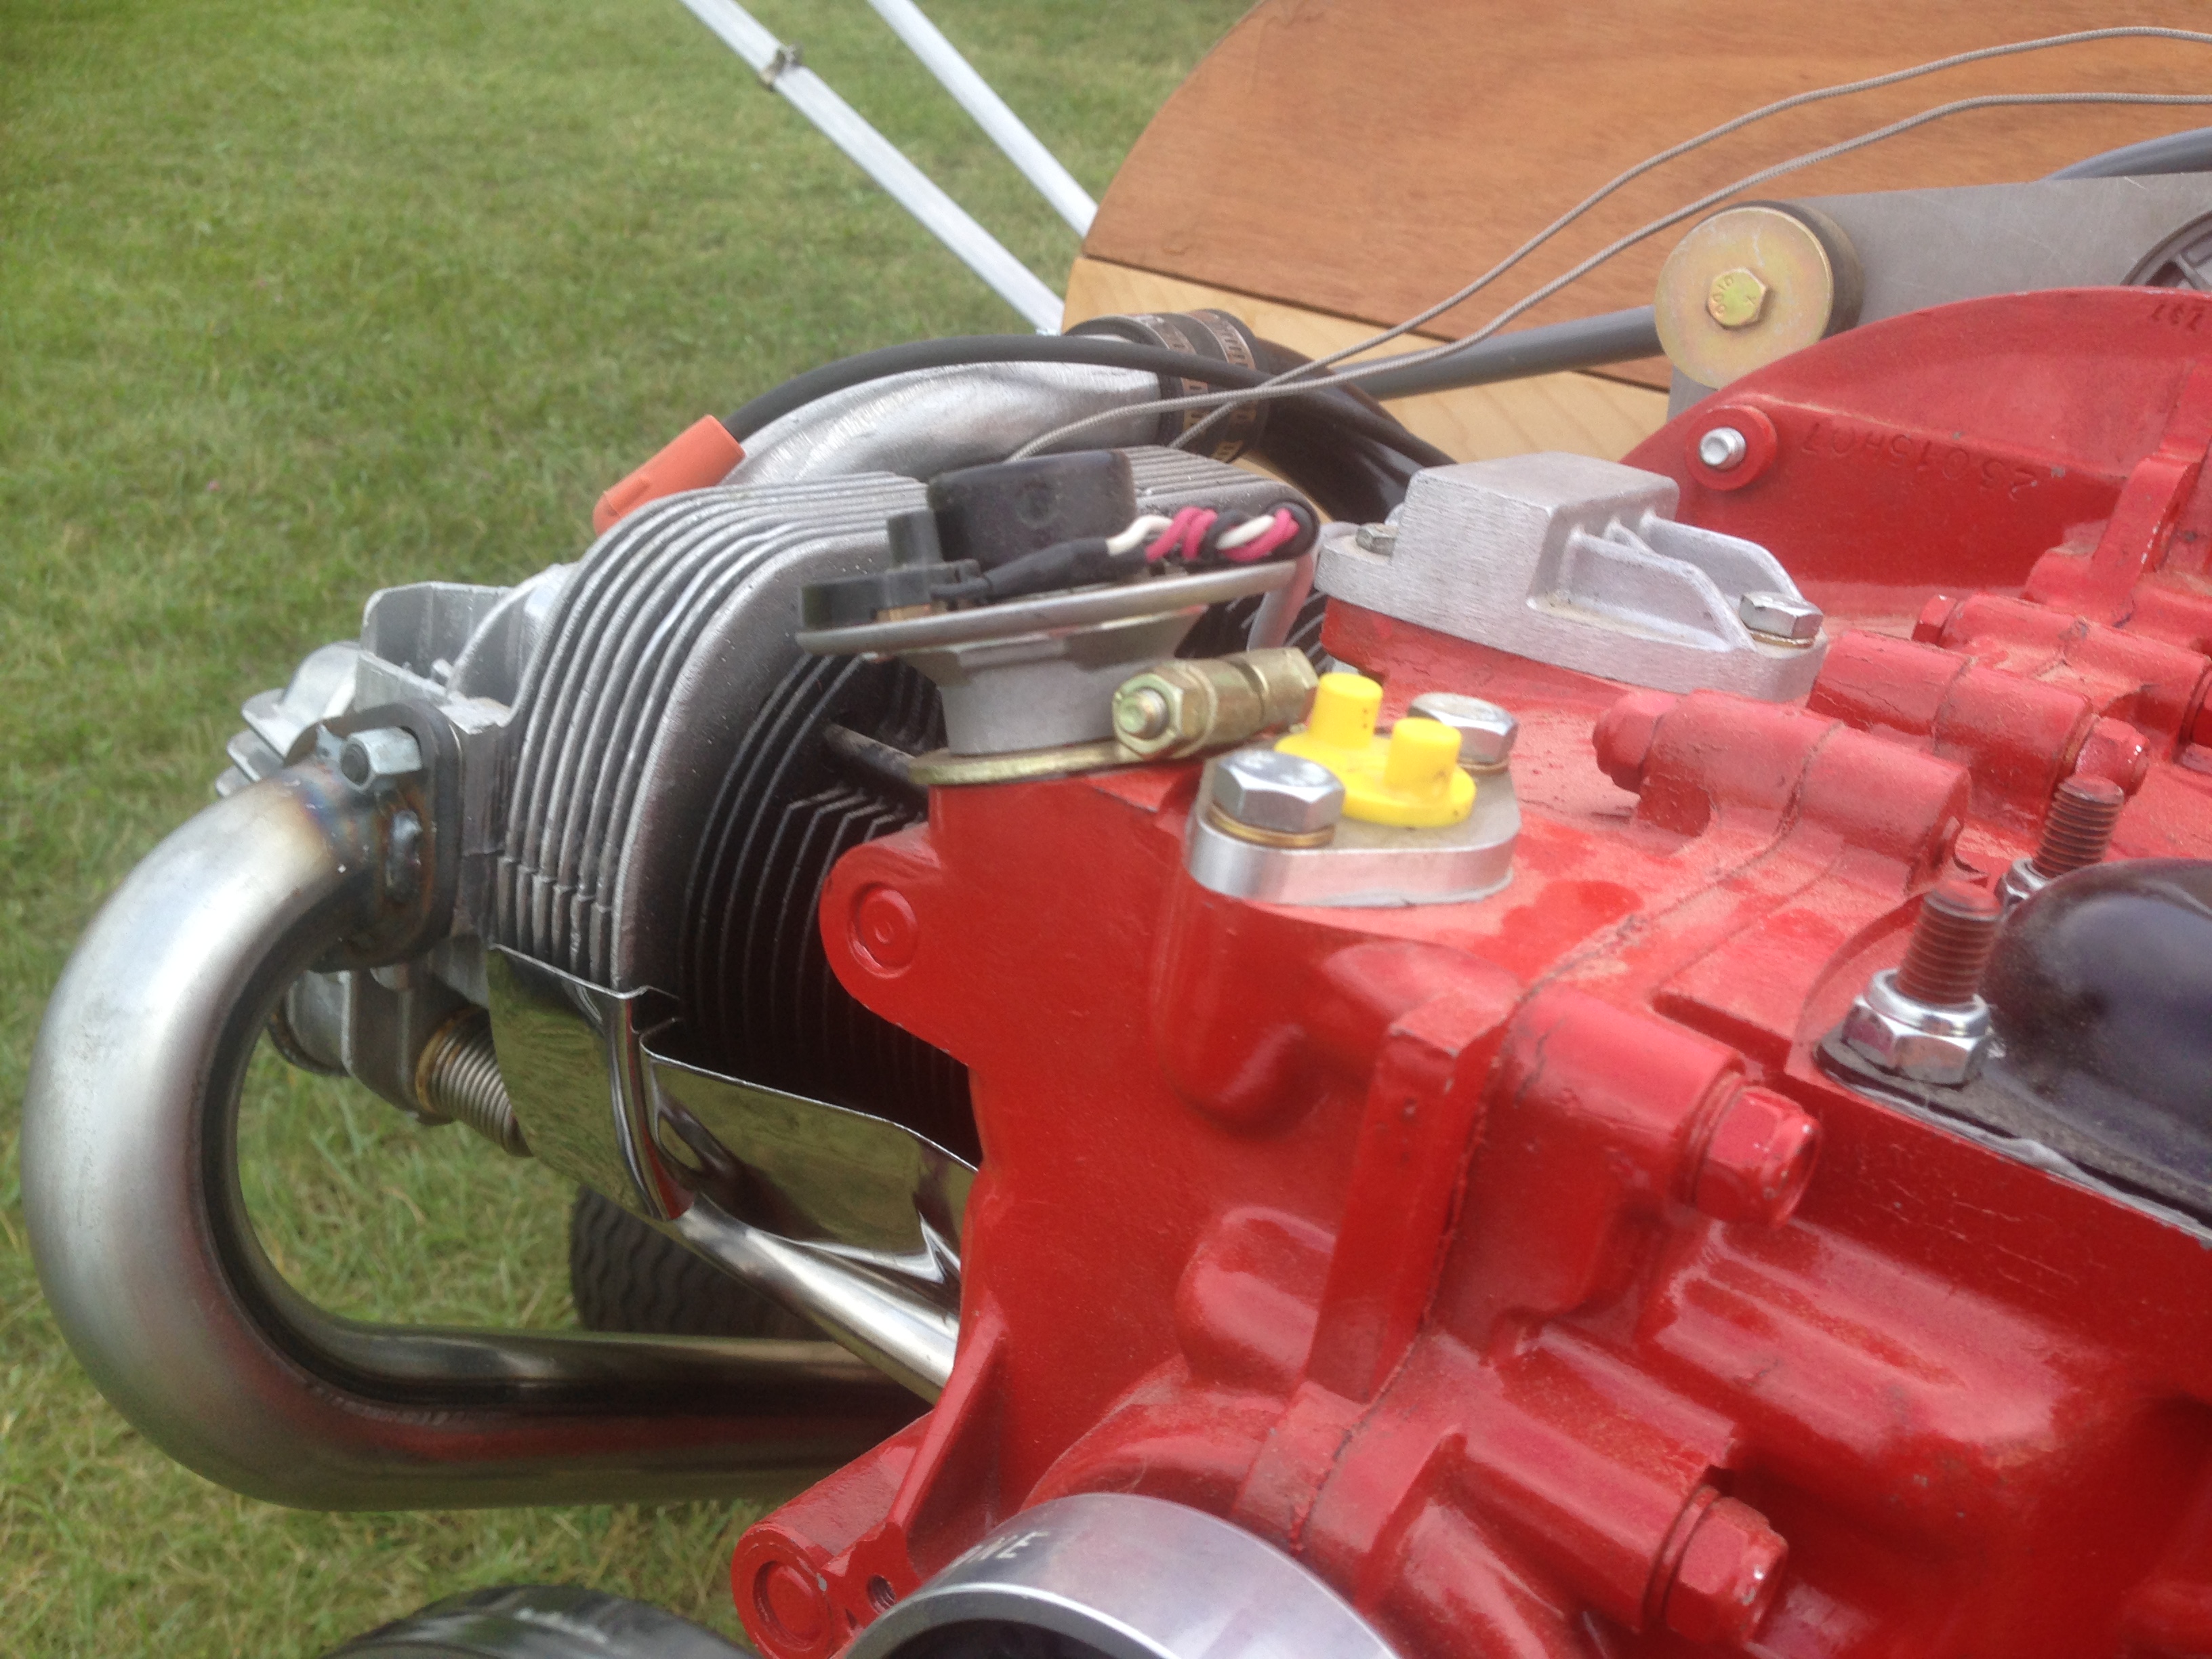
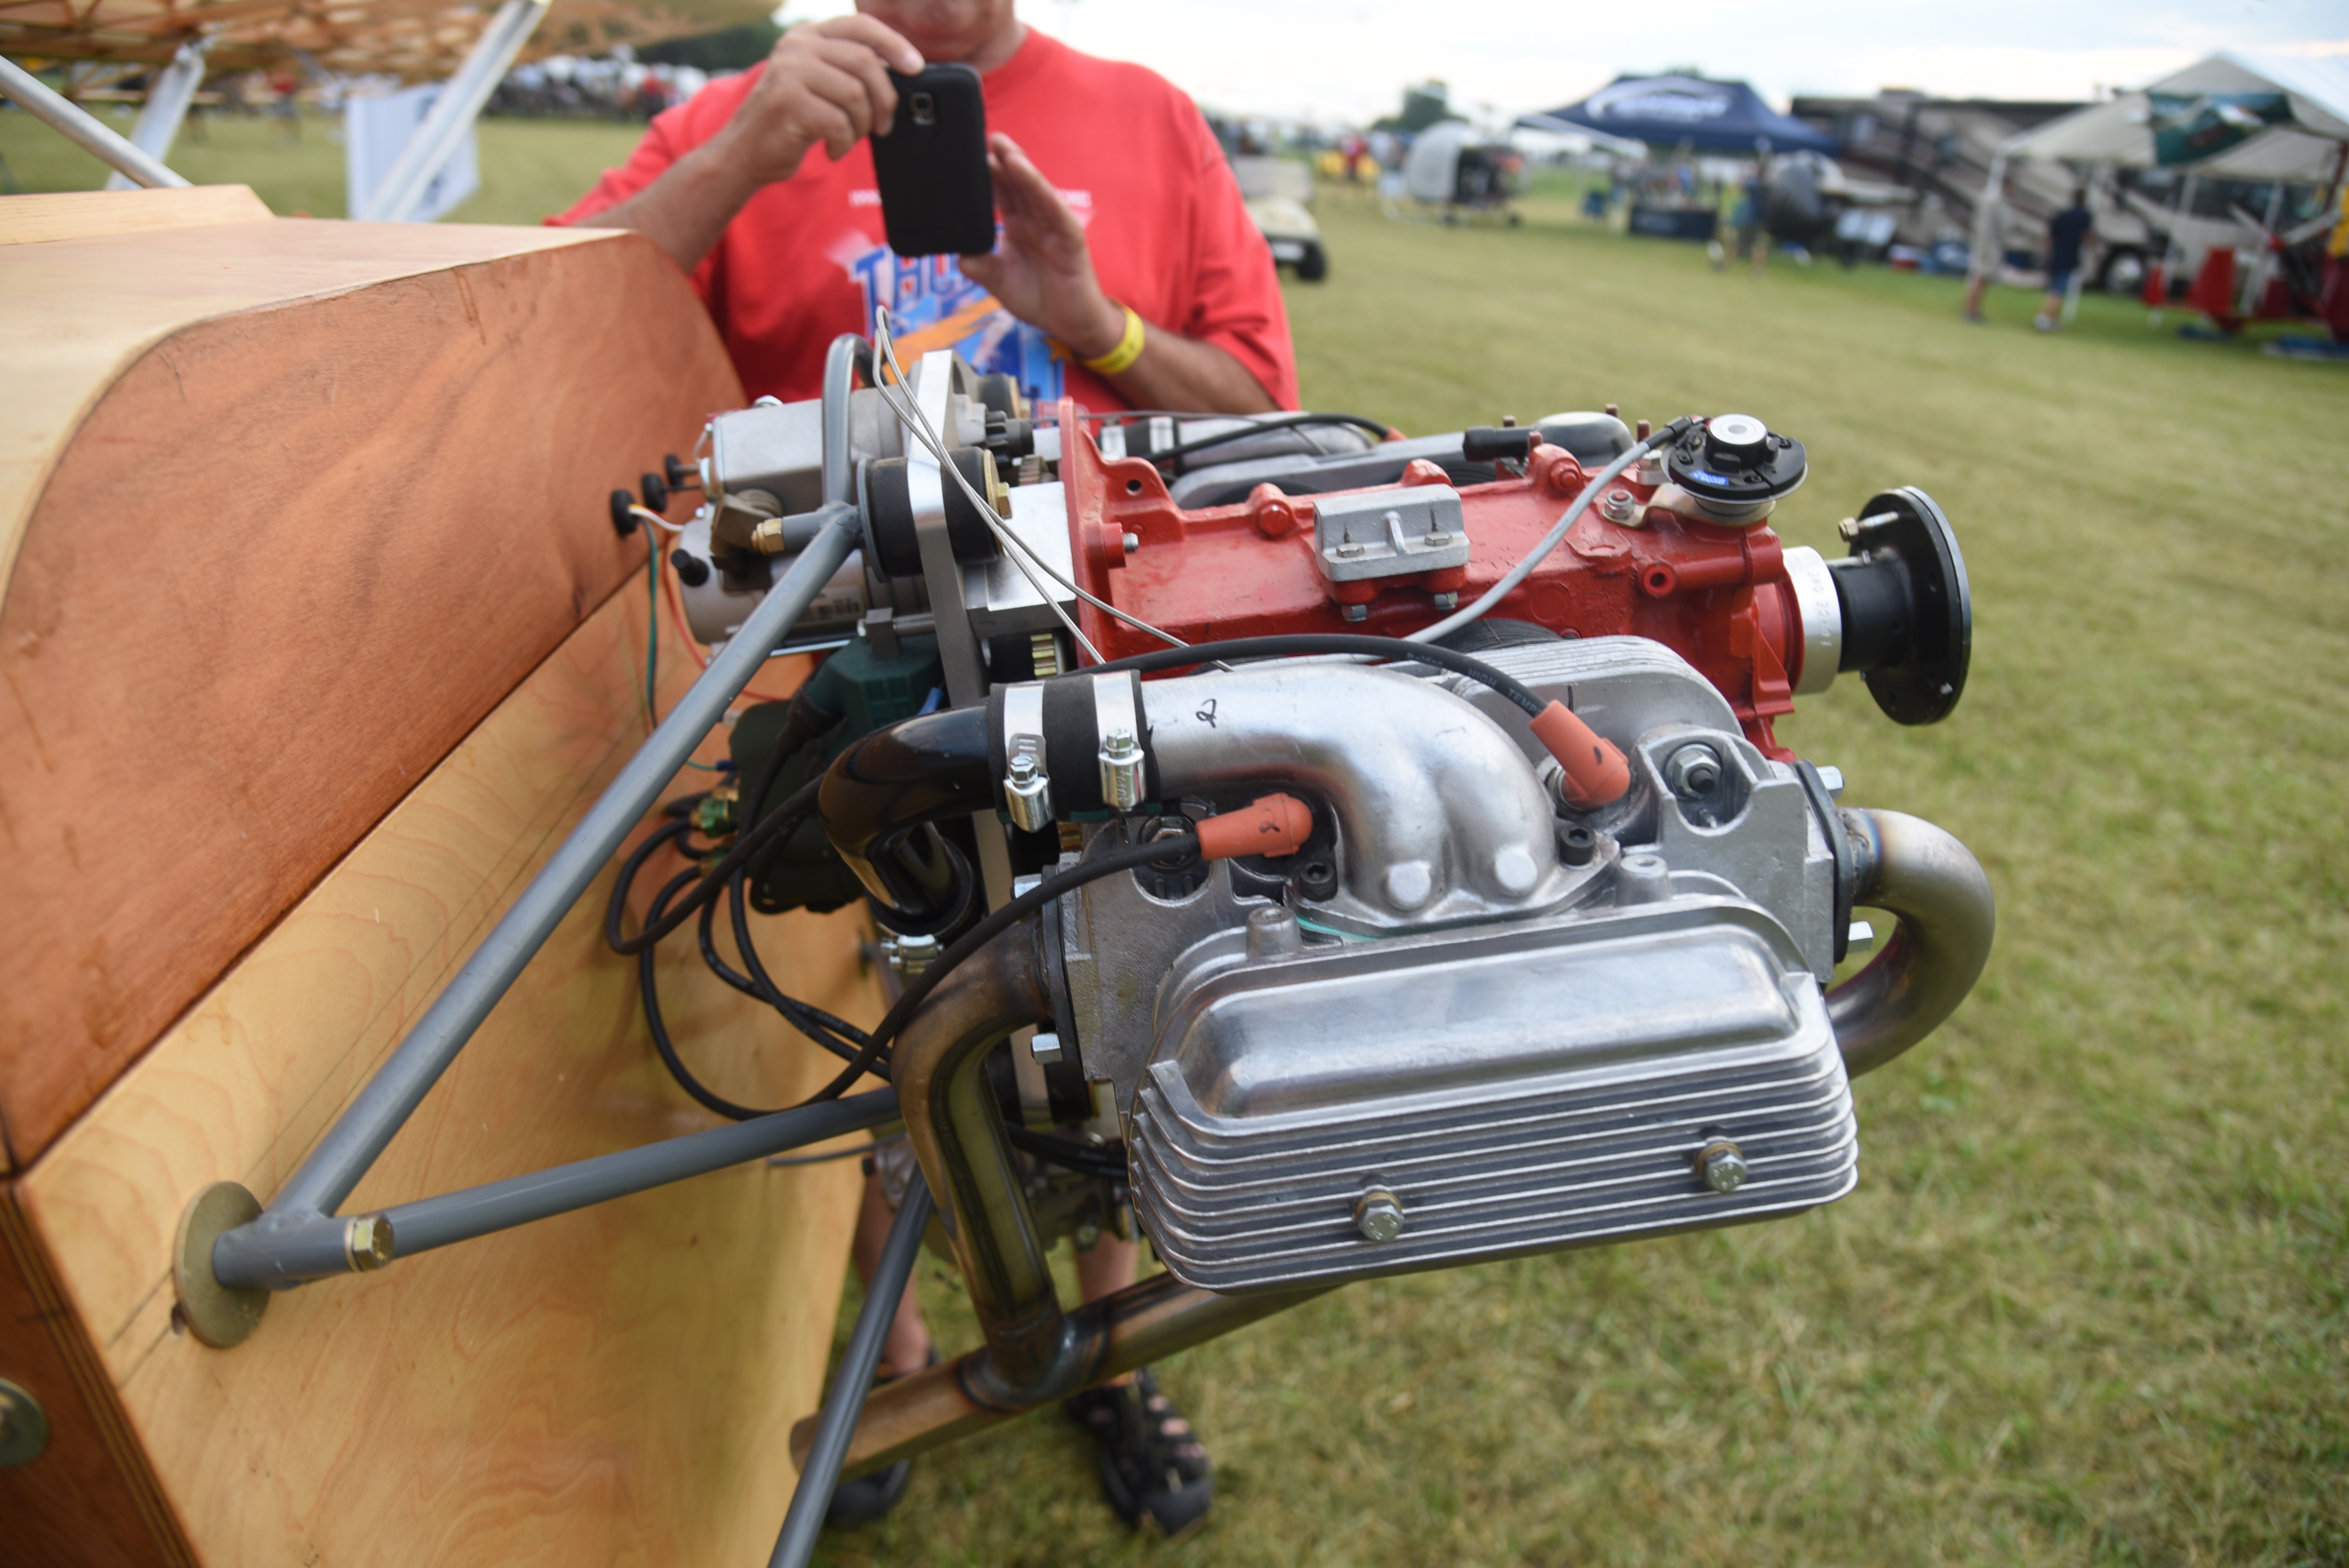
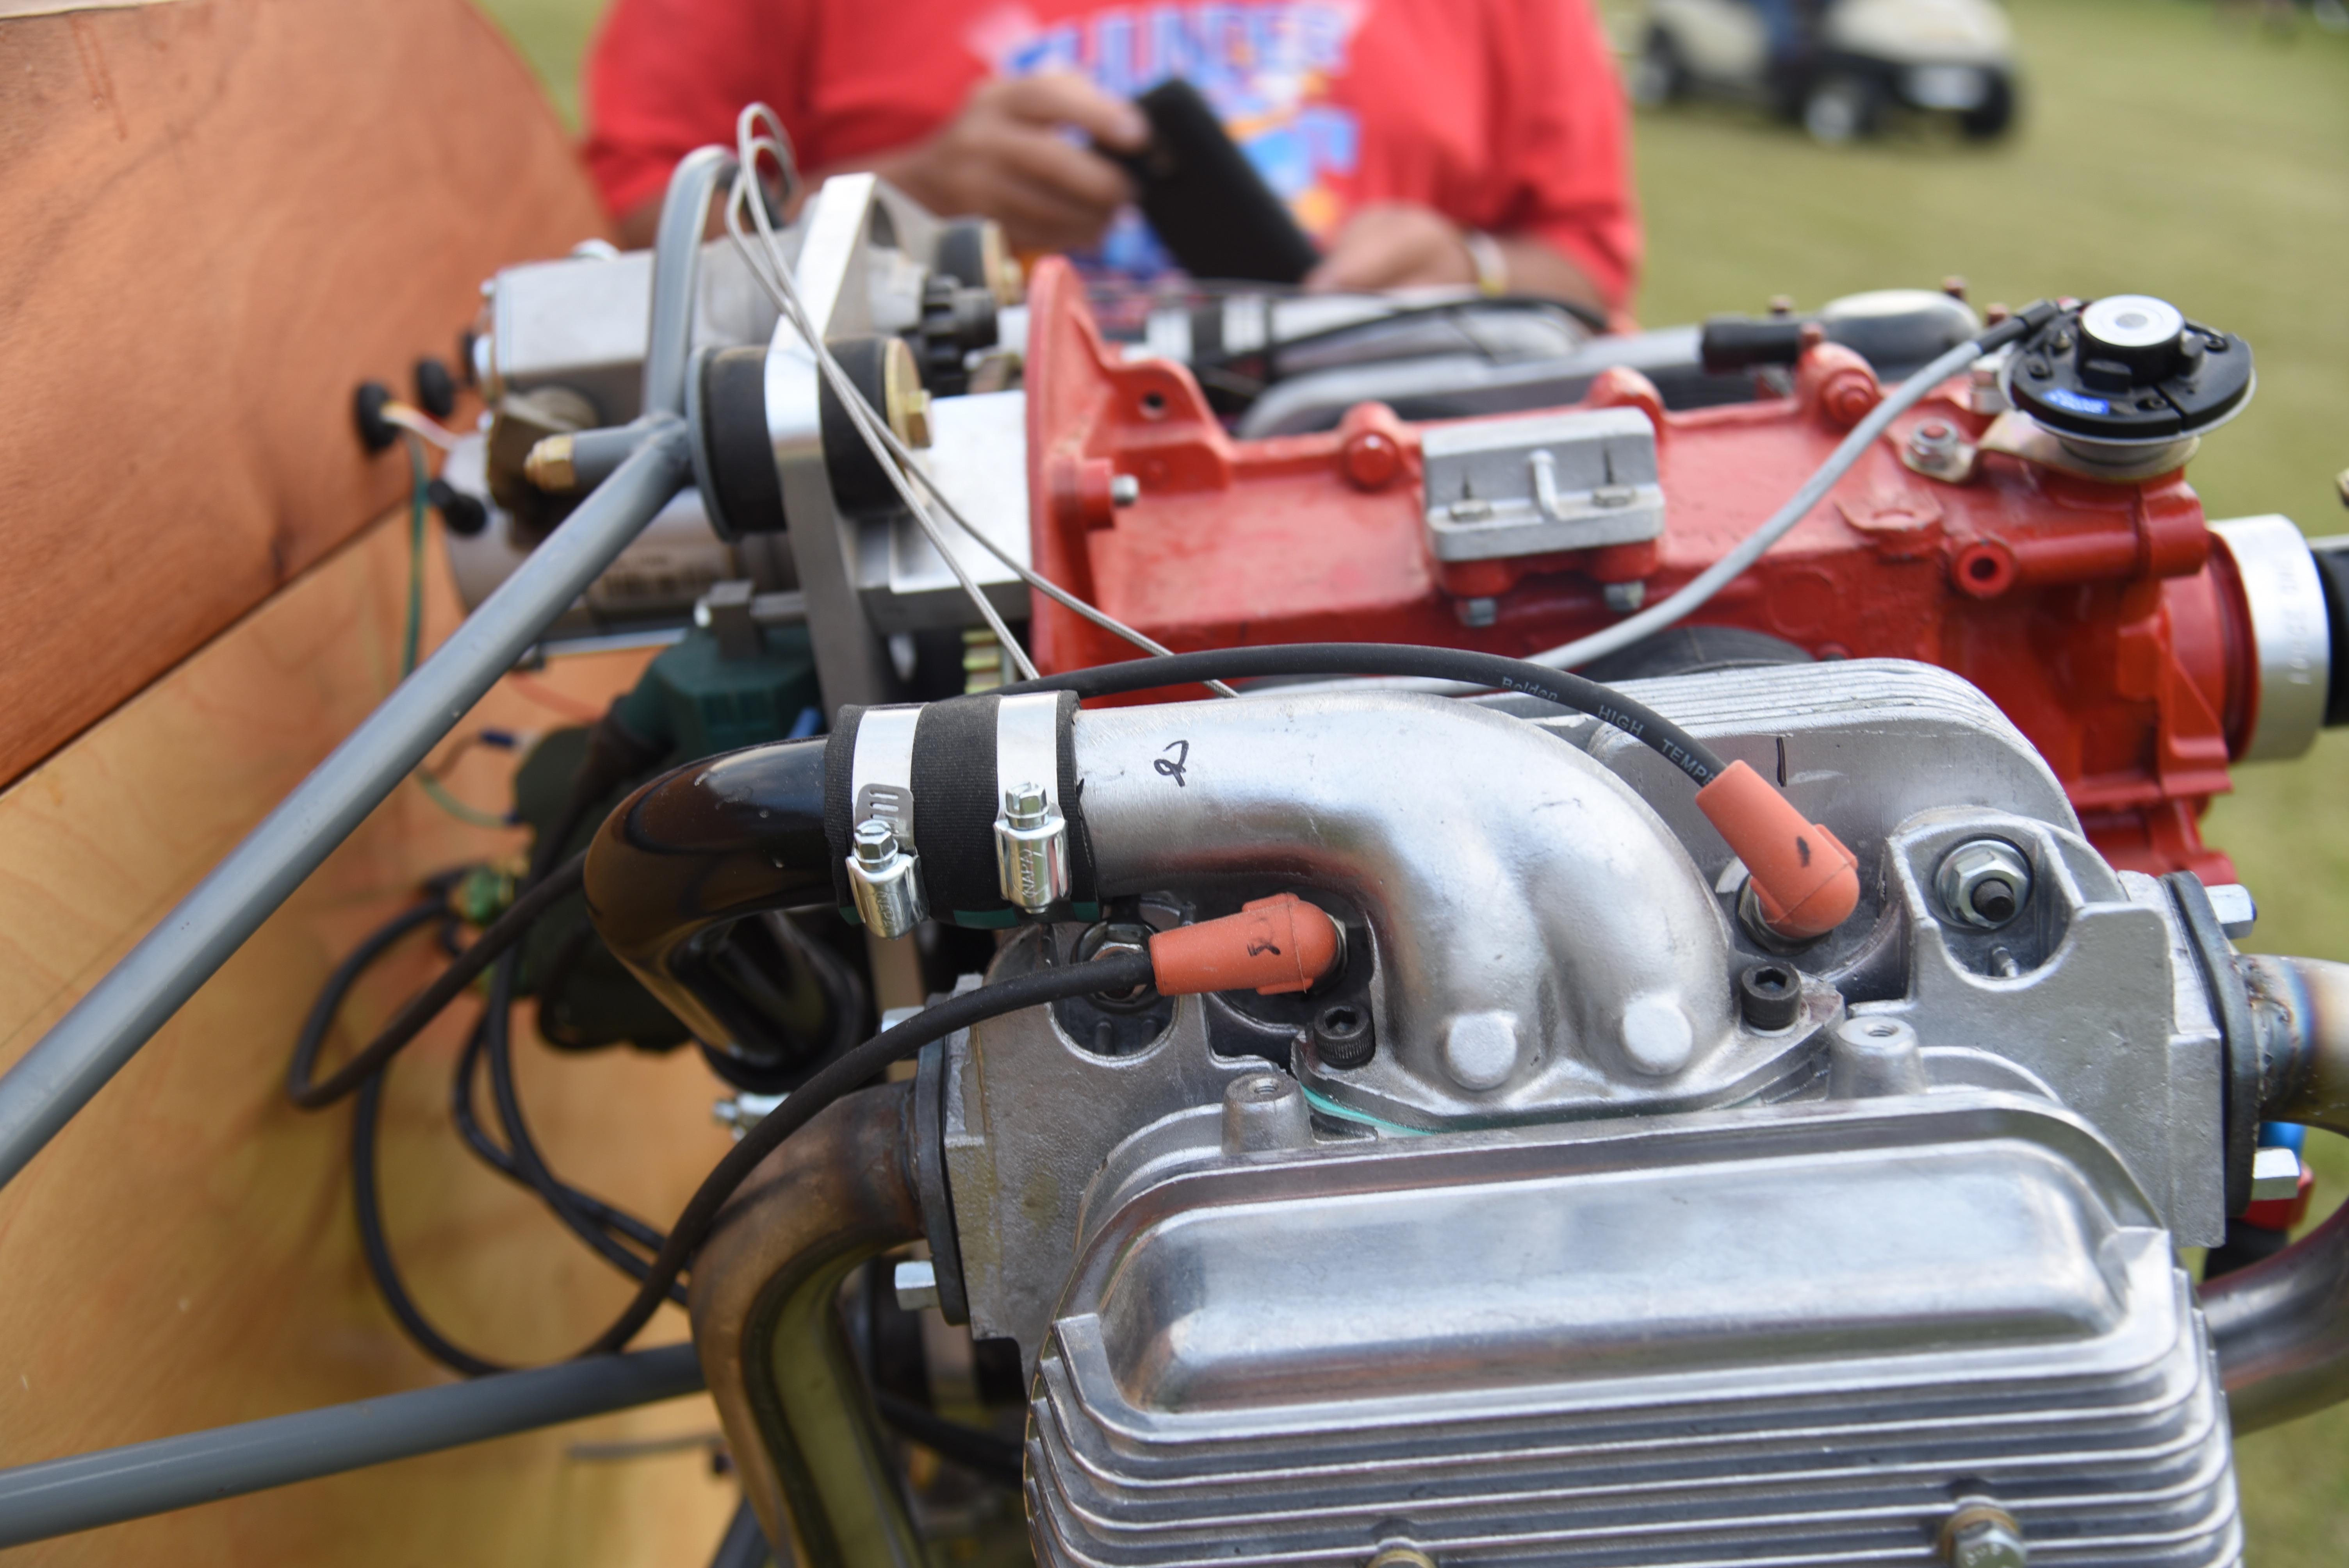
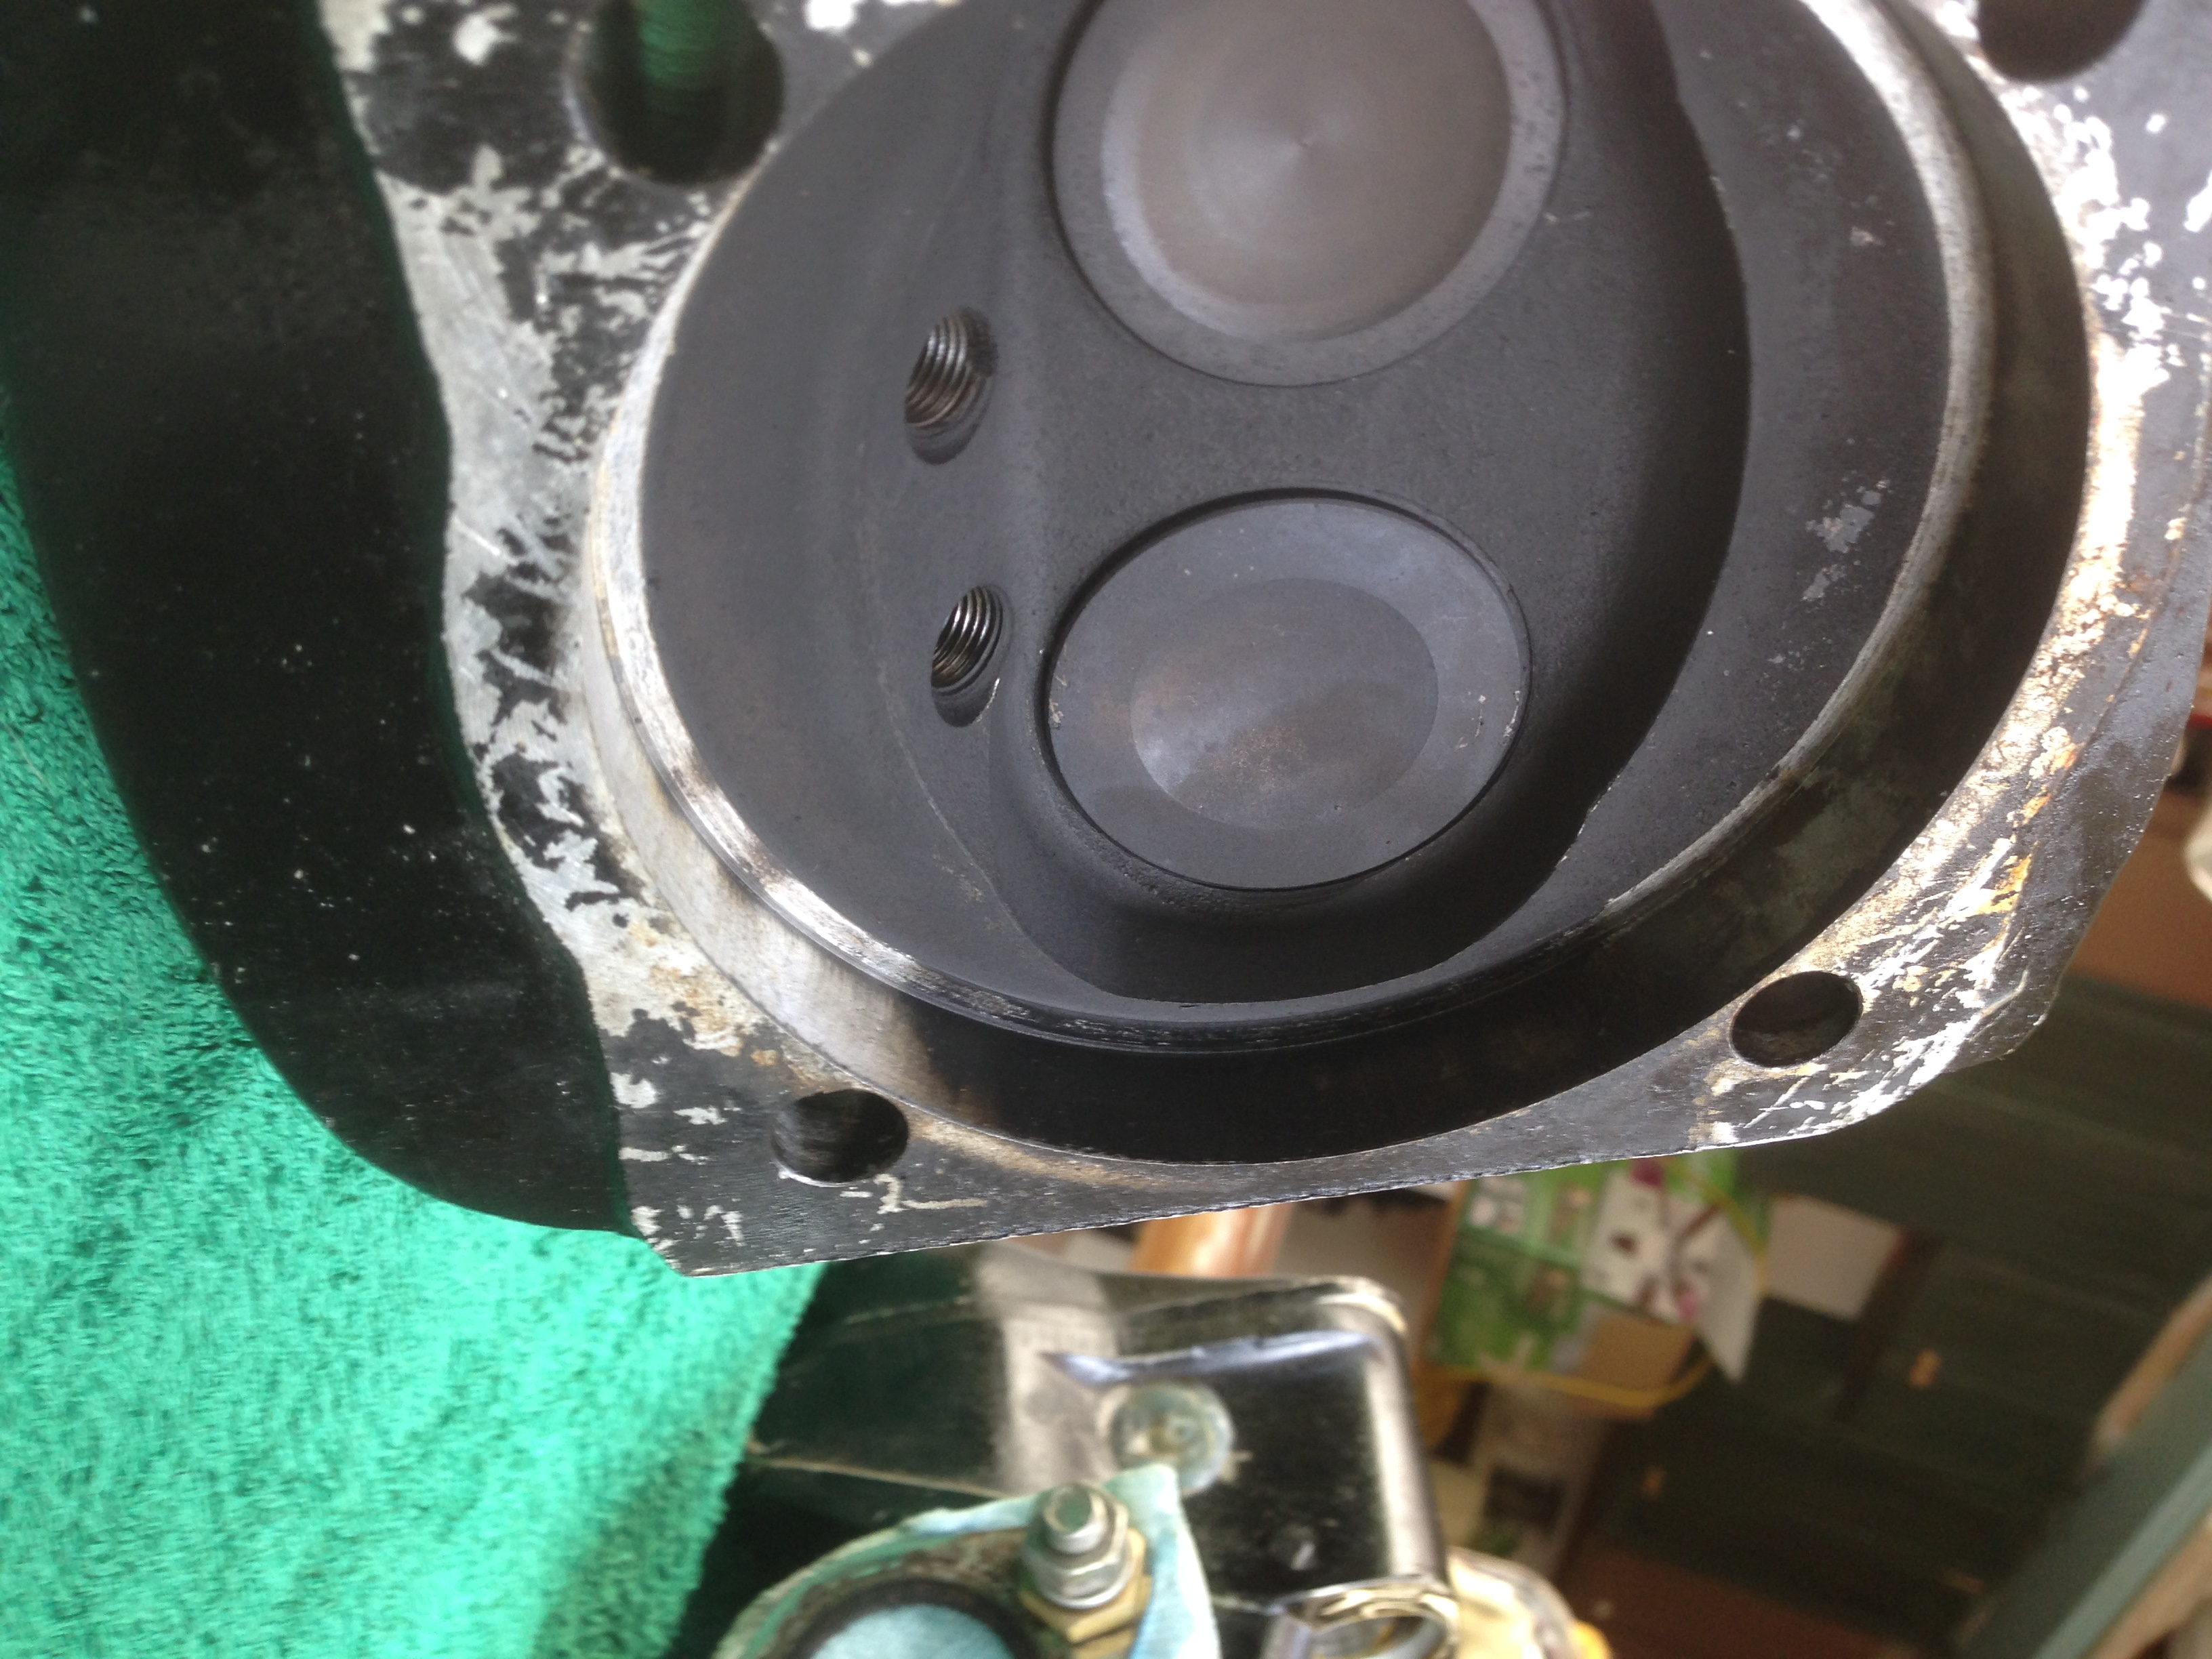
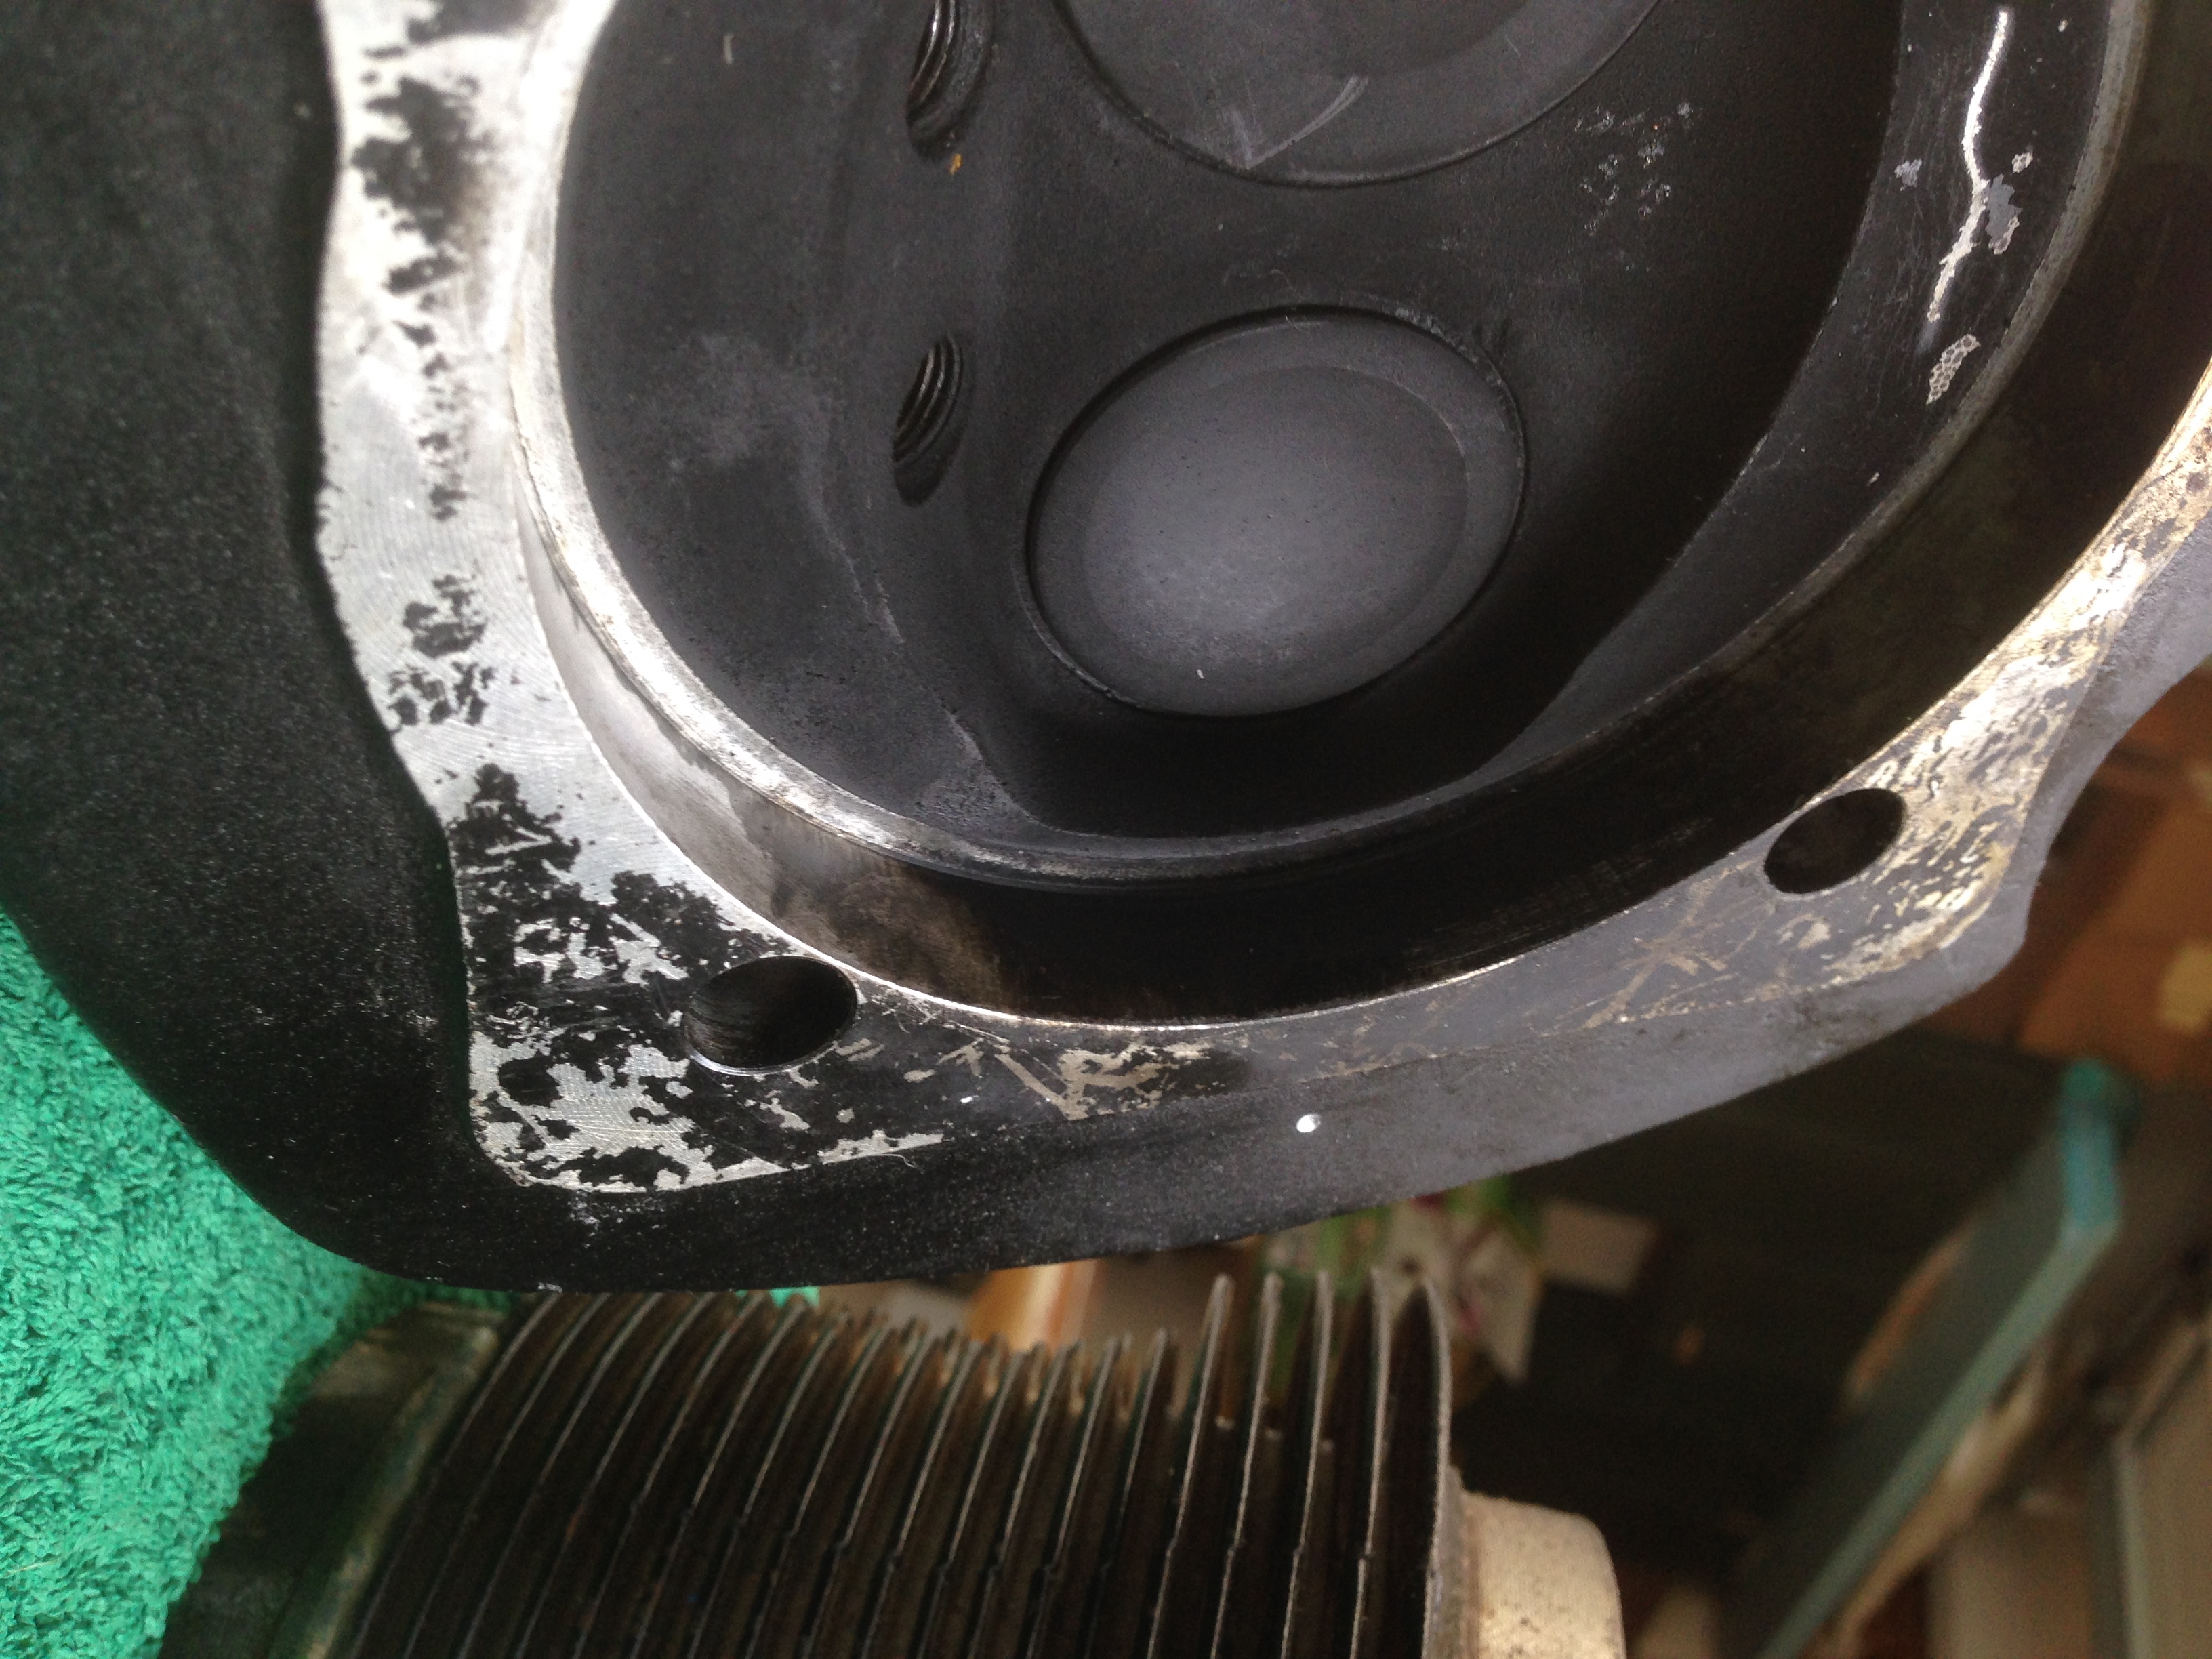
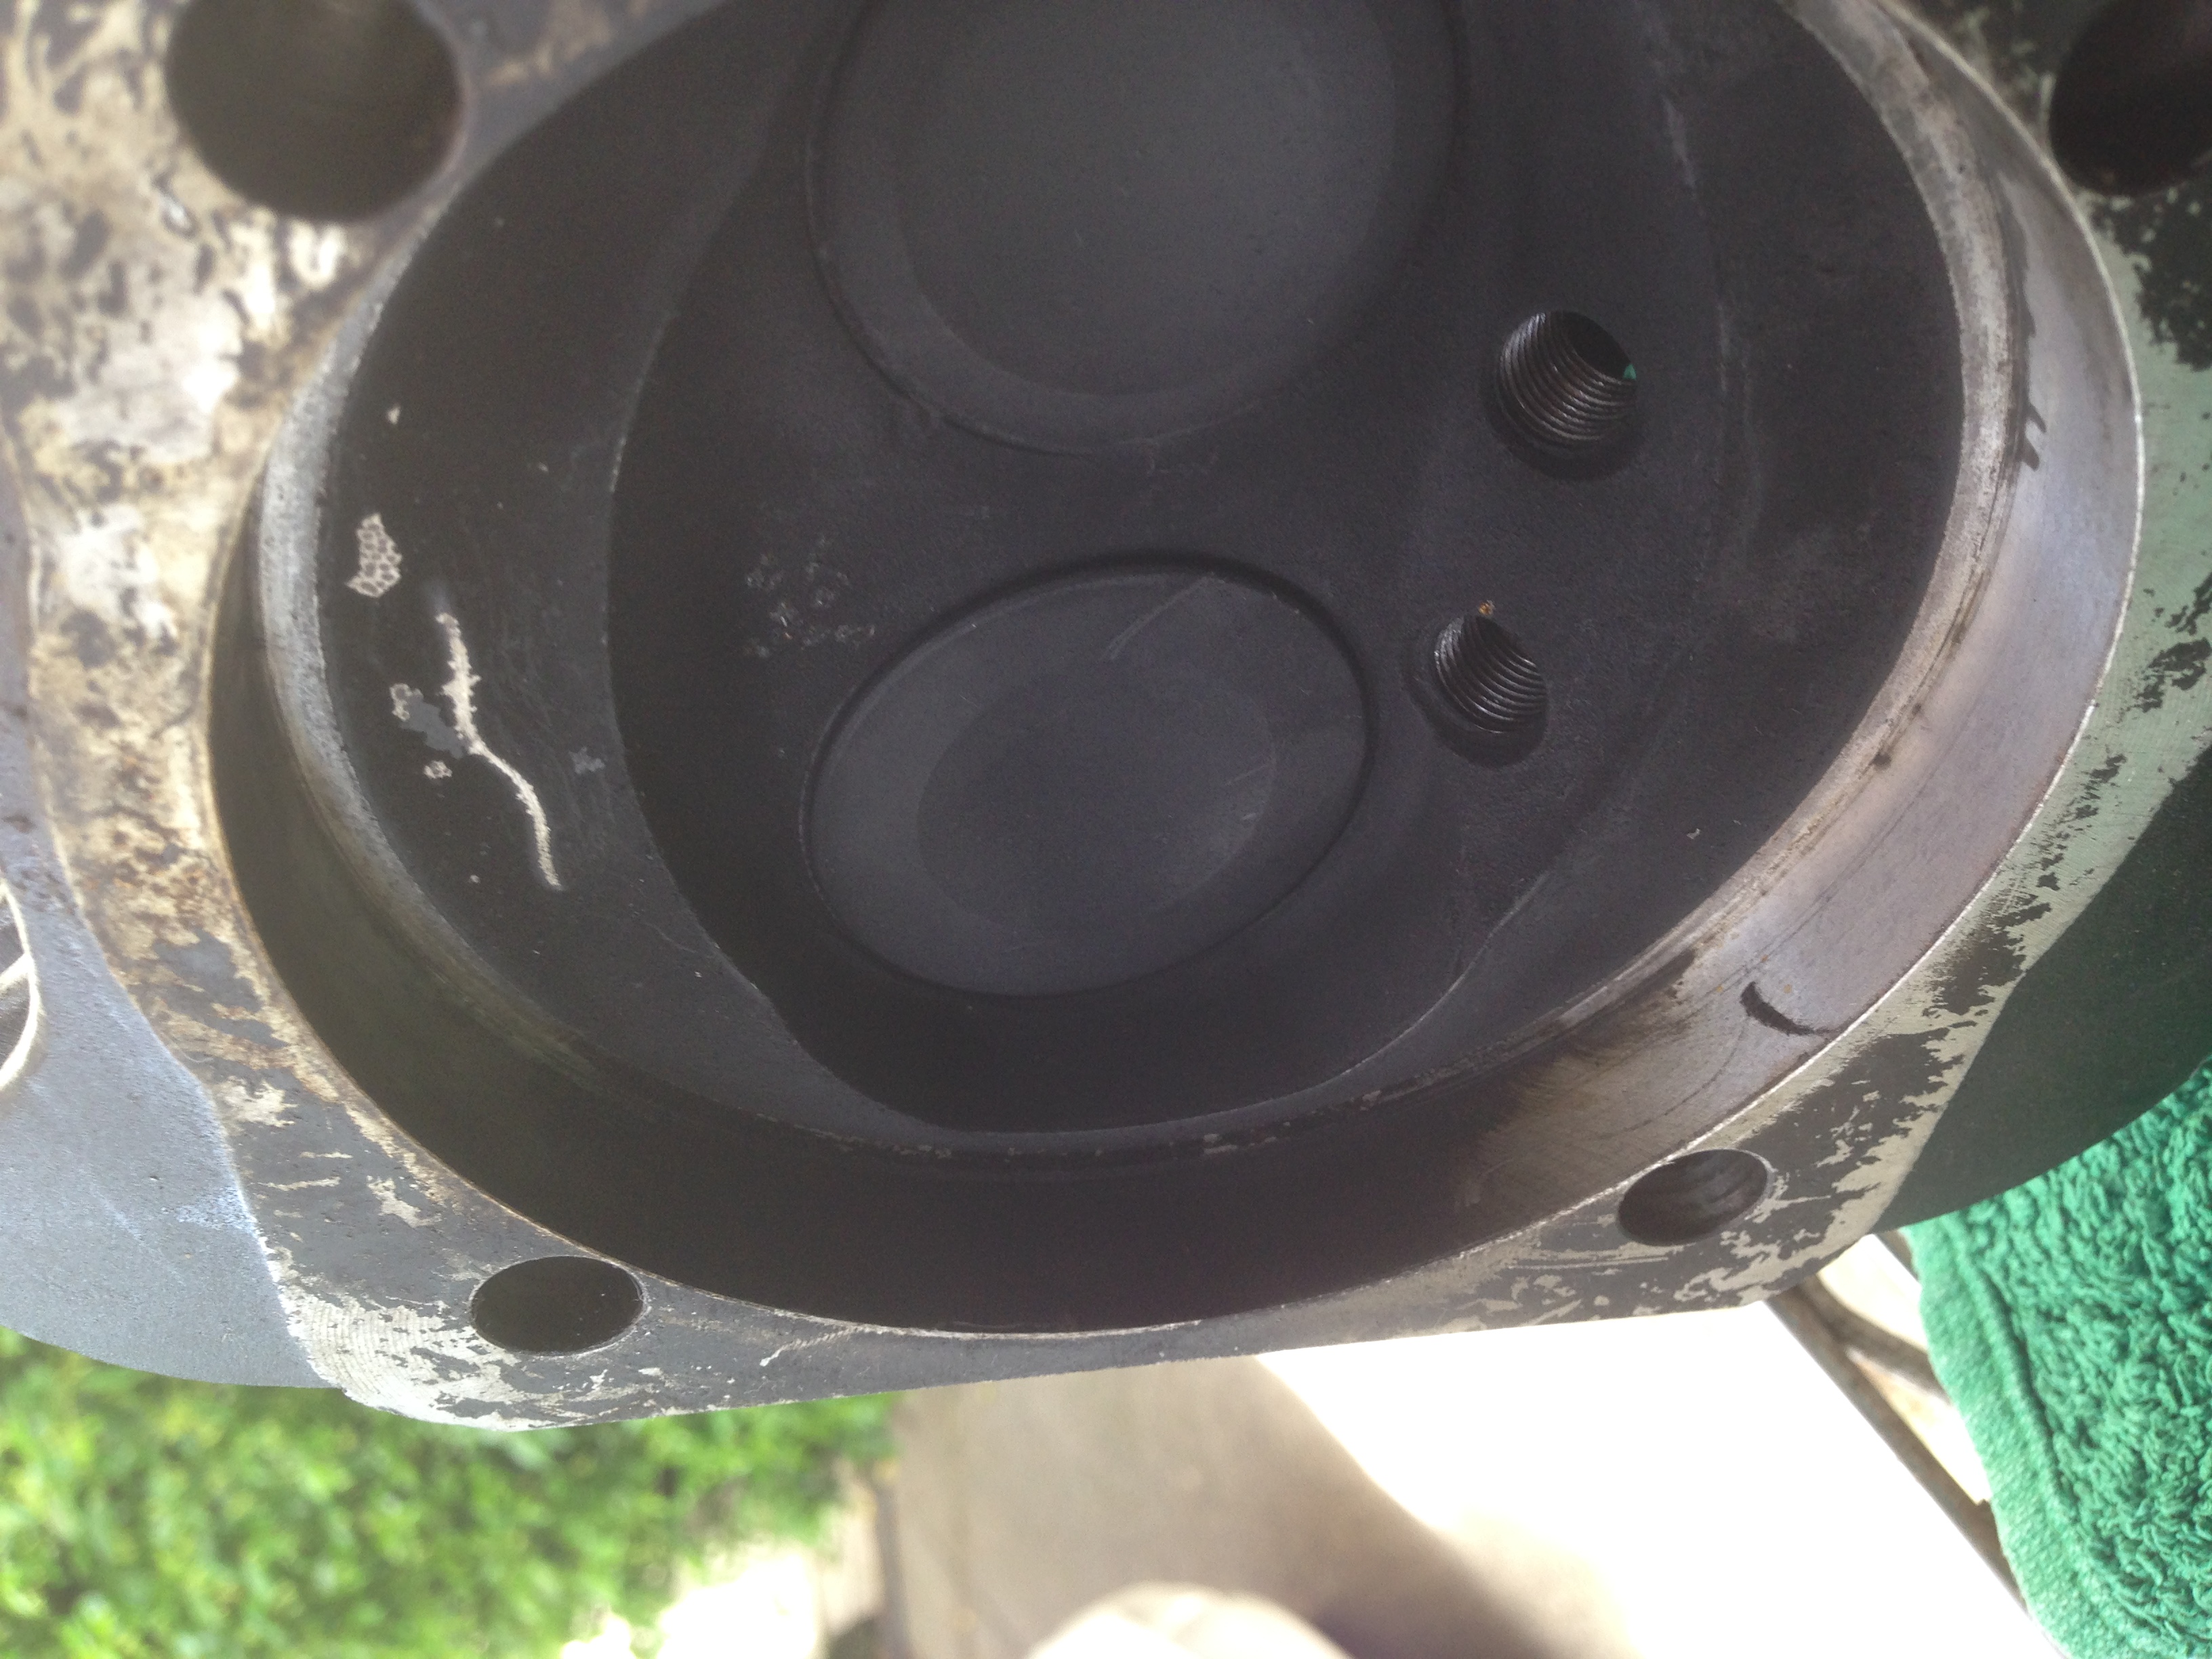
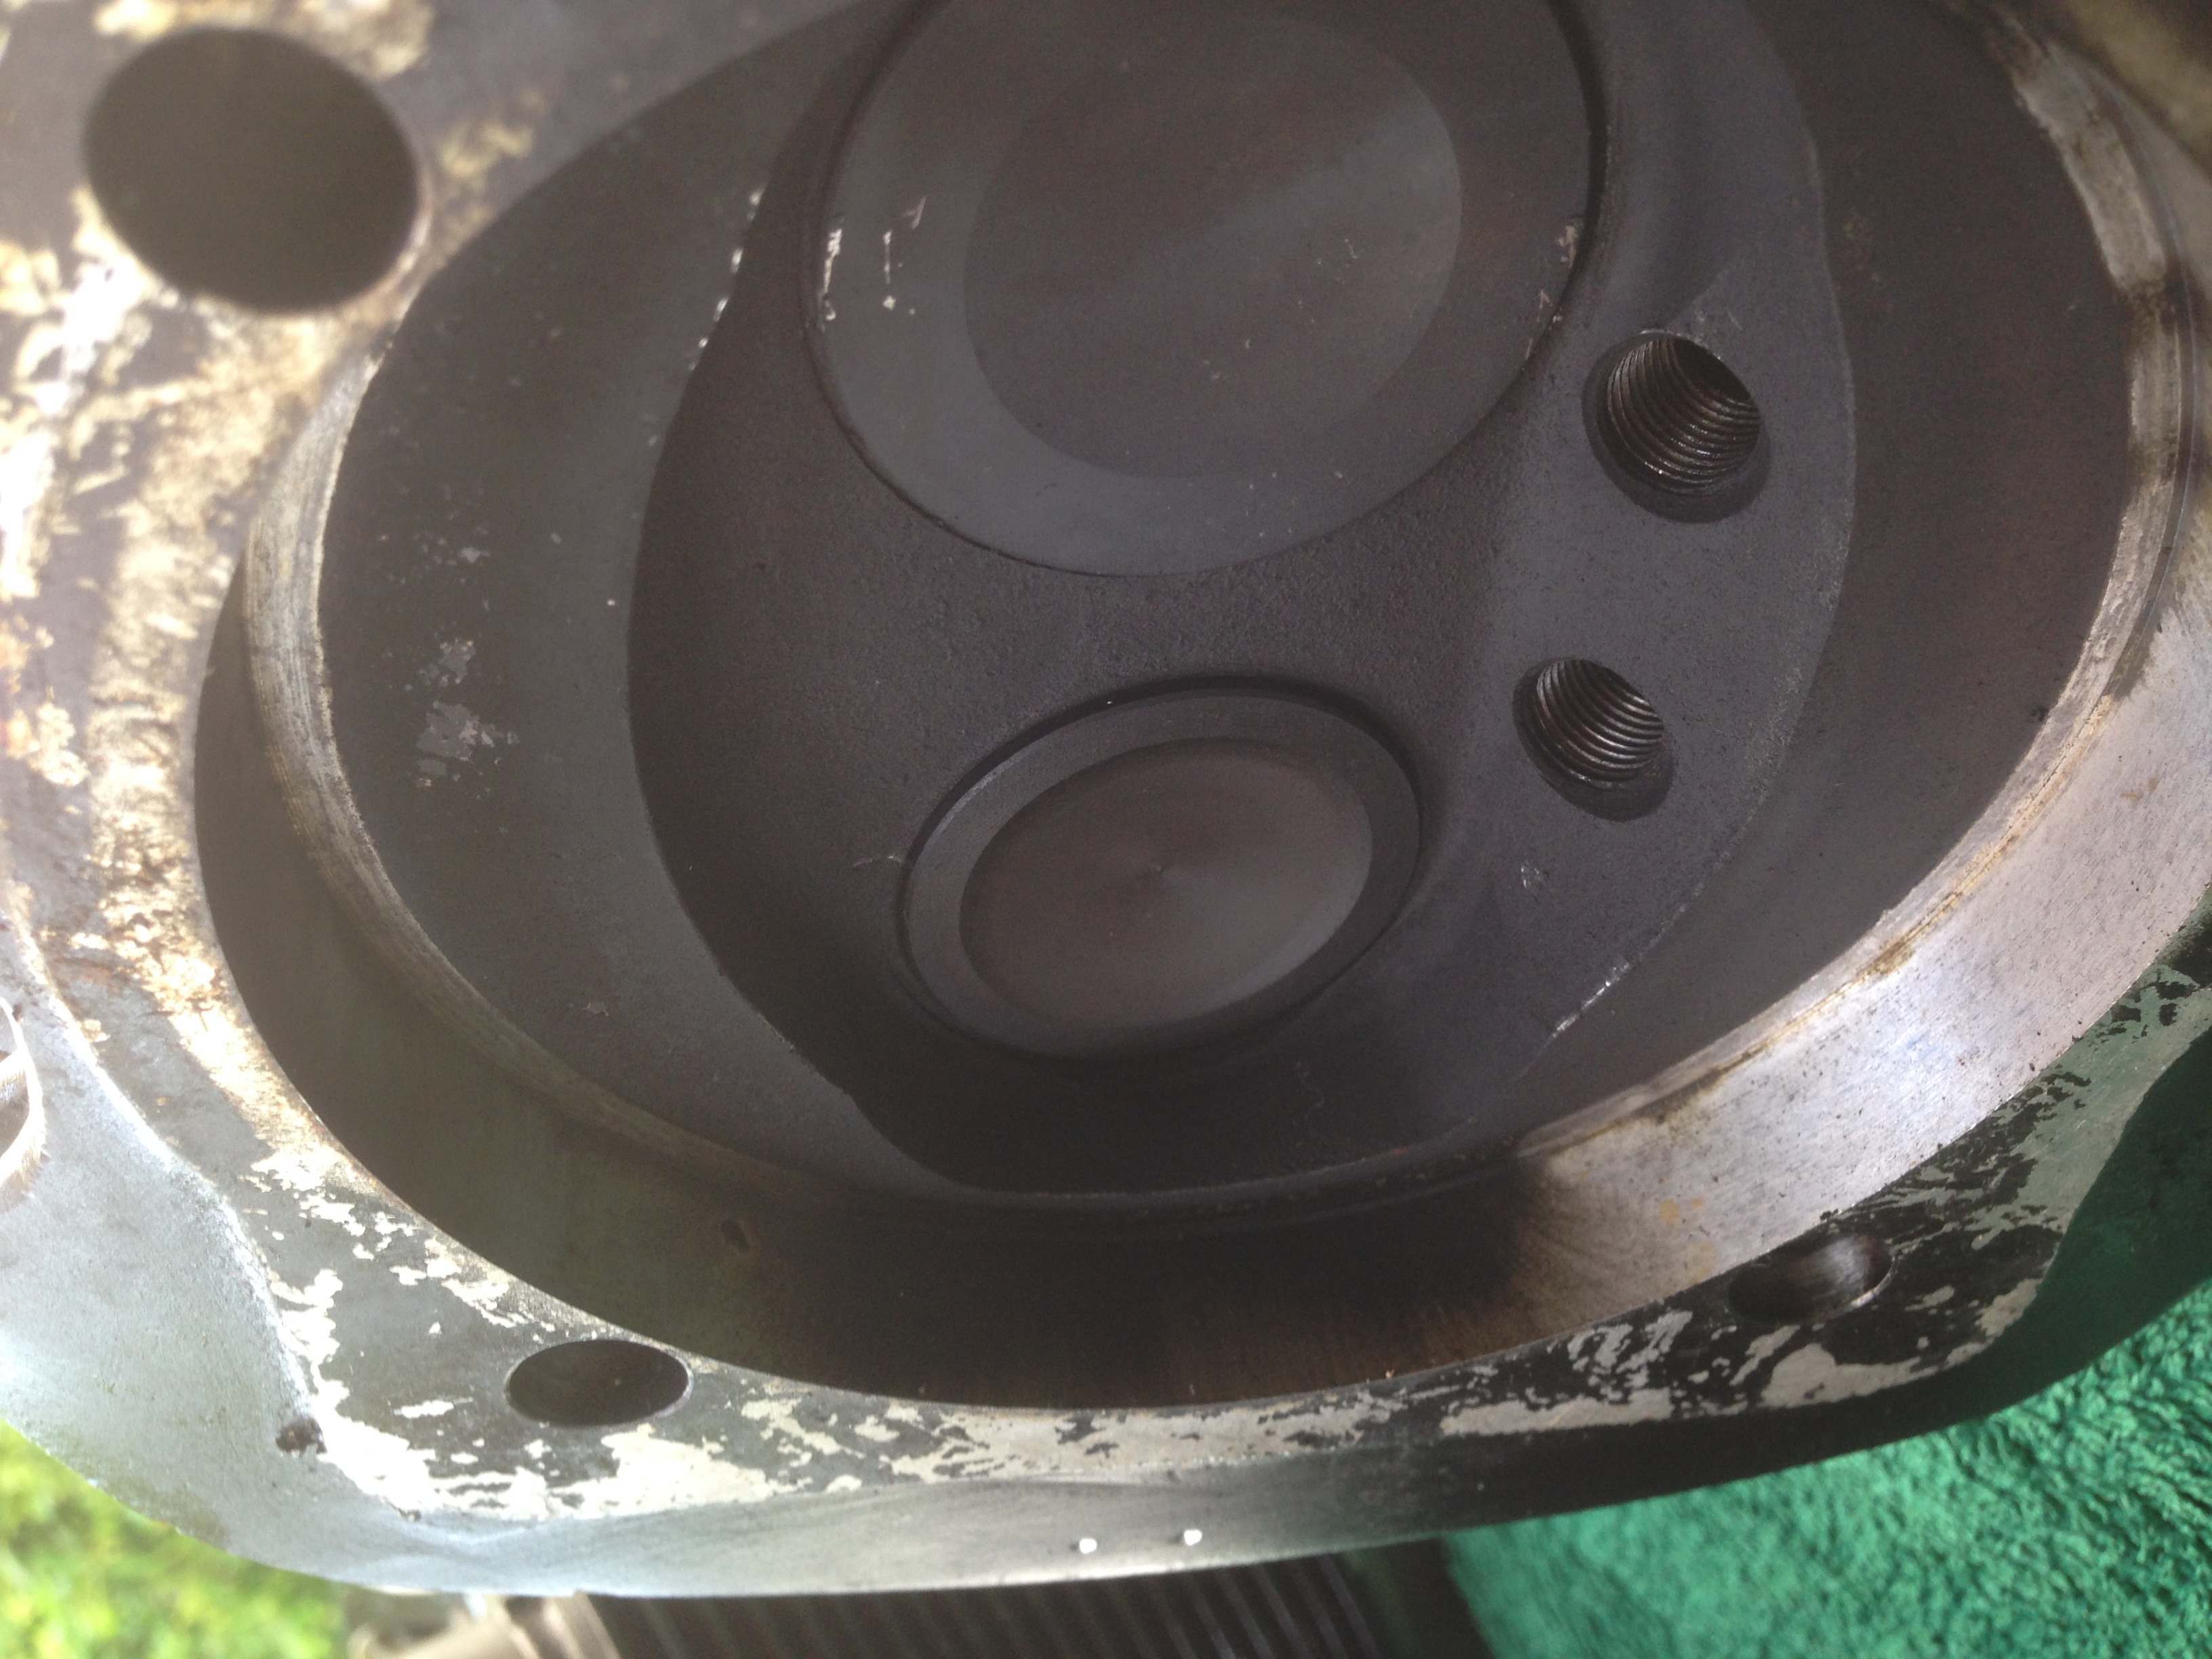
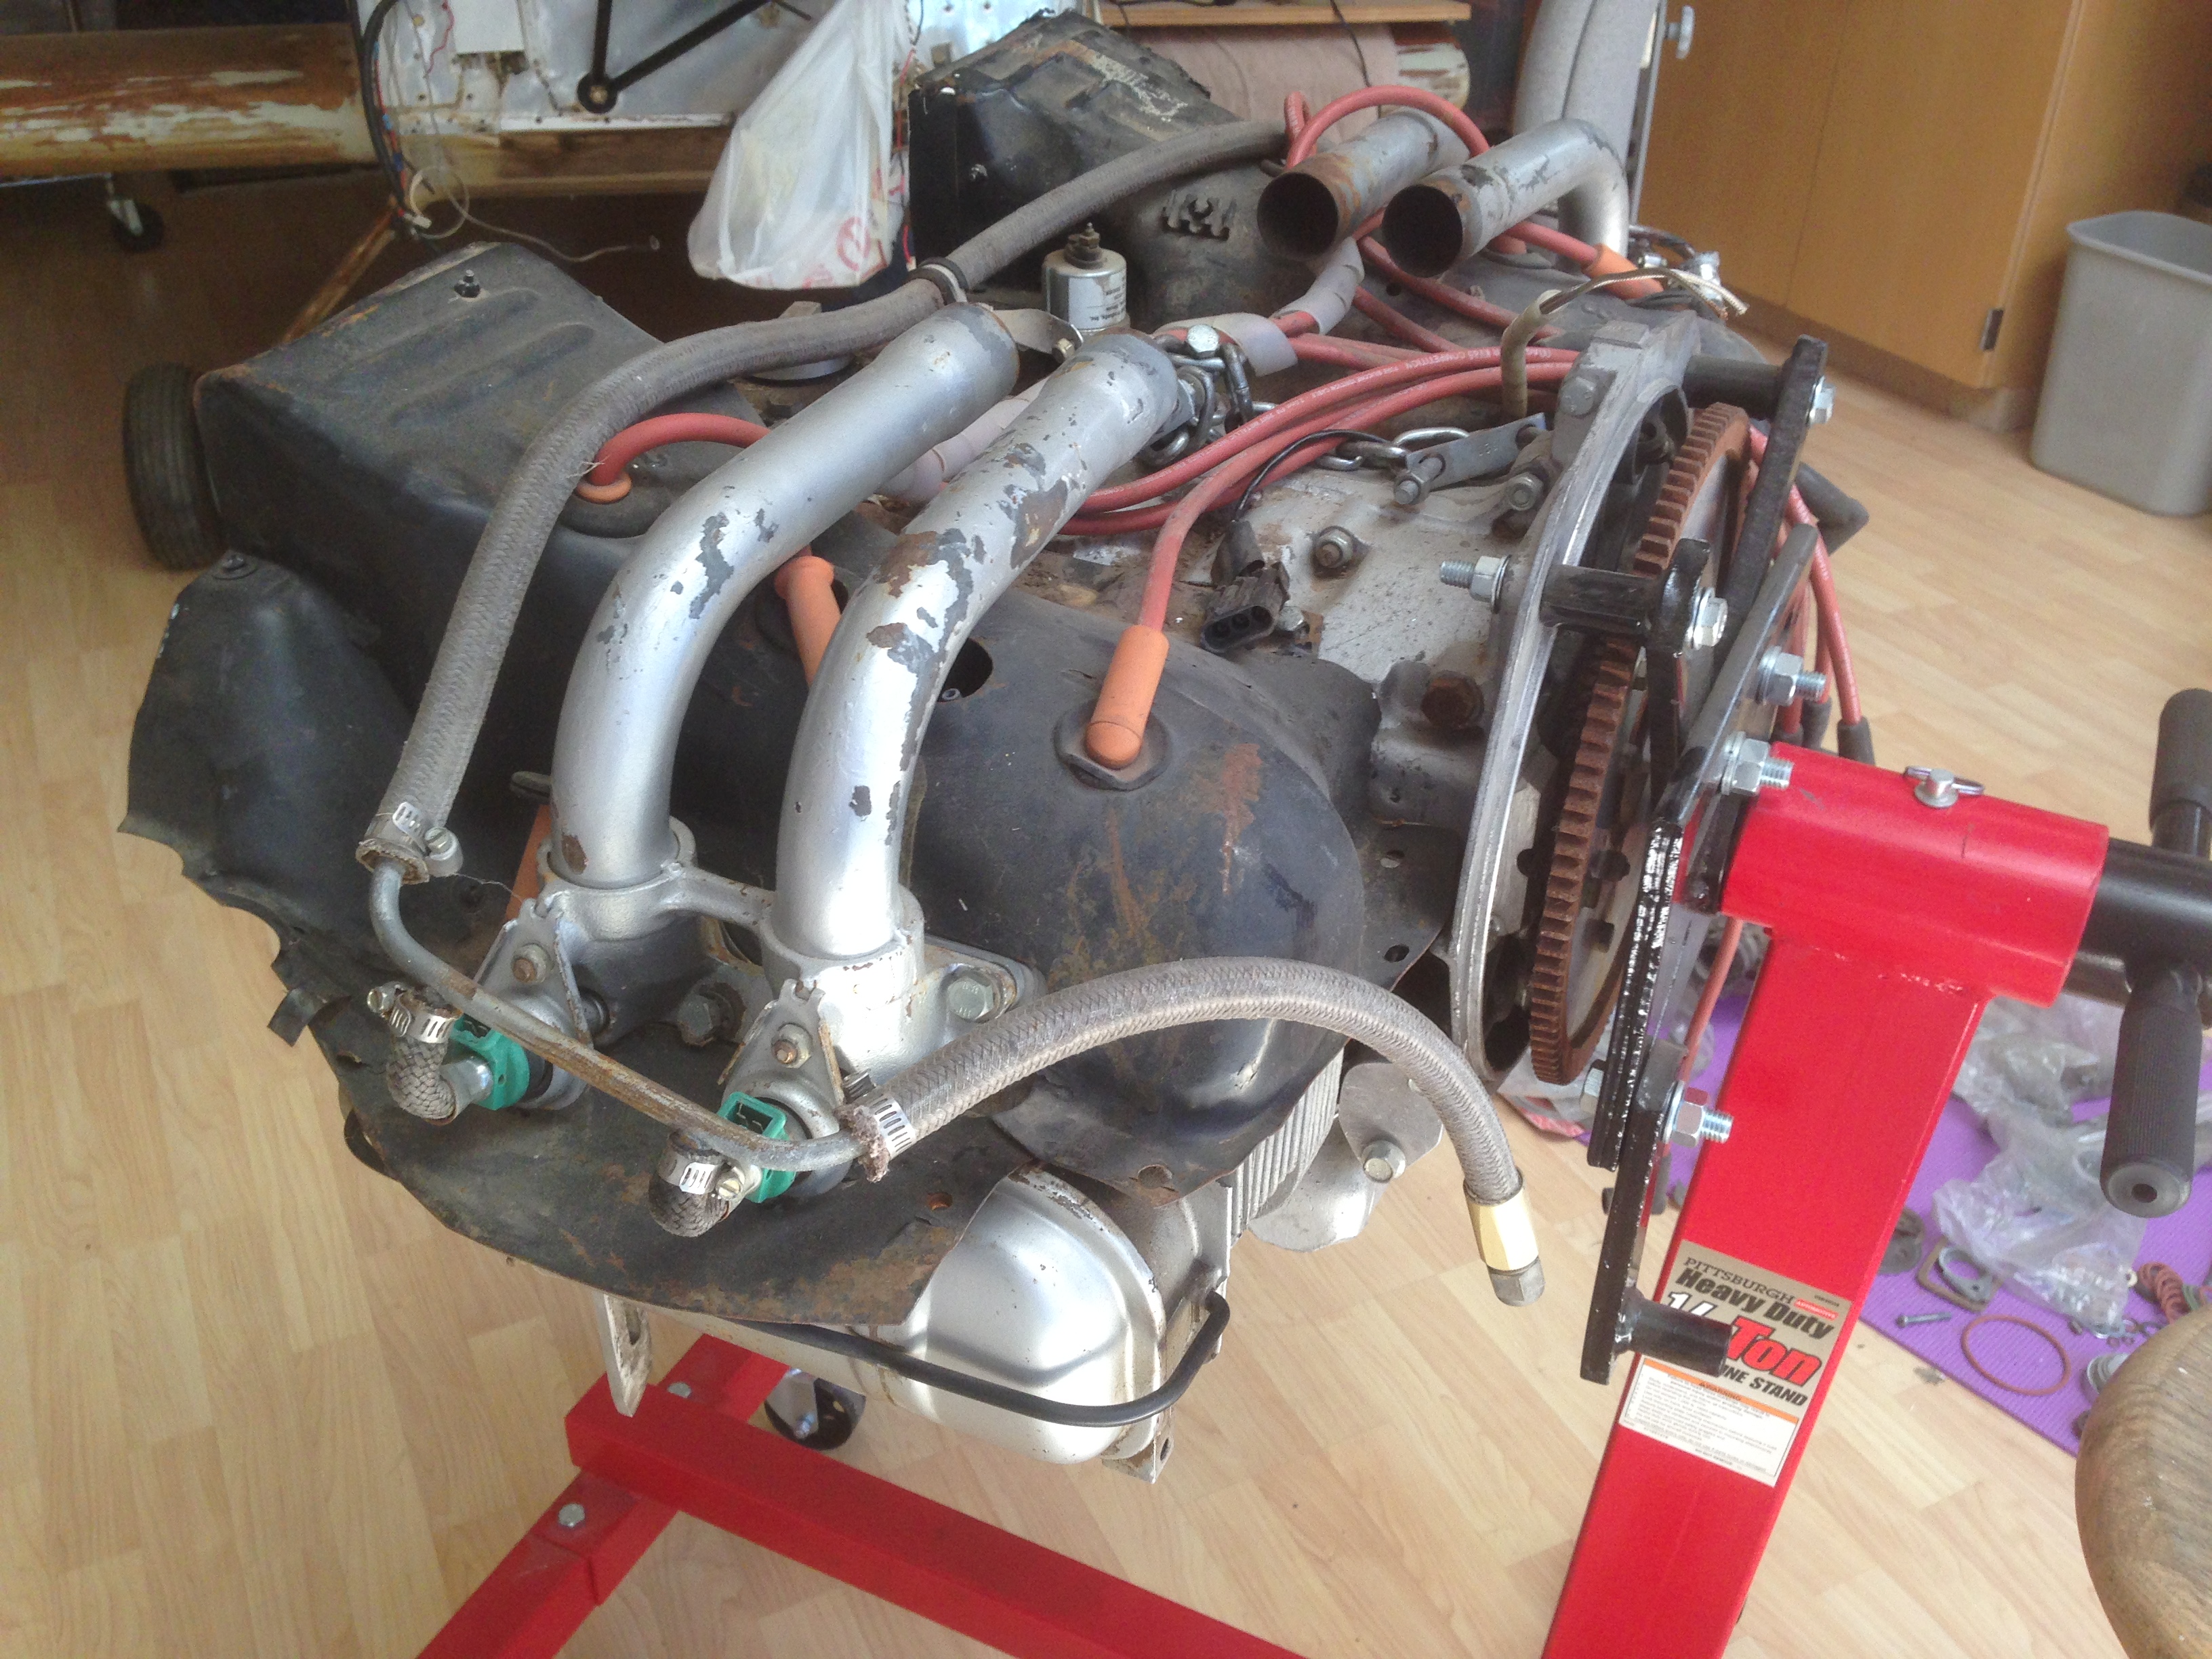
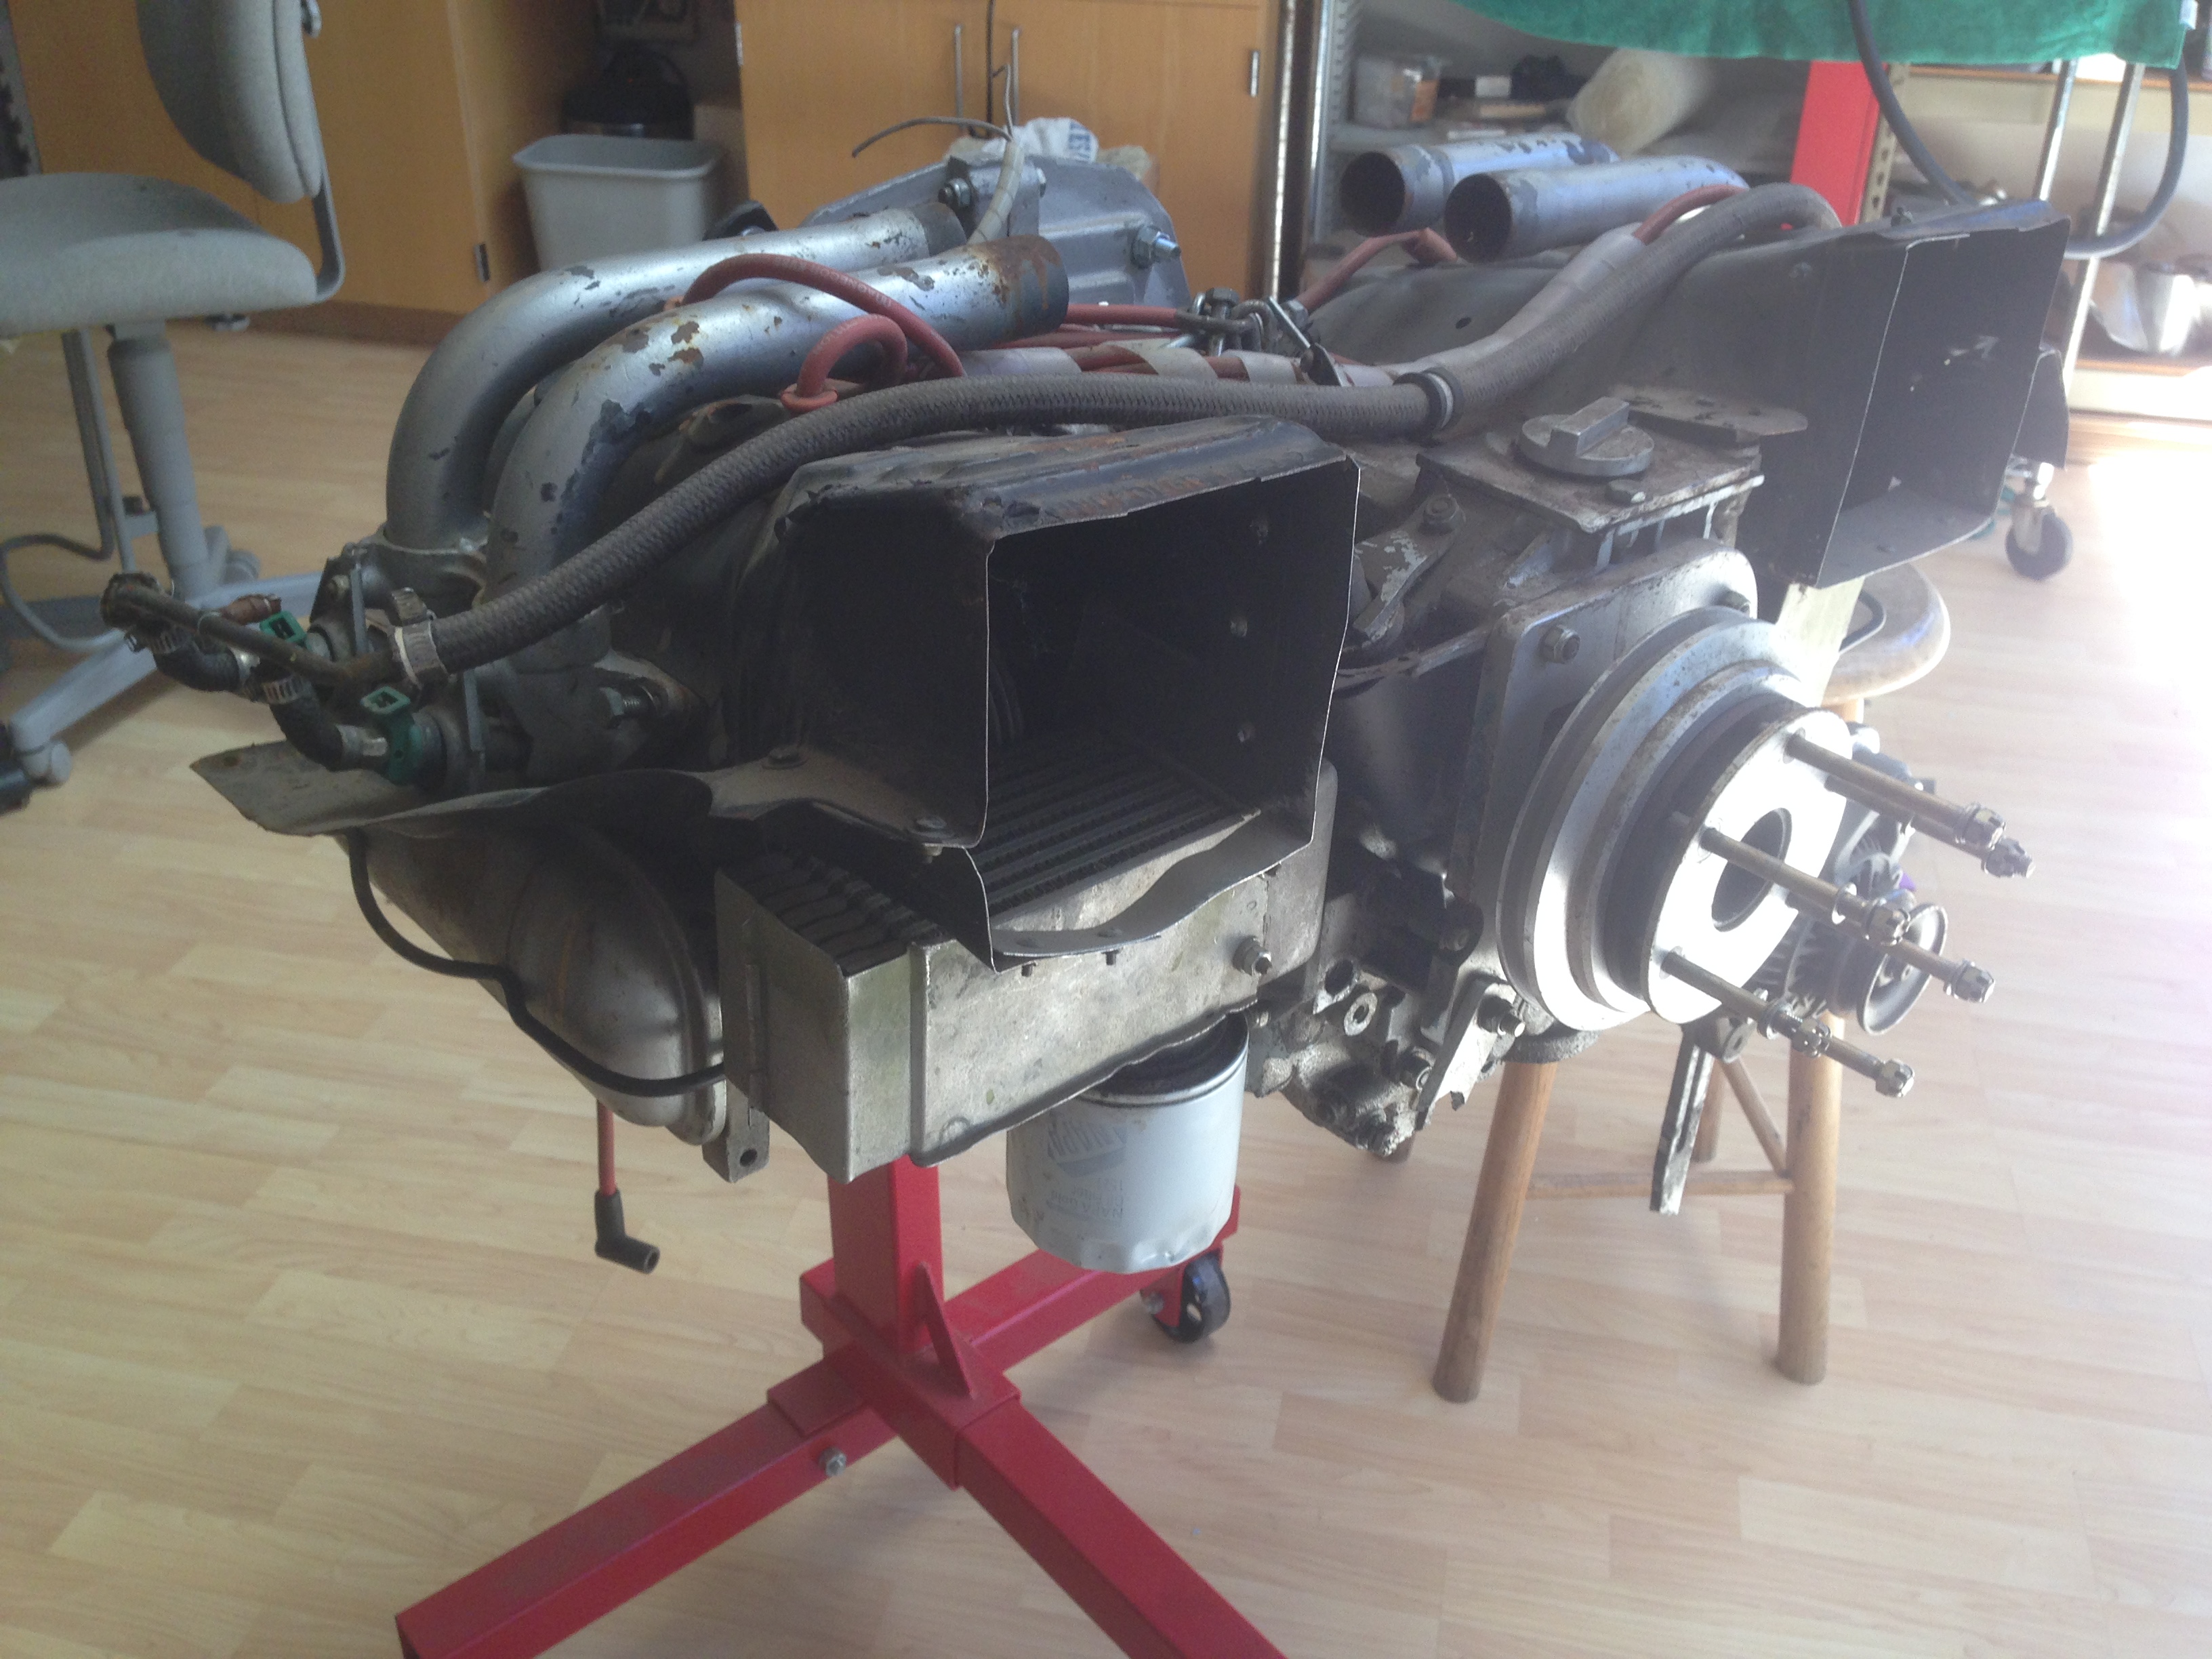
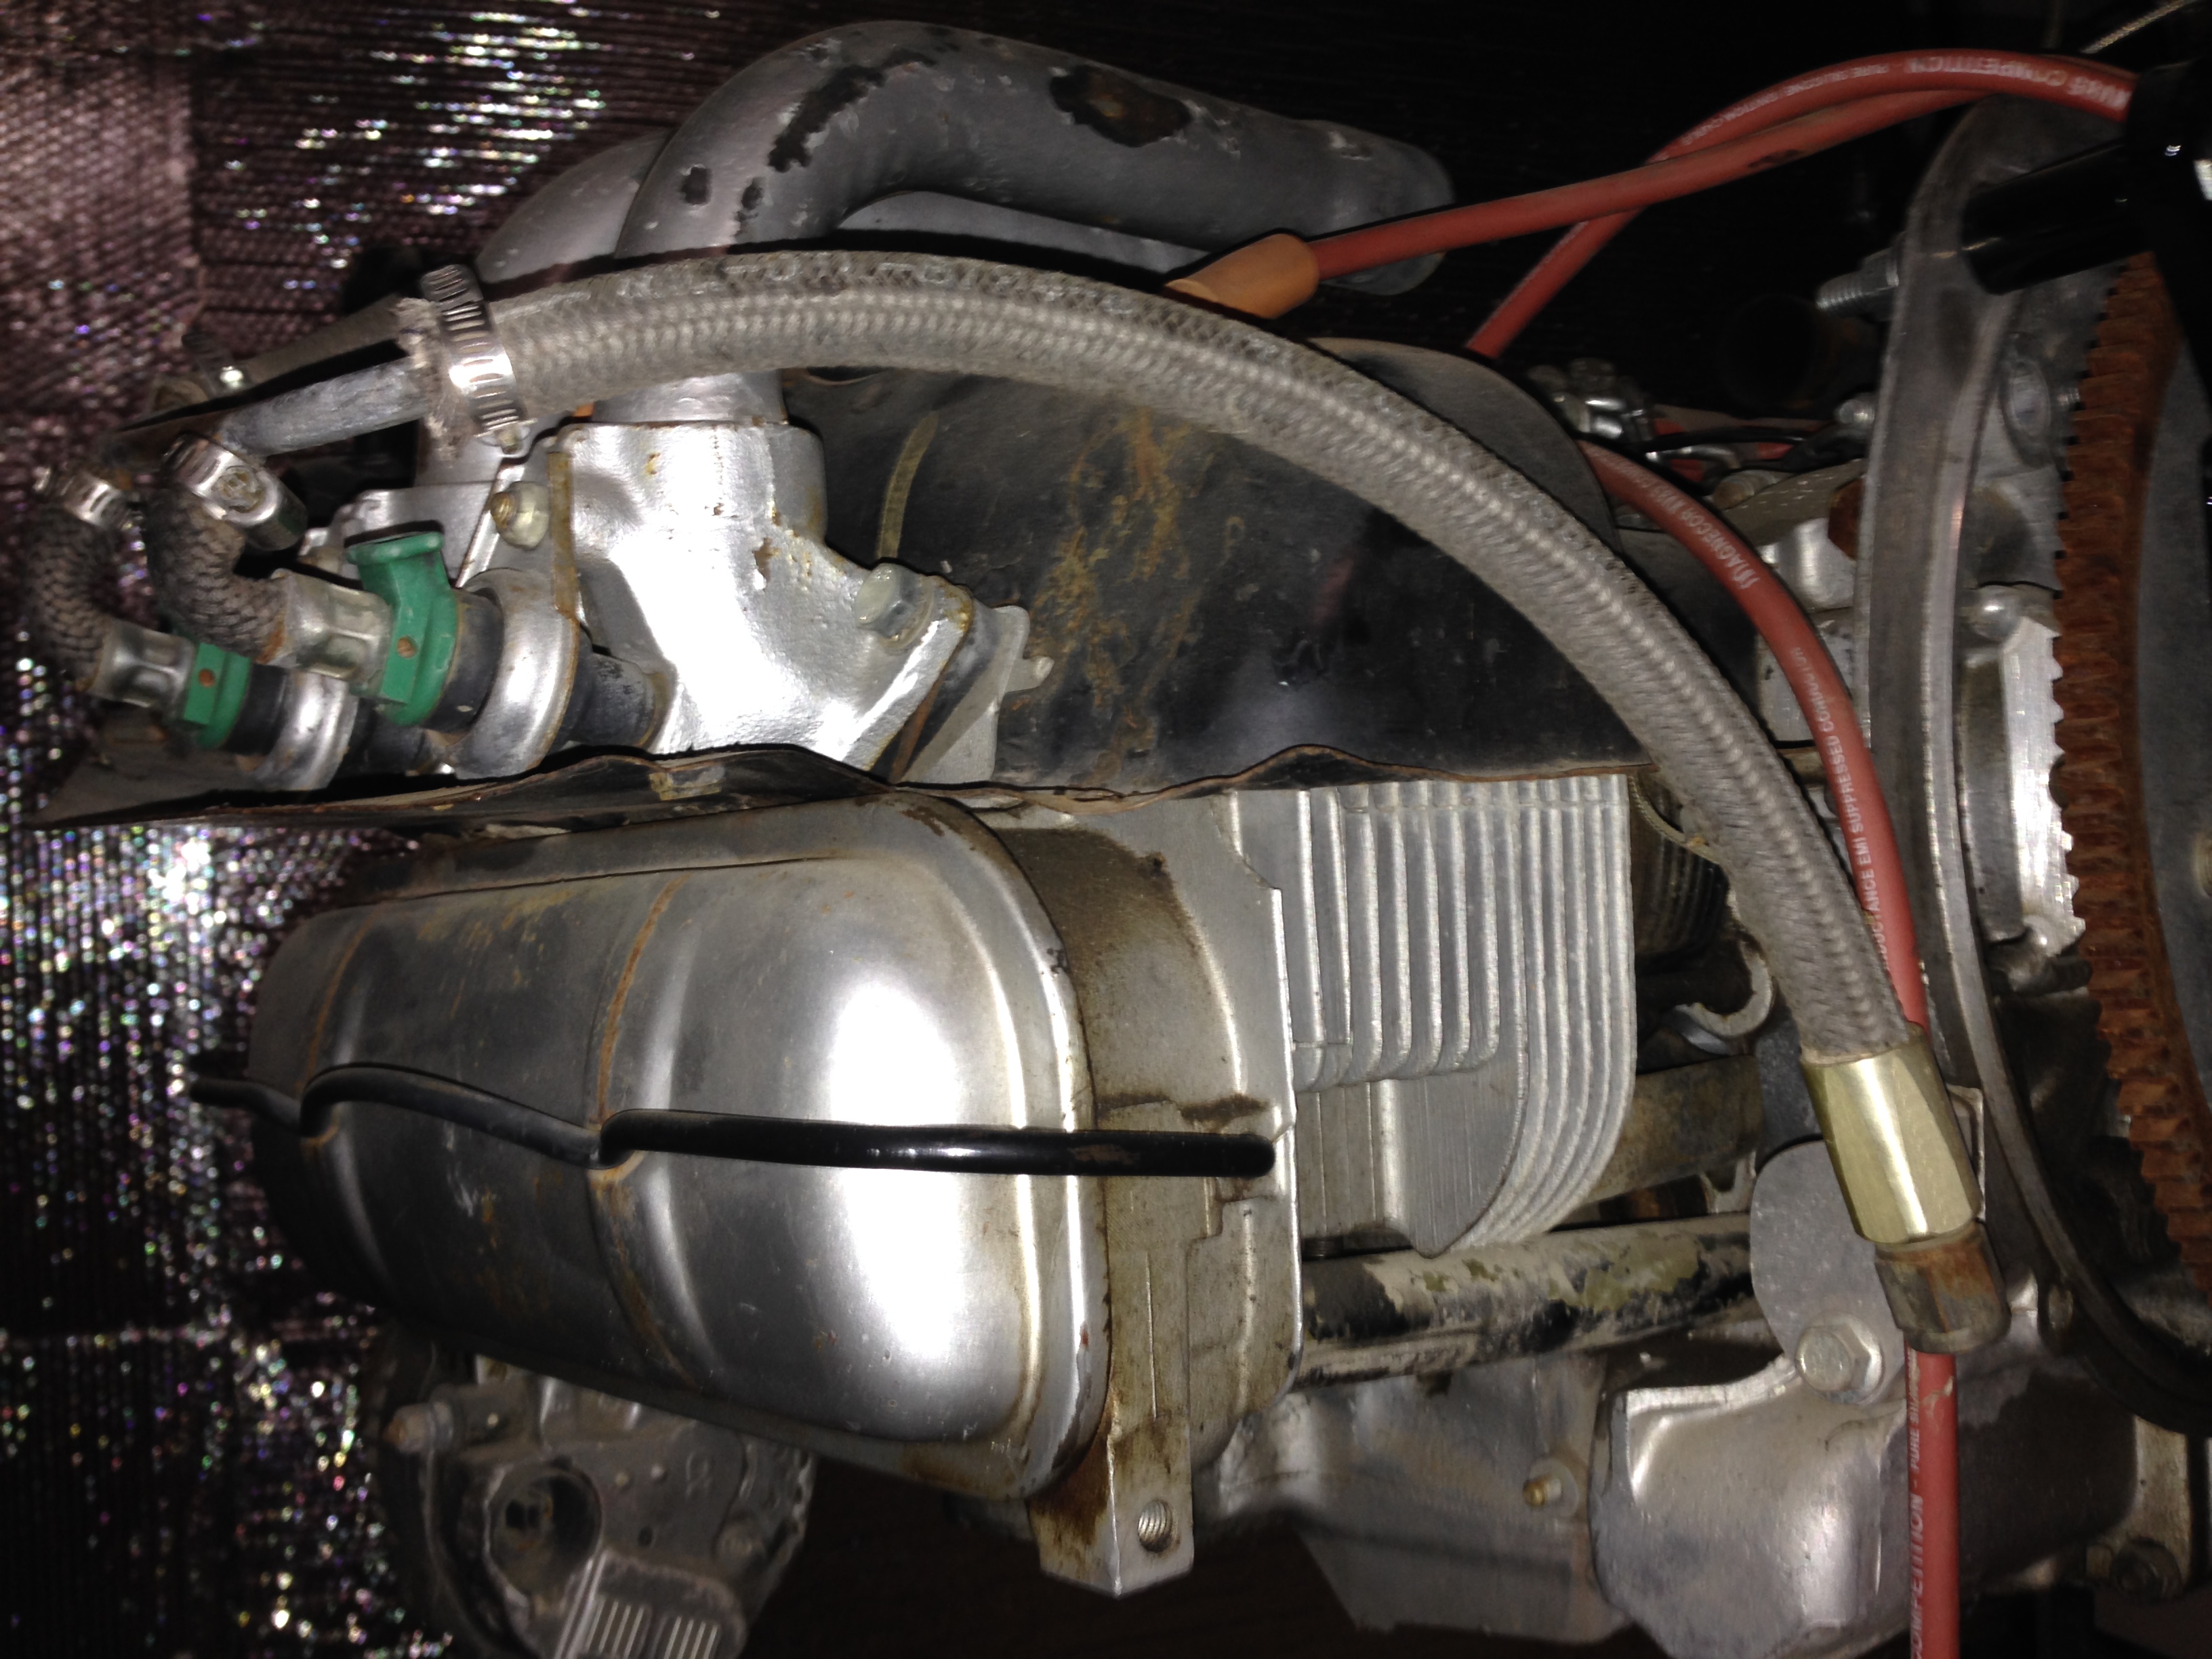
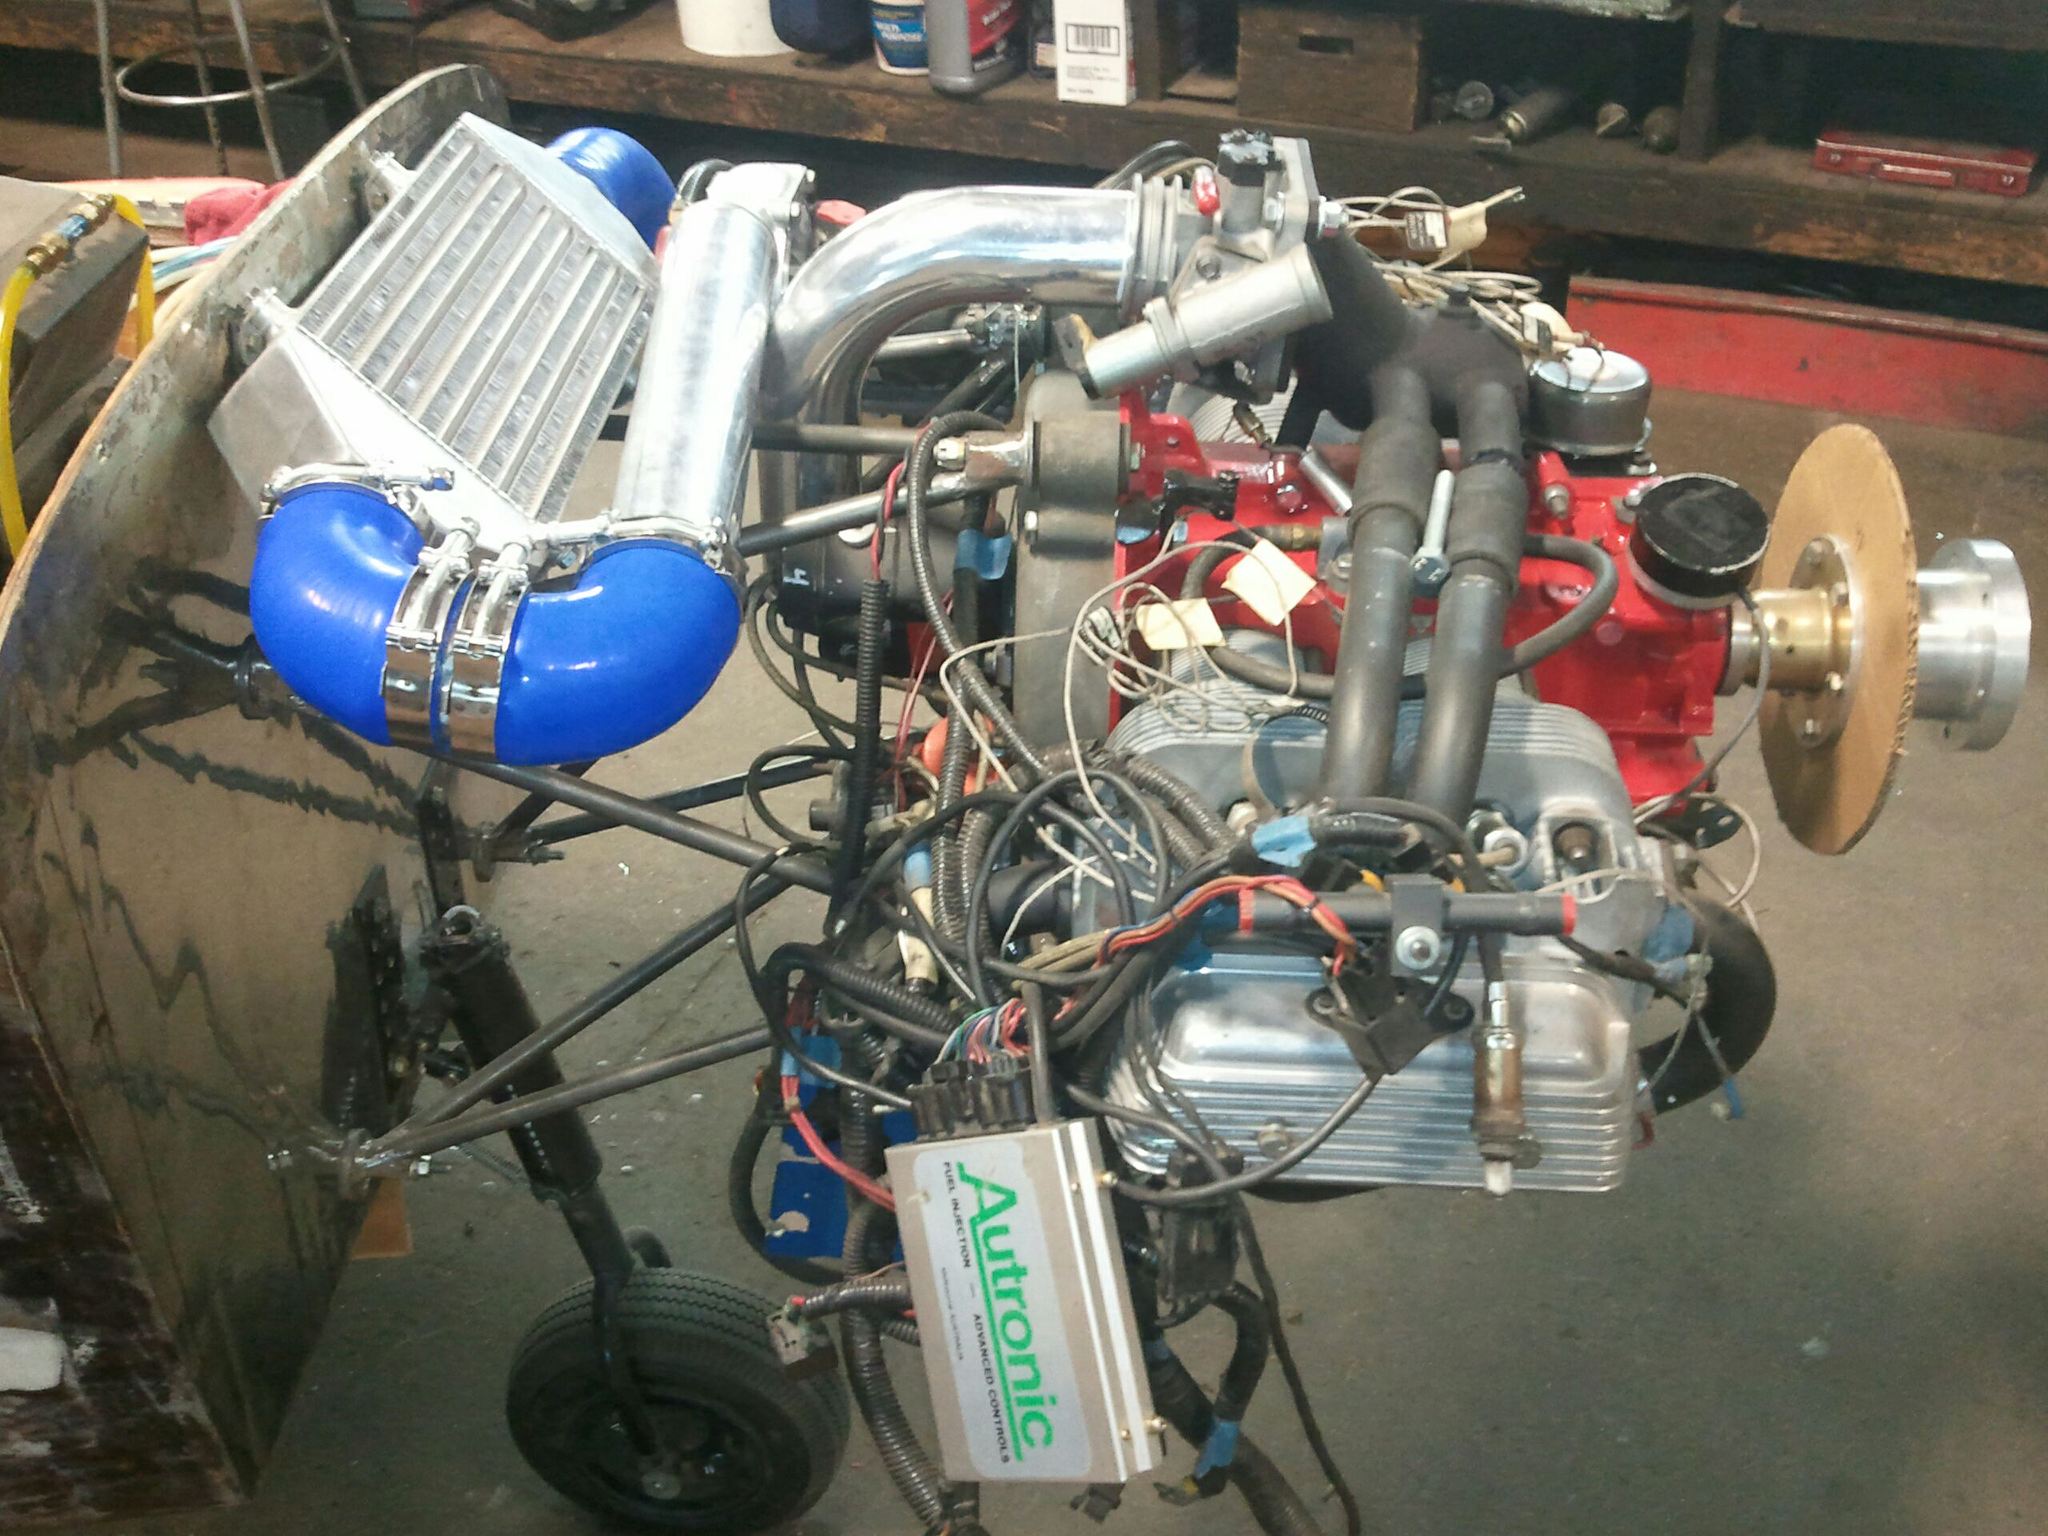
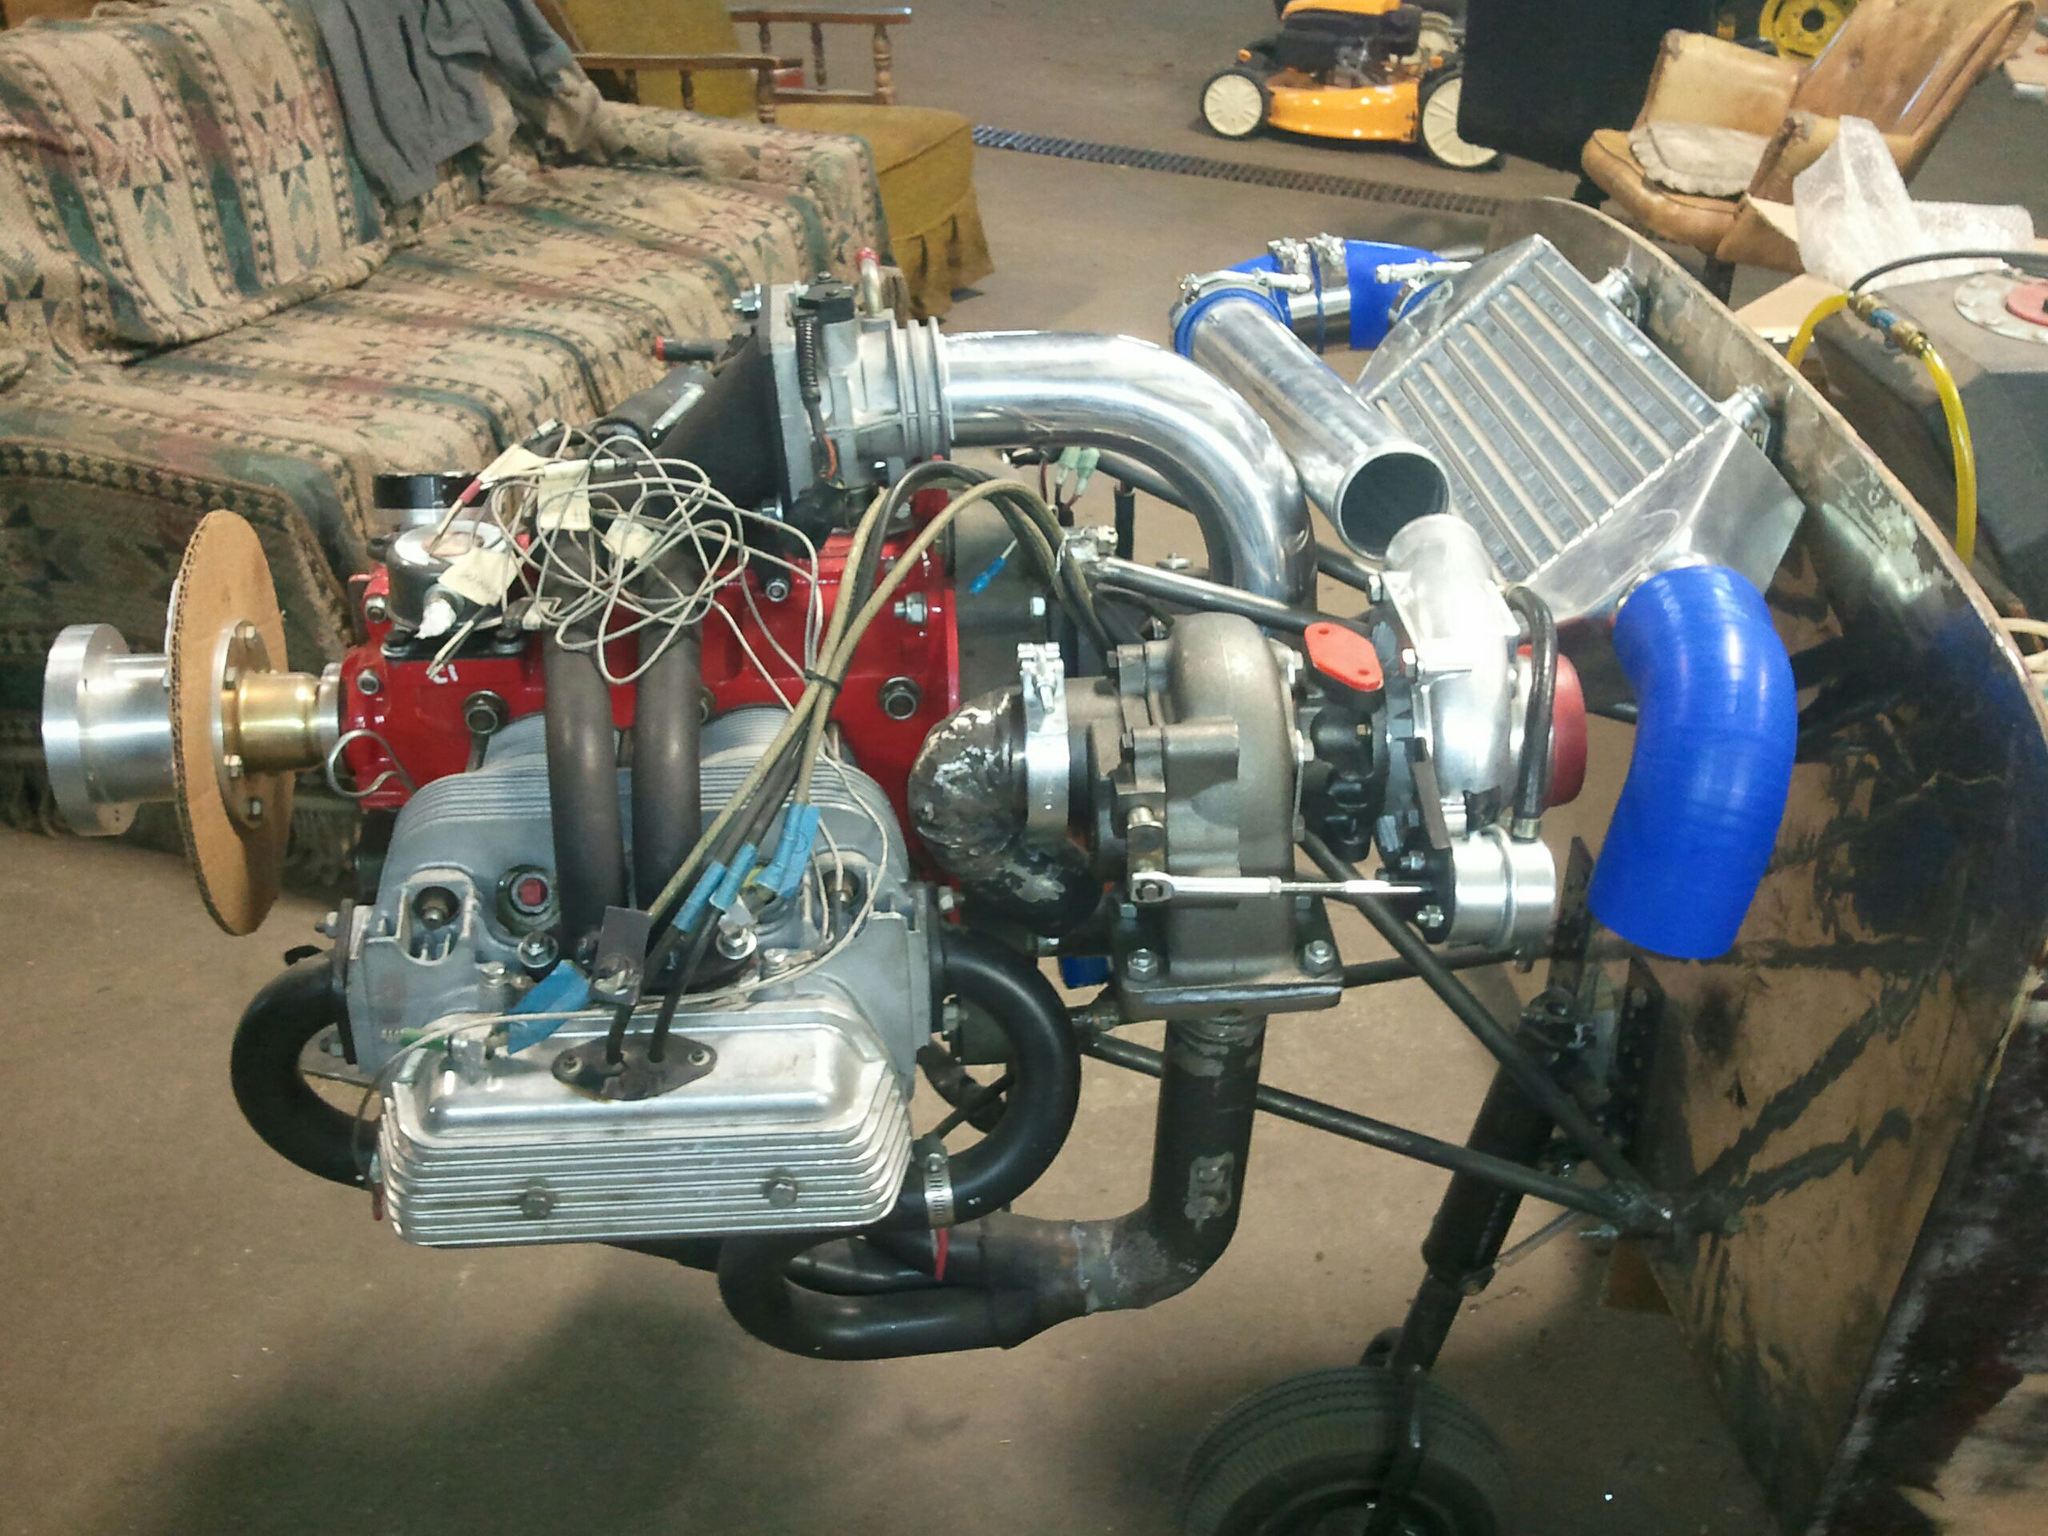
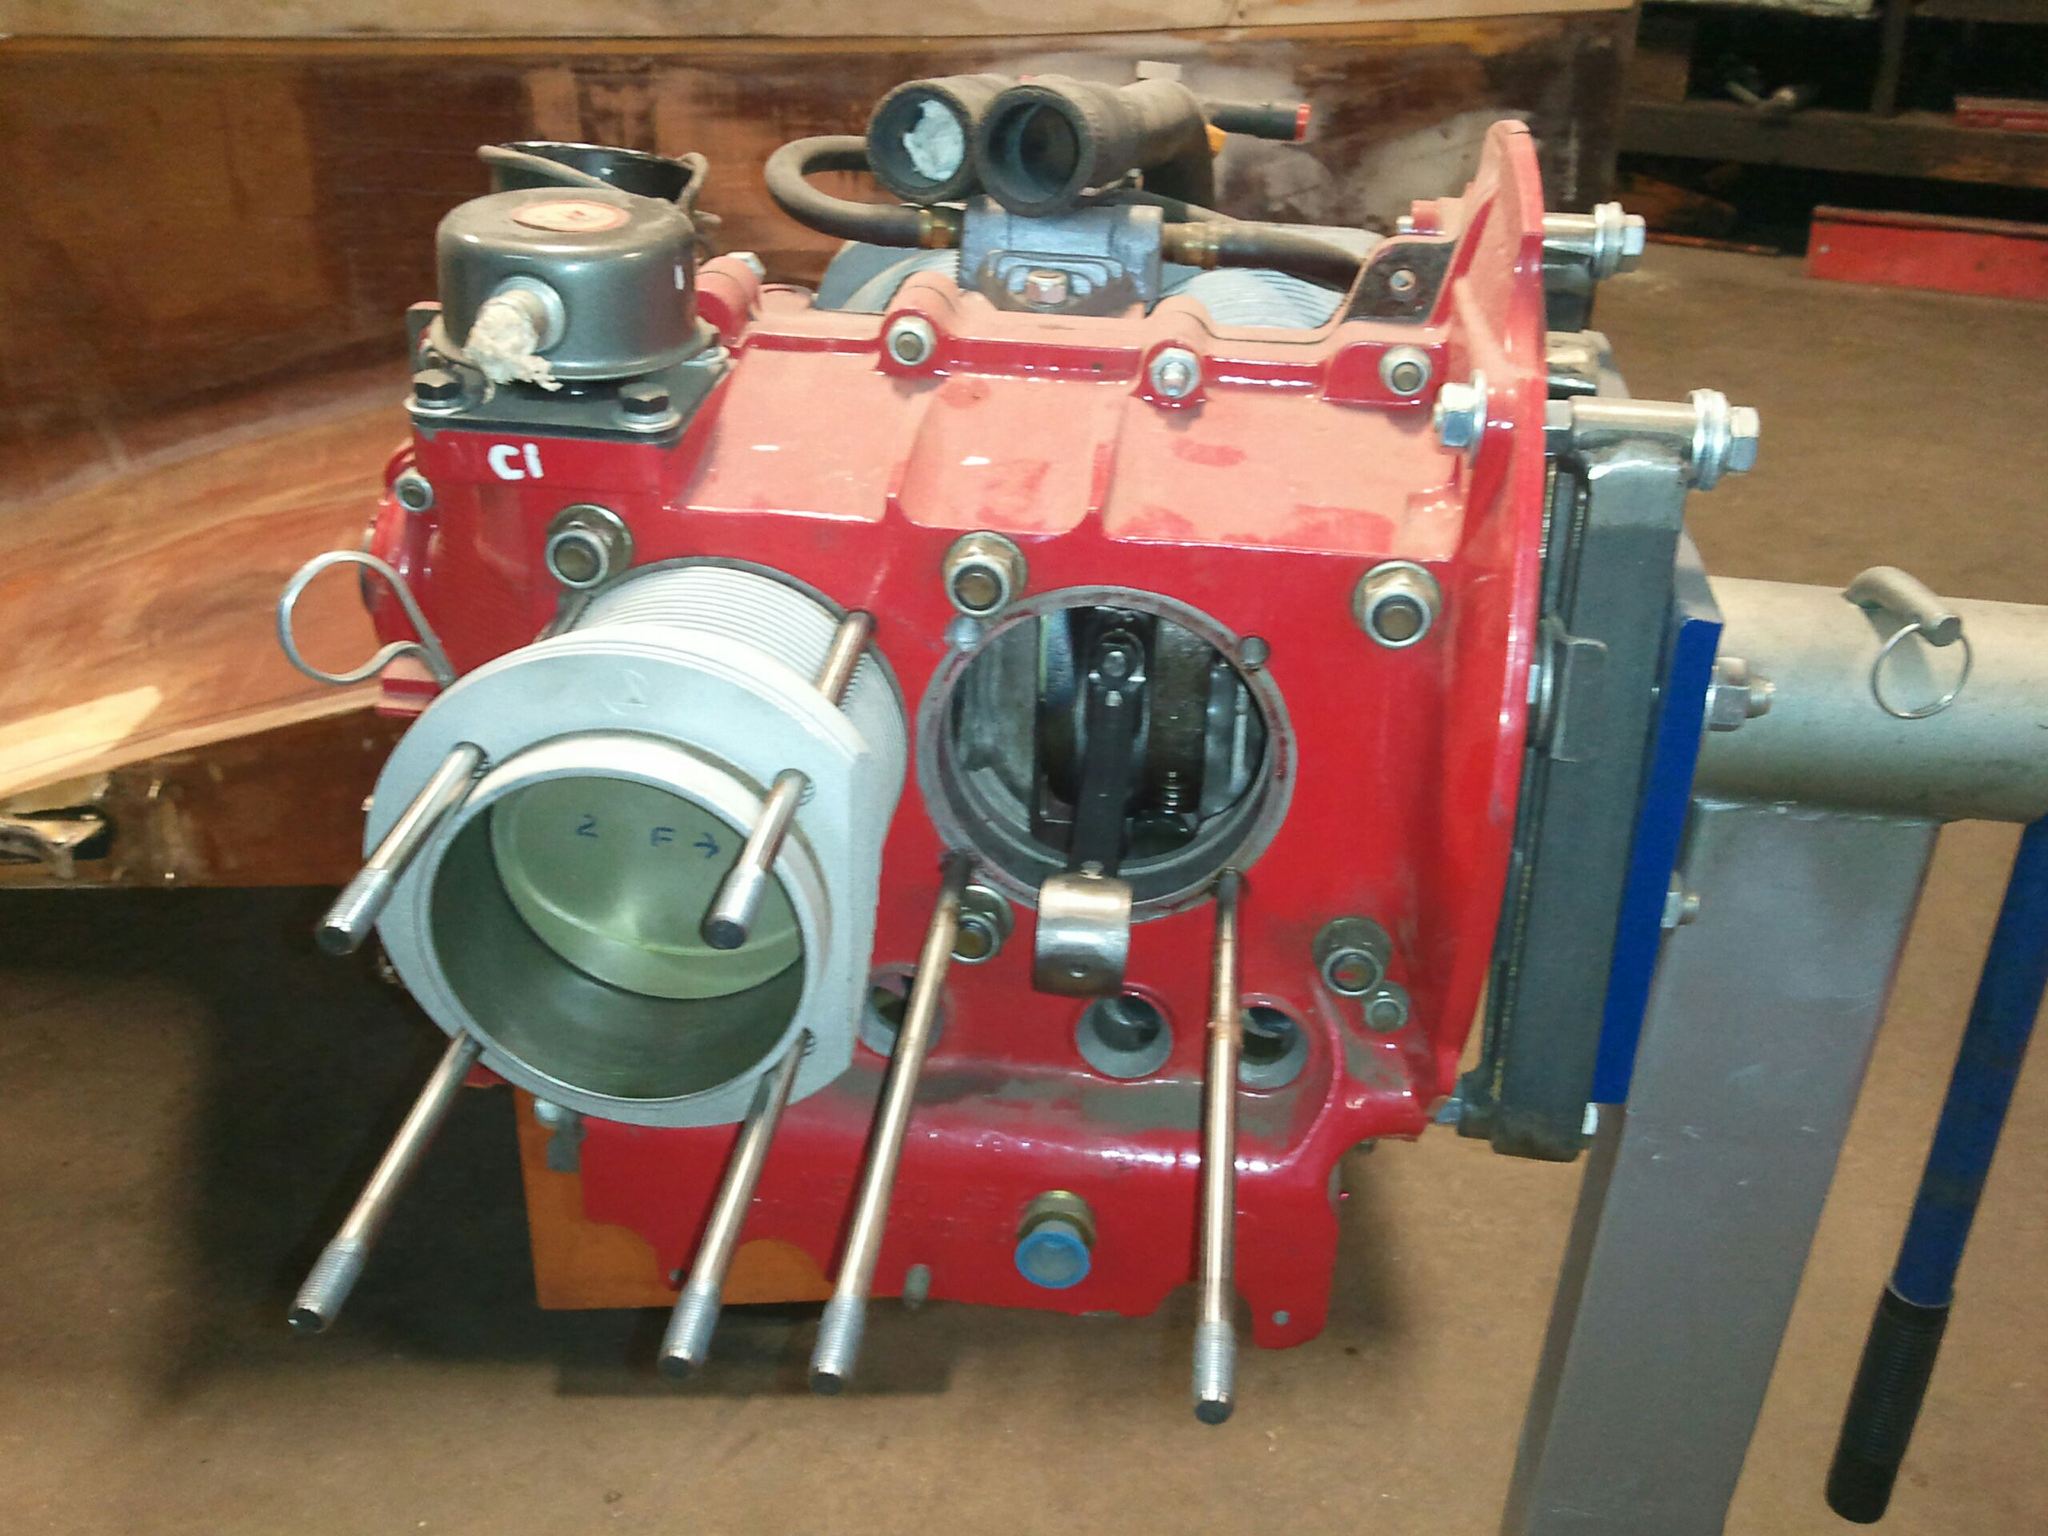
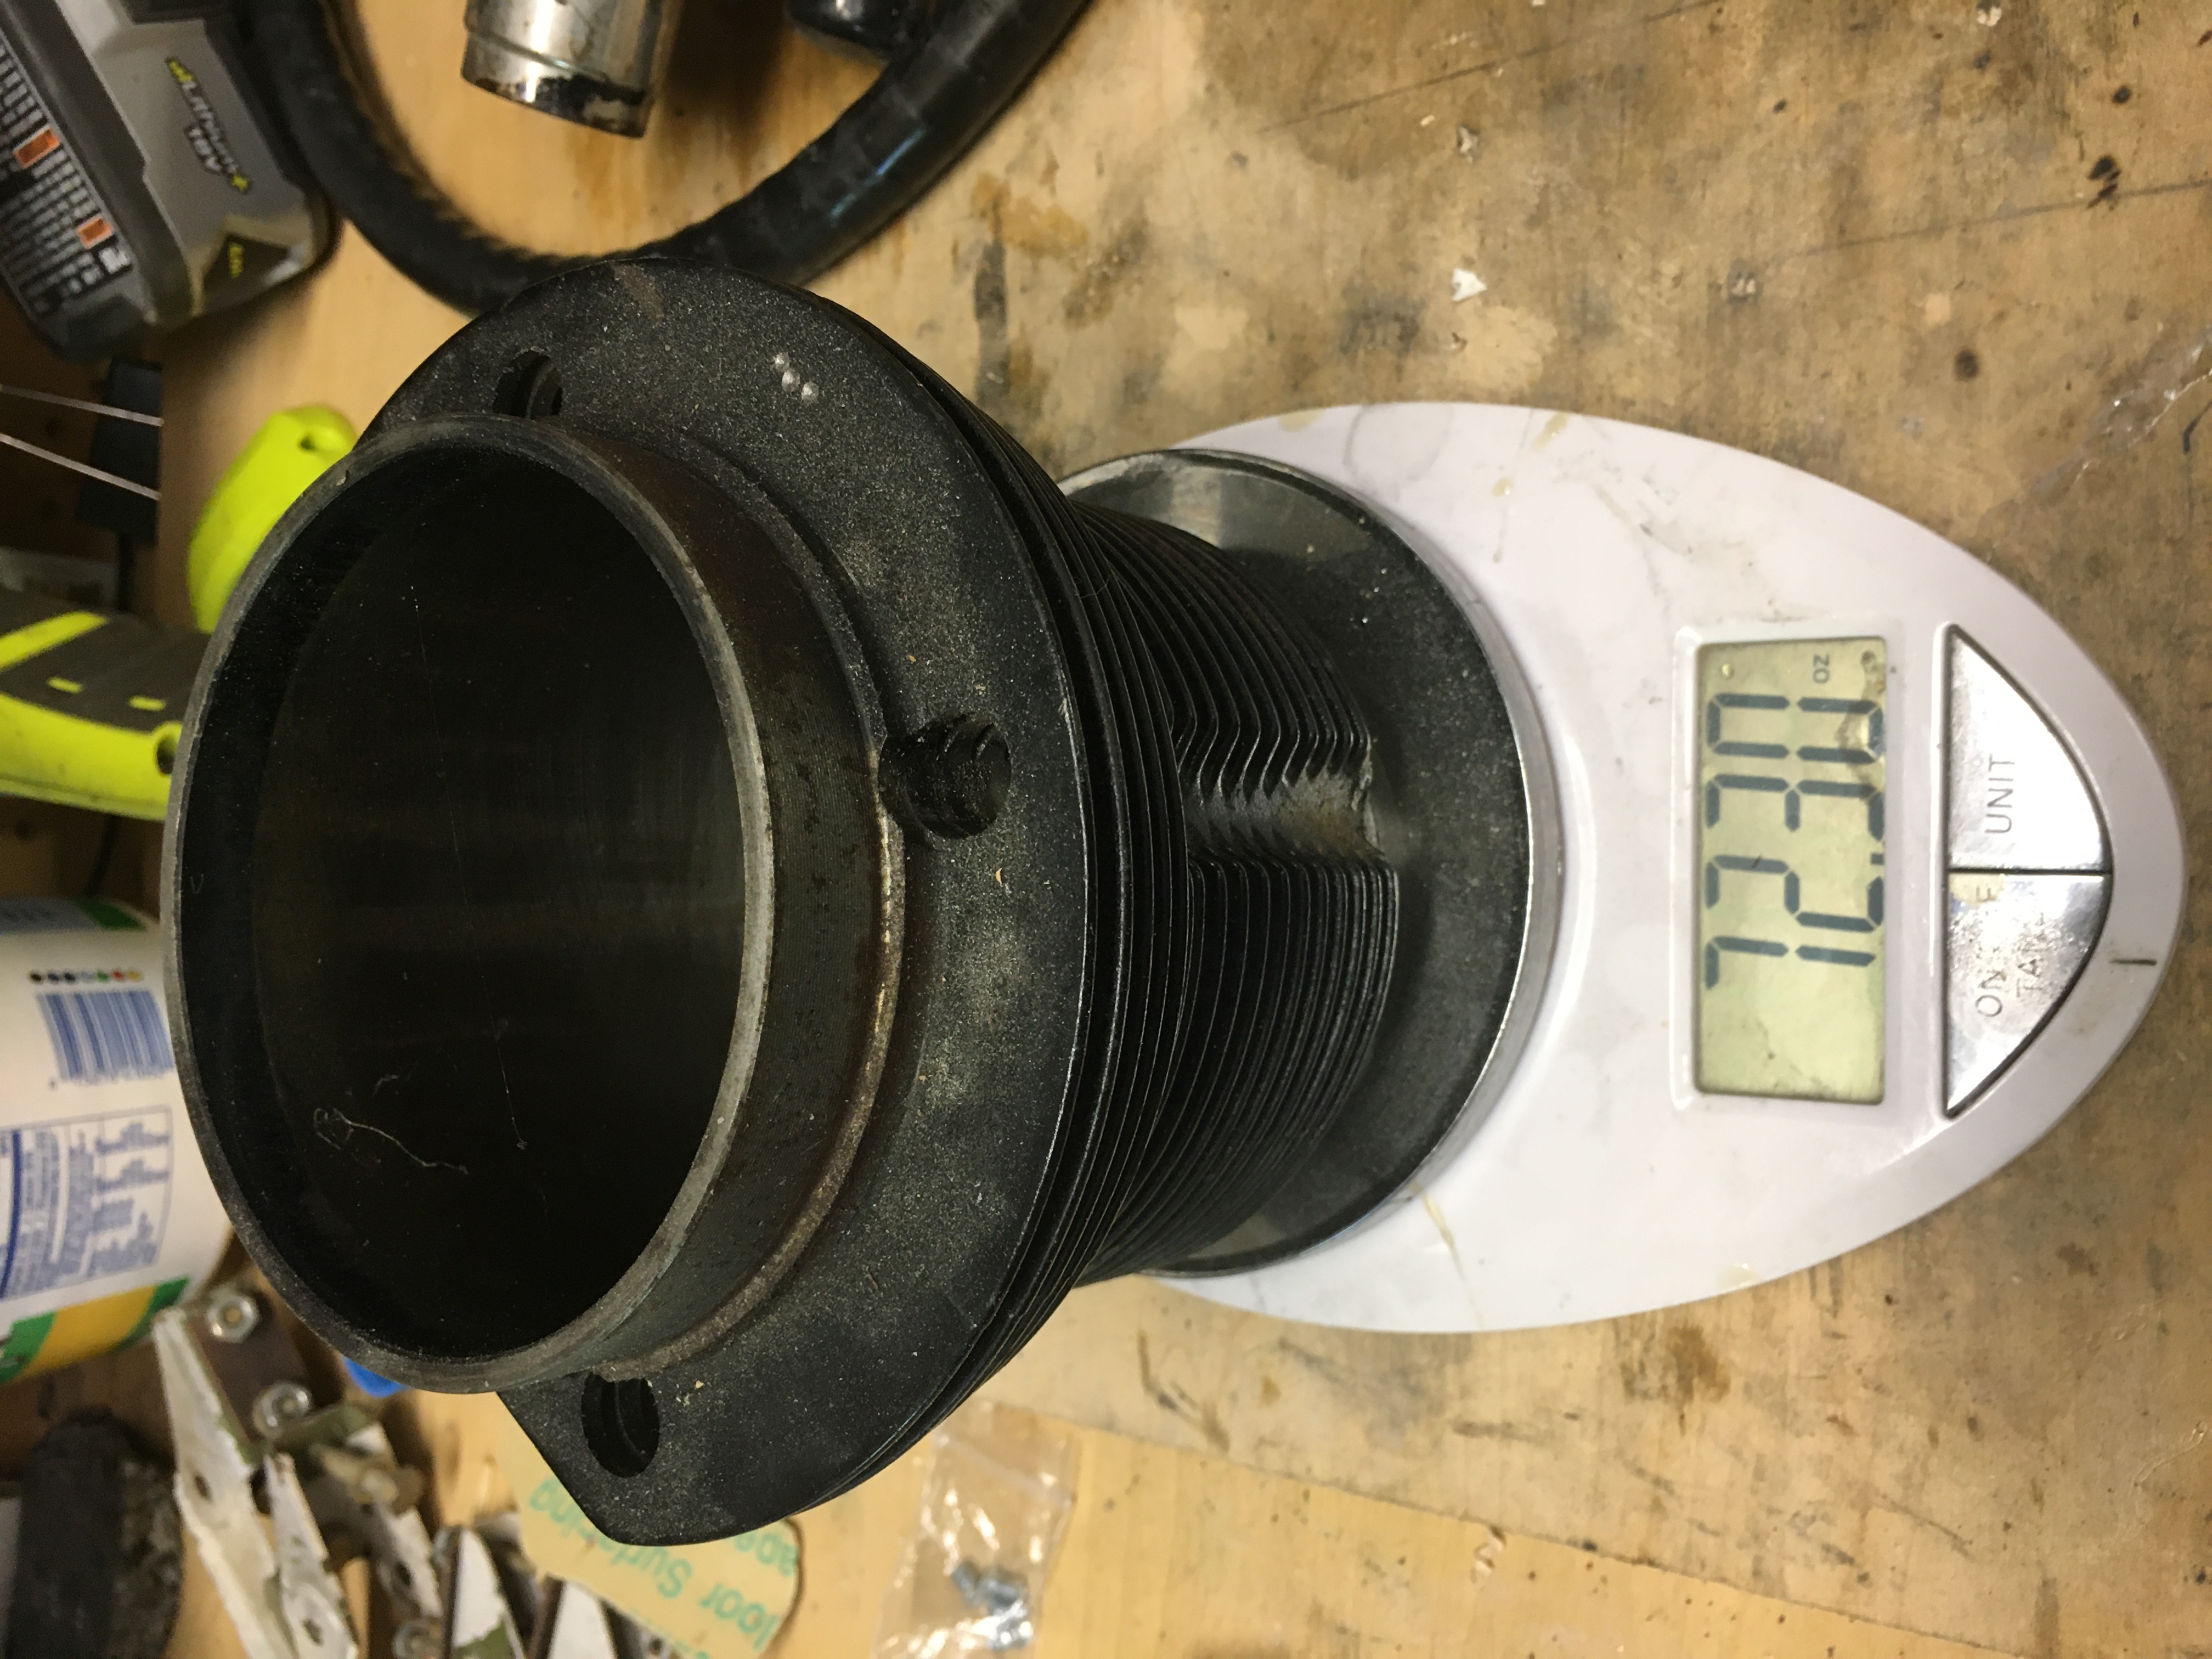
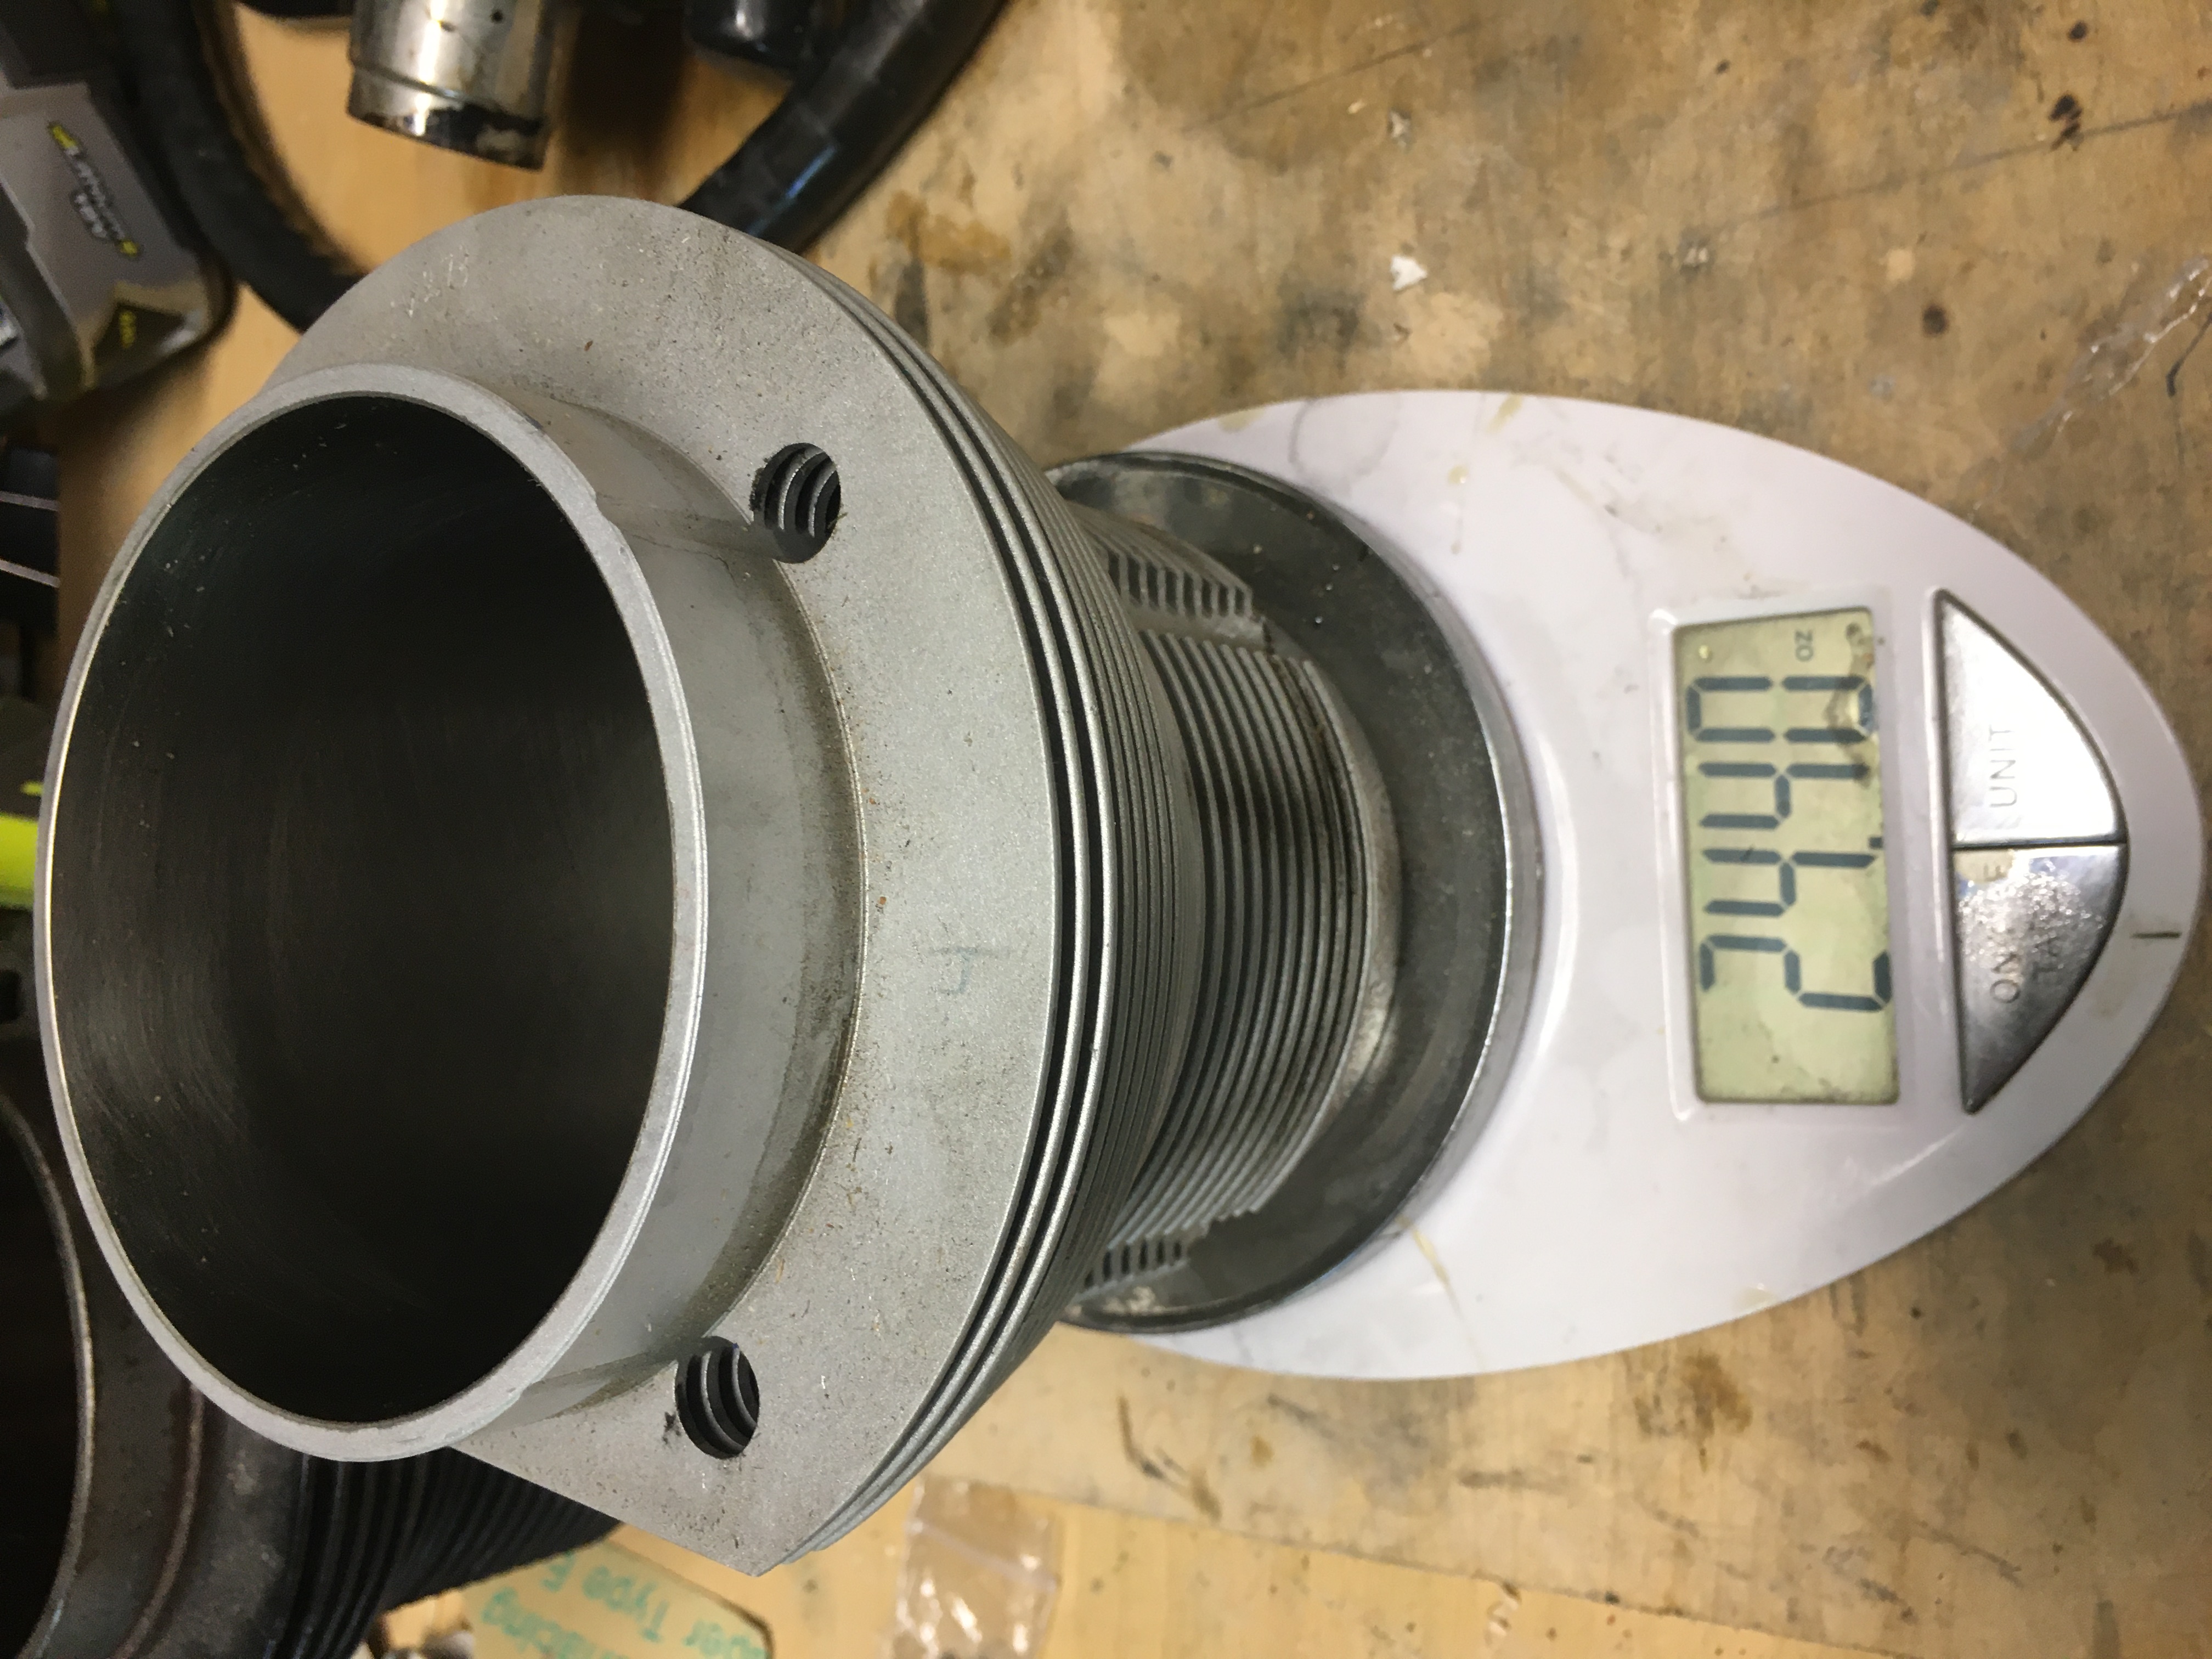
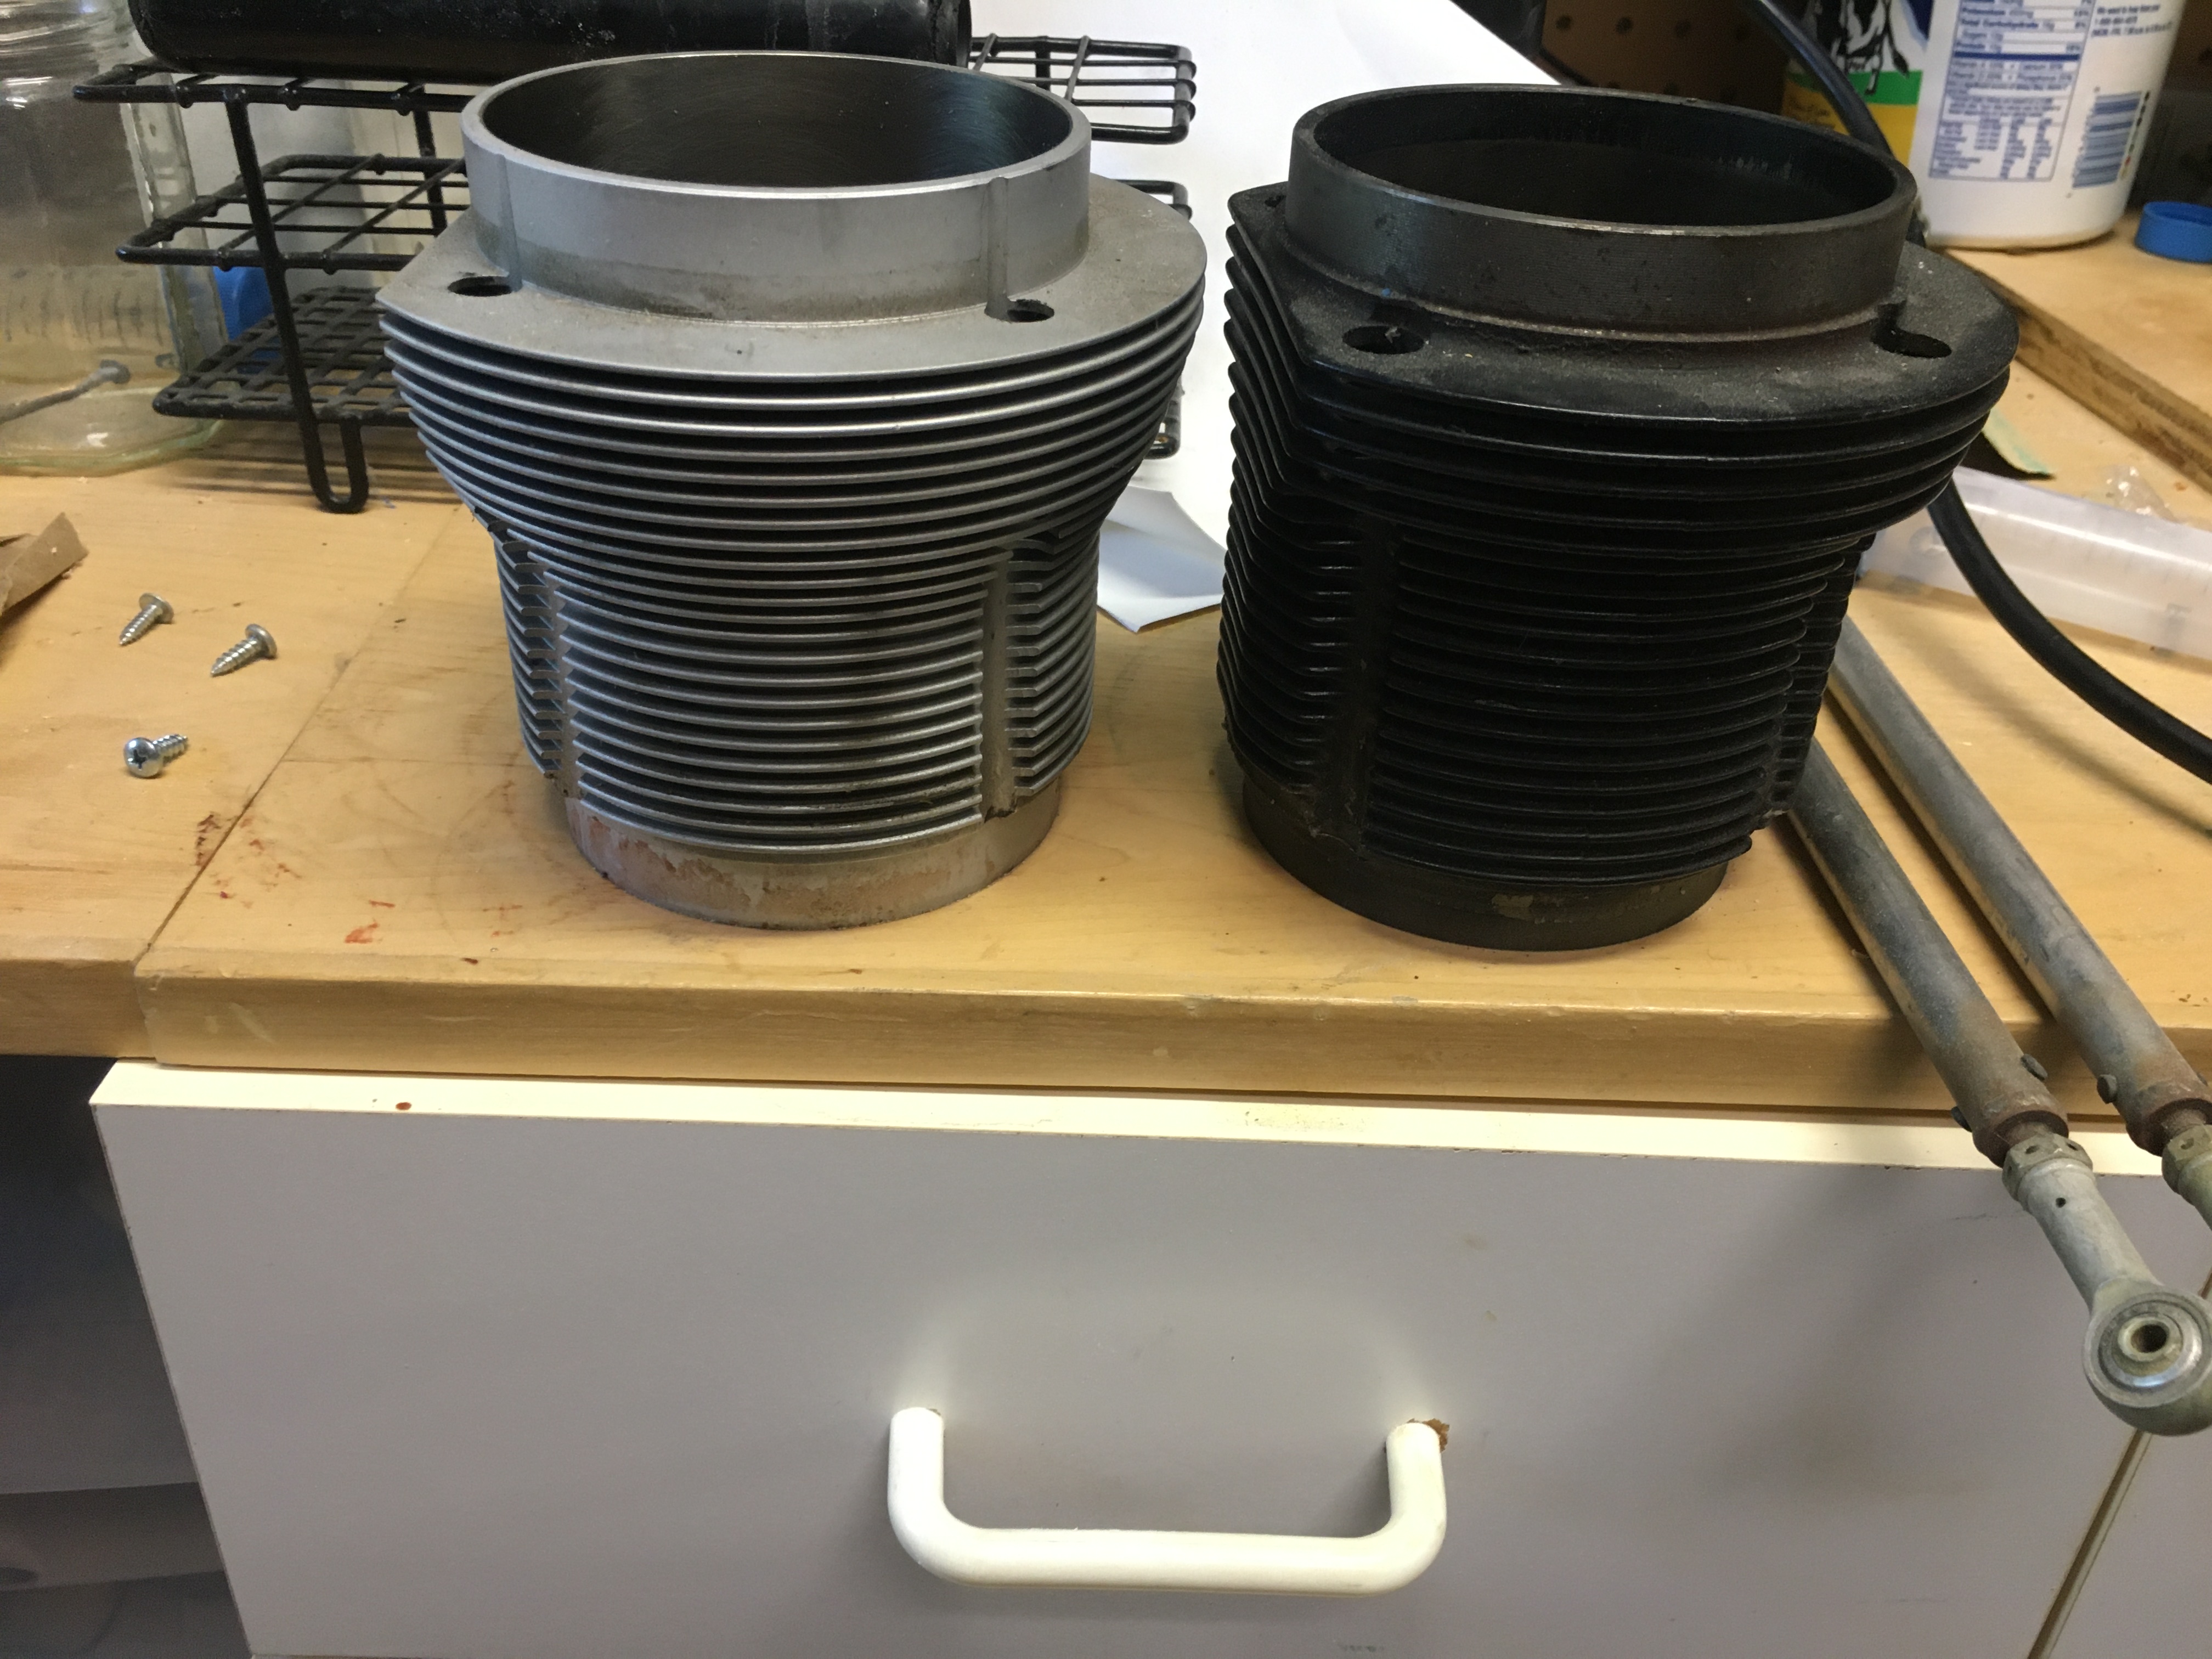
VW Engine #3 - Custom Turbo Conversion Type 1
Wow, ok this is getting a little (a lot?) crazy. I got yet another VW engine. The HAPI Magnum engine that came with the engine had a very interesting and "high performance" set of "individual cylinder heads" made by SCAT.
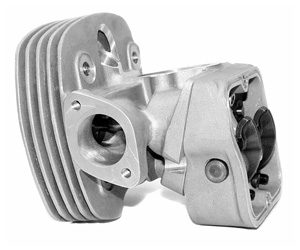
These heads have a number of performance advantages great for racing VW's, and the are similar in form to the individual cylinder heads of all certified aircraft engines (like Lycoming or Continental). However, they have very few cooling fins and in practice on aircraft conversion engines, overheat. I was thinking I could deal with that with the ceramic thermal barrier coatings, but kept getting advice to go back to conventional VW heads. Then suddenly, two opportunities arose at the same time:
First) The individual Scat Heads are coveted by builders of the 1/2VW engine (where the engine is sawed in half to reduce weight for ultralight applications - you can't make this stuff up).
Second) I found another Type I engine for sale (for almost the same price I could get just by selling the individual Scat heads), that had very very nice components that I could use. Specifically, this new engine was built by a retired Ford engine engineer and had:
- 1) an Aluminum Case (stronger but heavier),
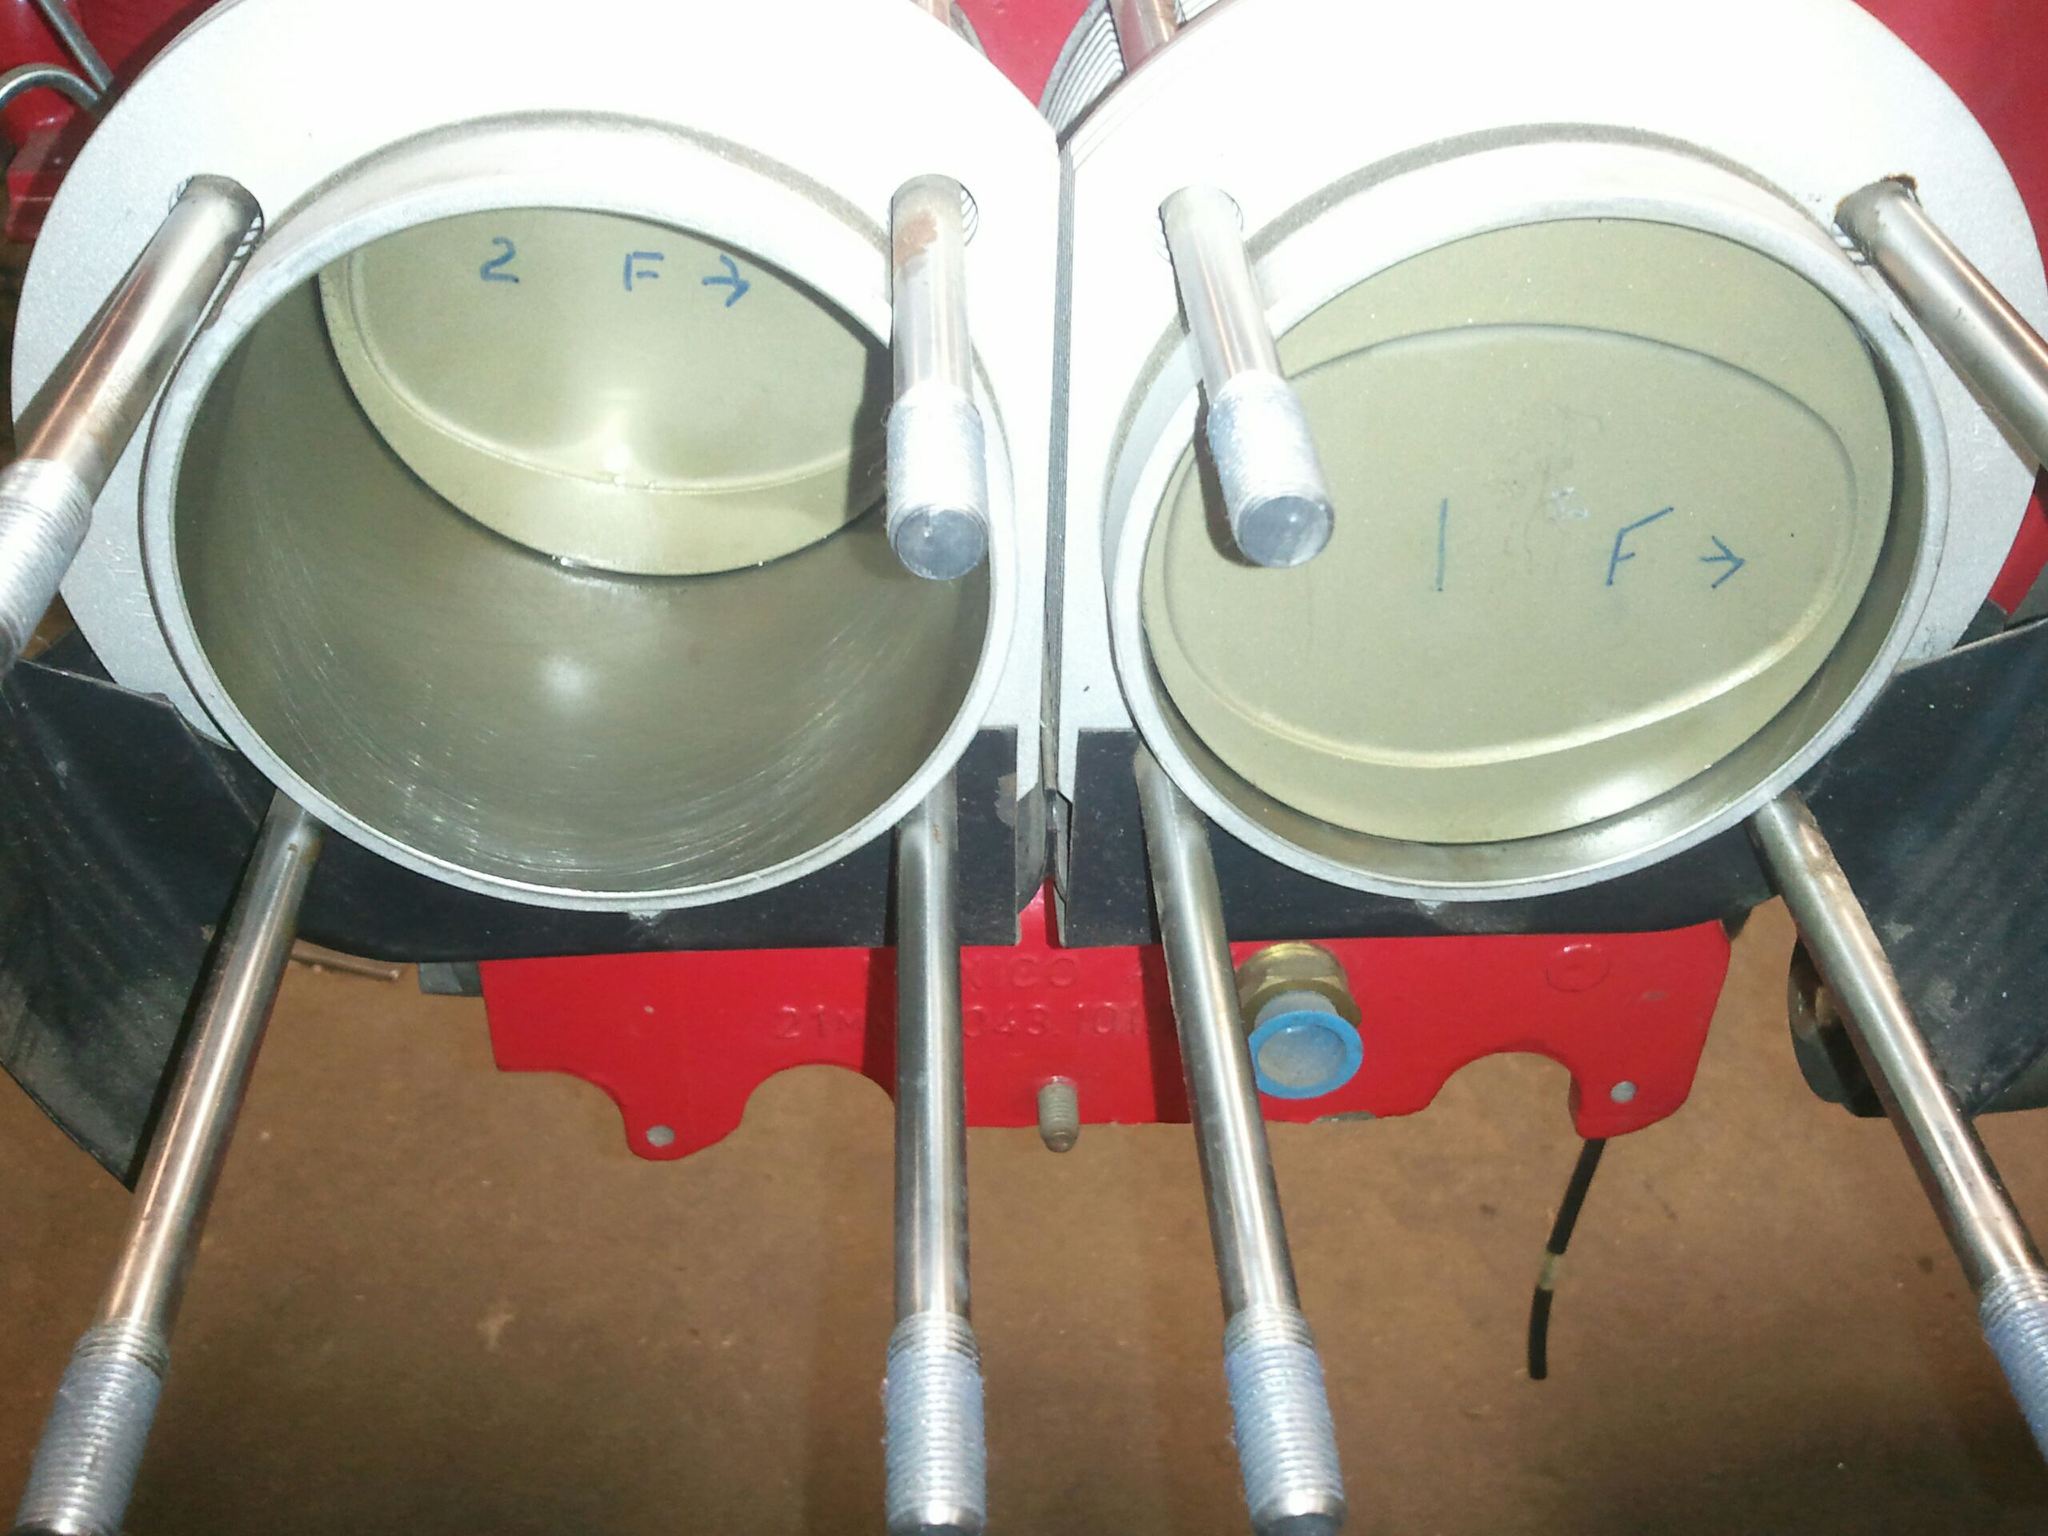
- 2) LN Engineering Nikasil Aluminum cylinders (known in the VW and Porsche world as "Nikkies" - very very very nice, light, strong, etc),
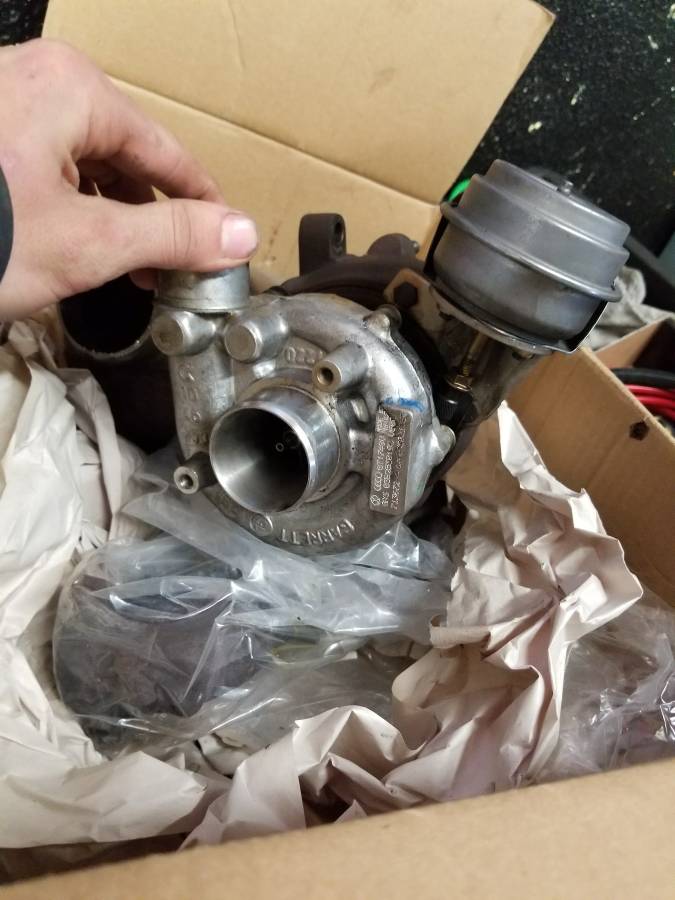
- 3) a Garrett turbocharger and intercooler,
- 4) electronic ignition and fuel injection, and
- 5) Oh yea, just the heads I needed and they have already been ceramic coated!!
So I sold the Scat individual heads and bought this very cool Type I VW.
Check out the pictures:

Make a free website with Yola